2: Setup
There are a few steps to get setup. Once you’re done you can create multiple maps from the same project so you won’t need to do this for every map you create.
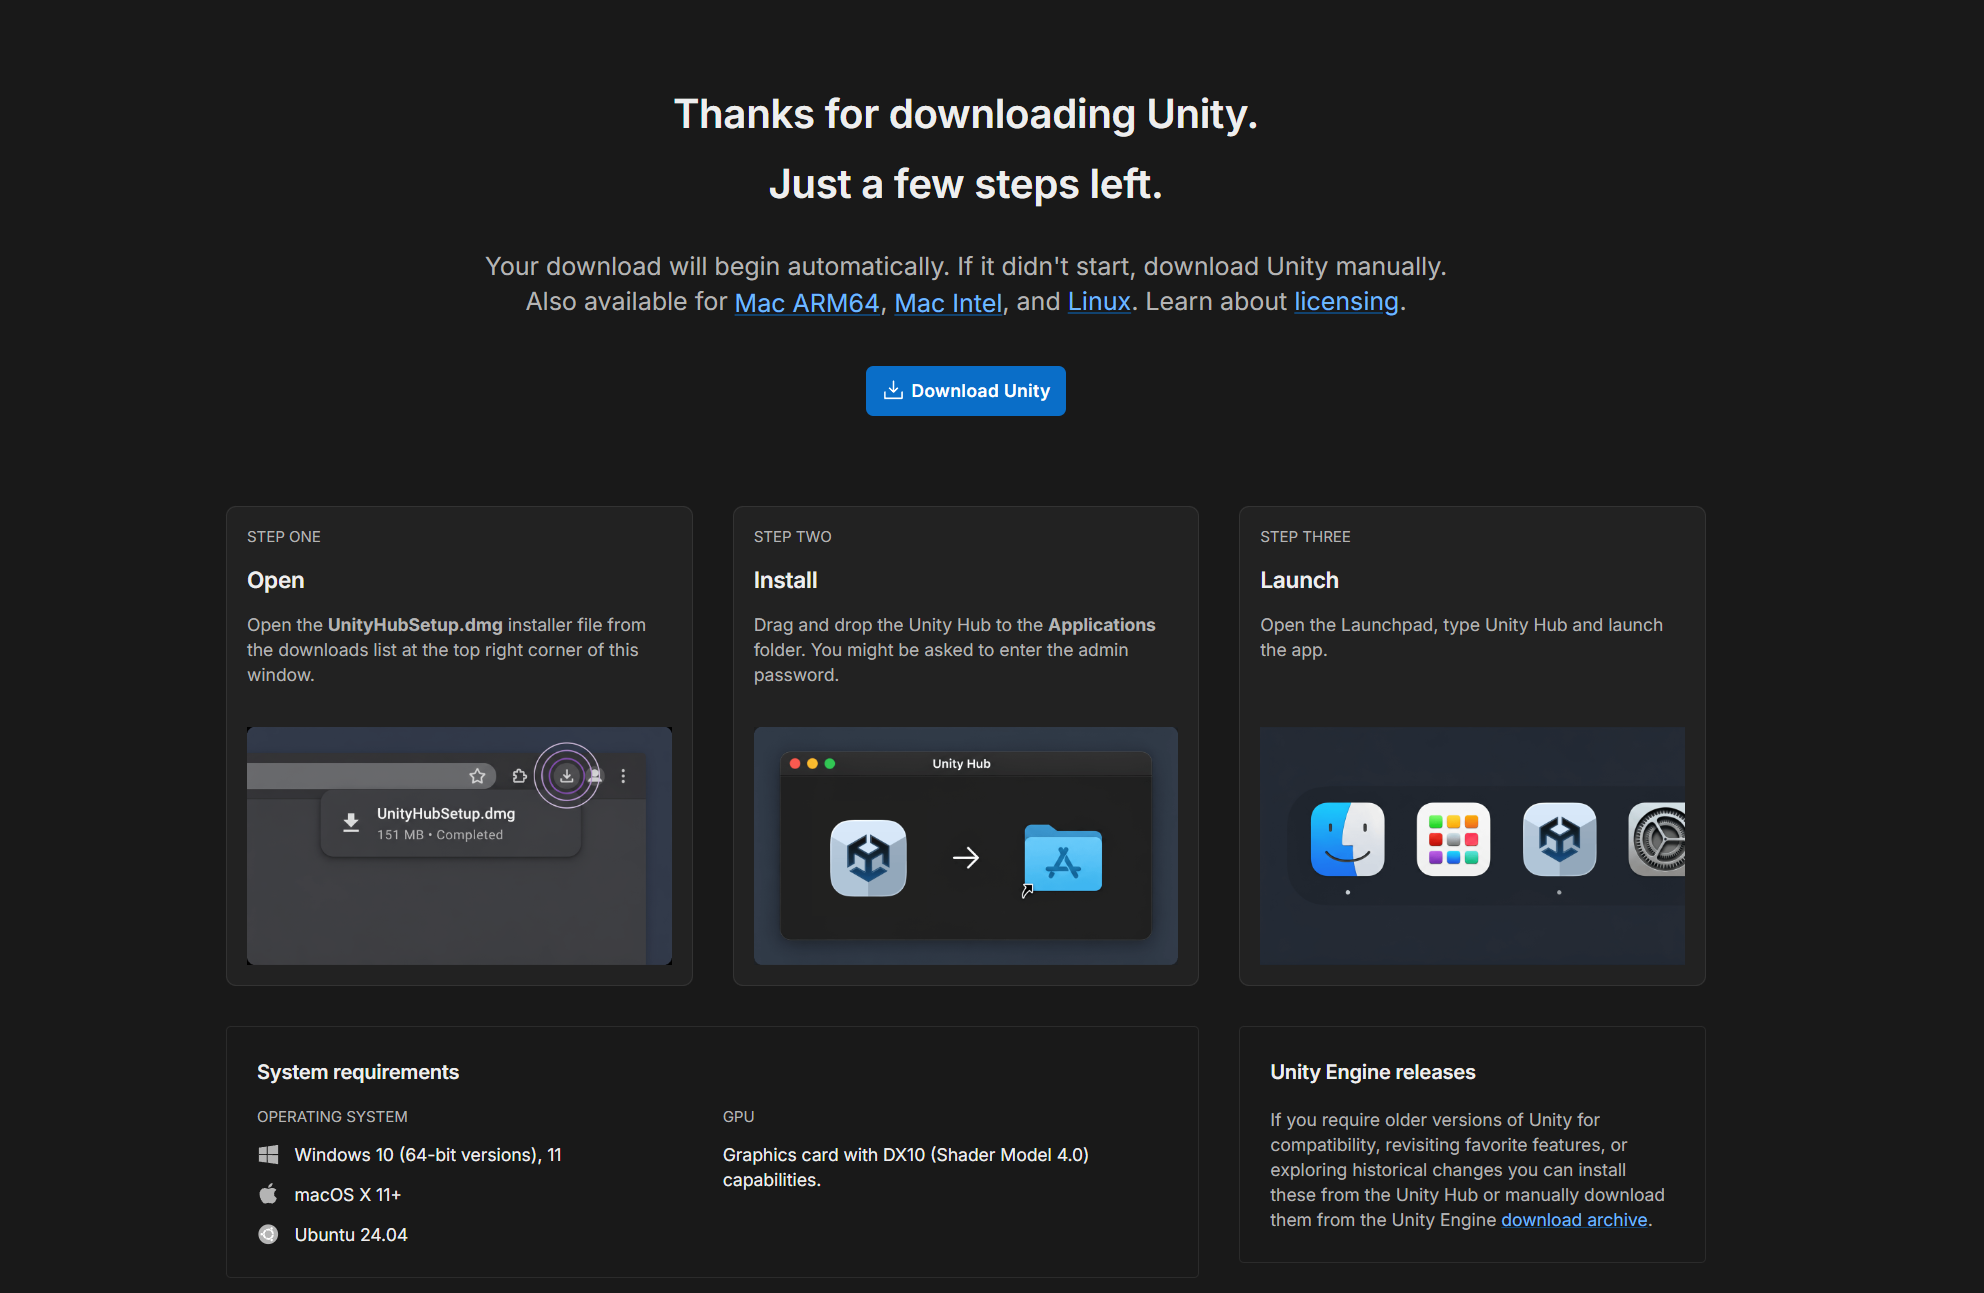
1: Download and install the Unity Hub. You may need to create a Unity account to access the download page. You’ll need a unity account for the later step too.
Unity Hub Download:
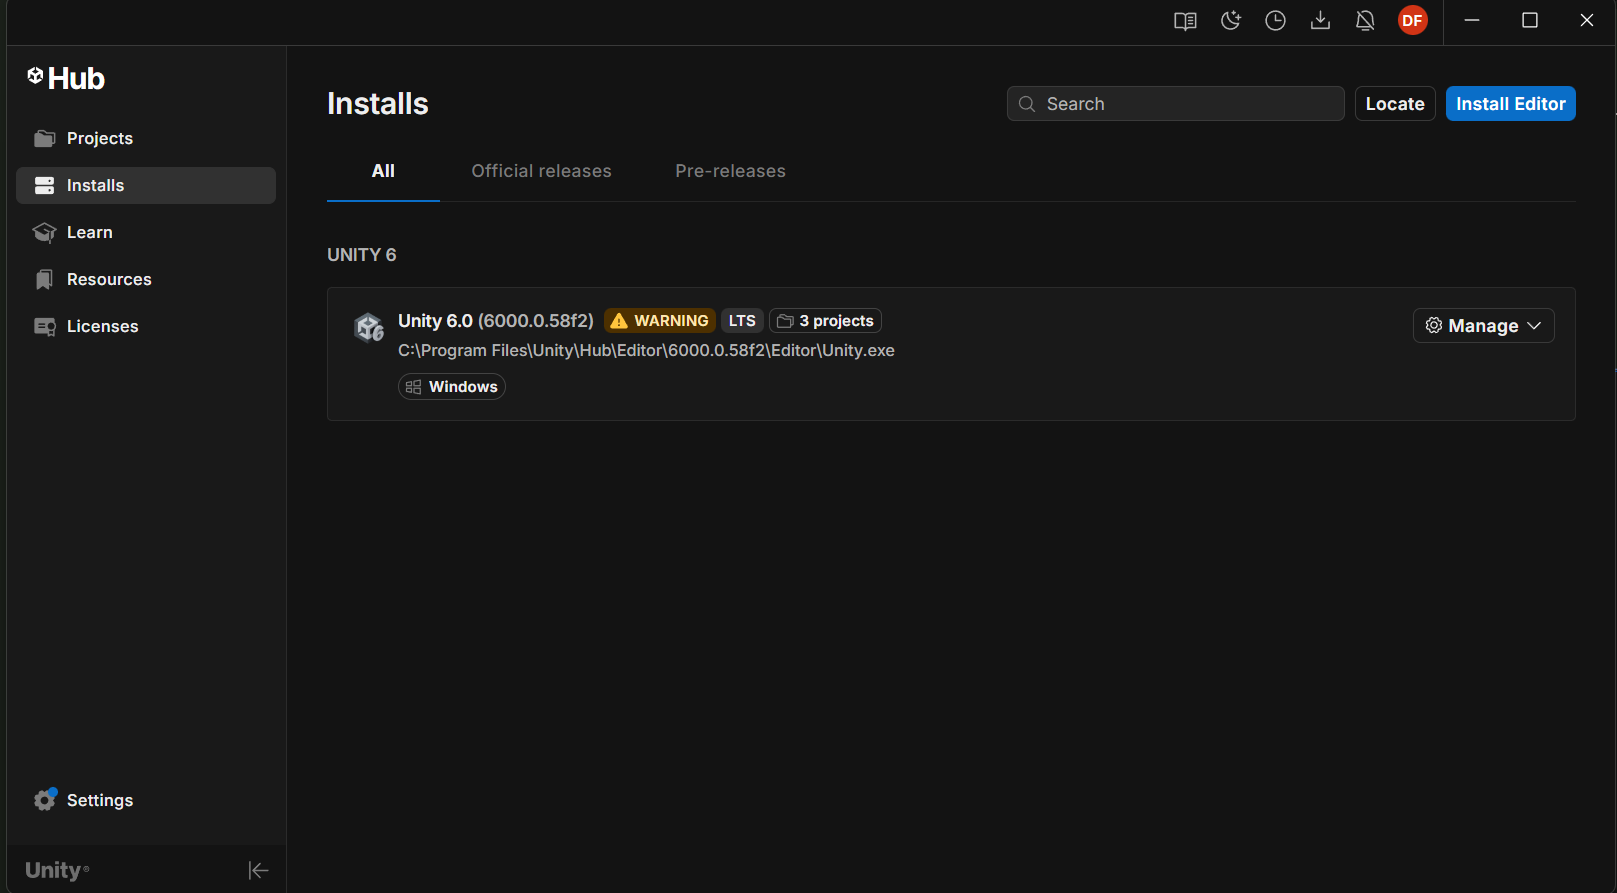
2: Next download the proper version of the Unity Editor, Unity 6000.0.58f2. Clicking the download link below will open the installer in the Unity Hub. If that doesn’t work you can go to the Unity Archives and locate the download link there: https://unity.com/releases/editor/archive
Download link:
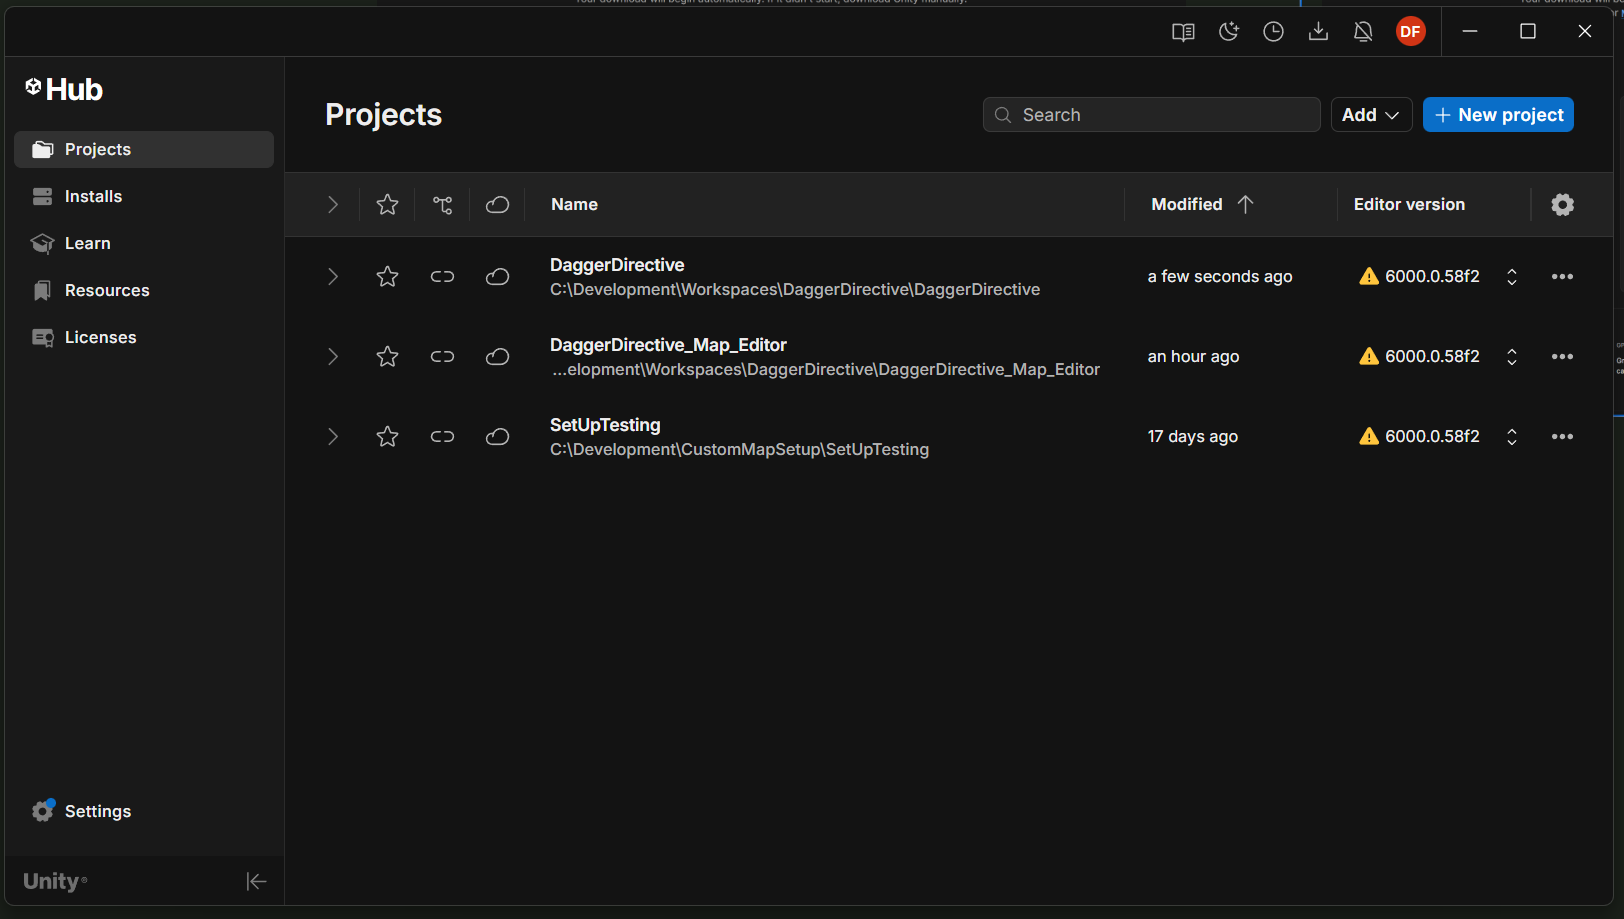
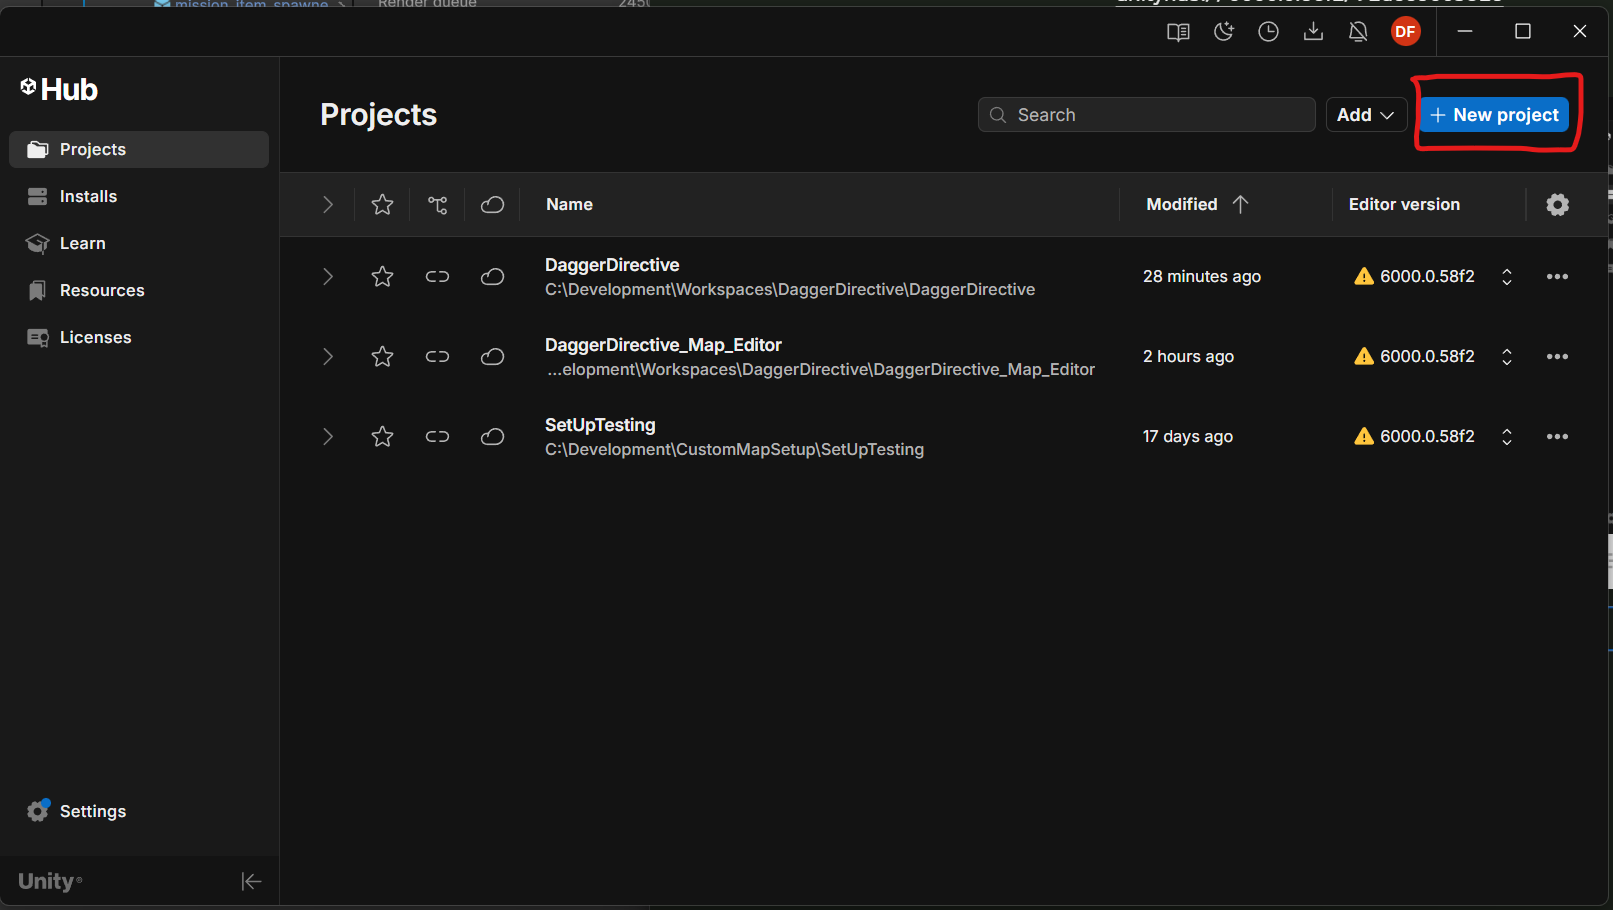
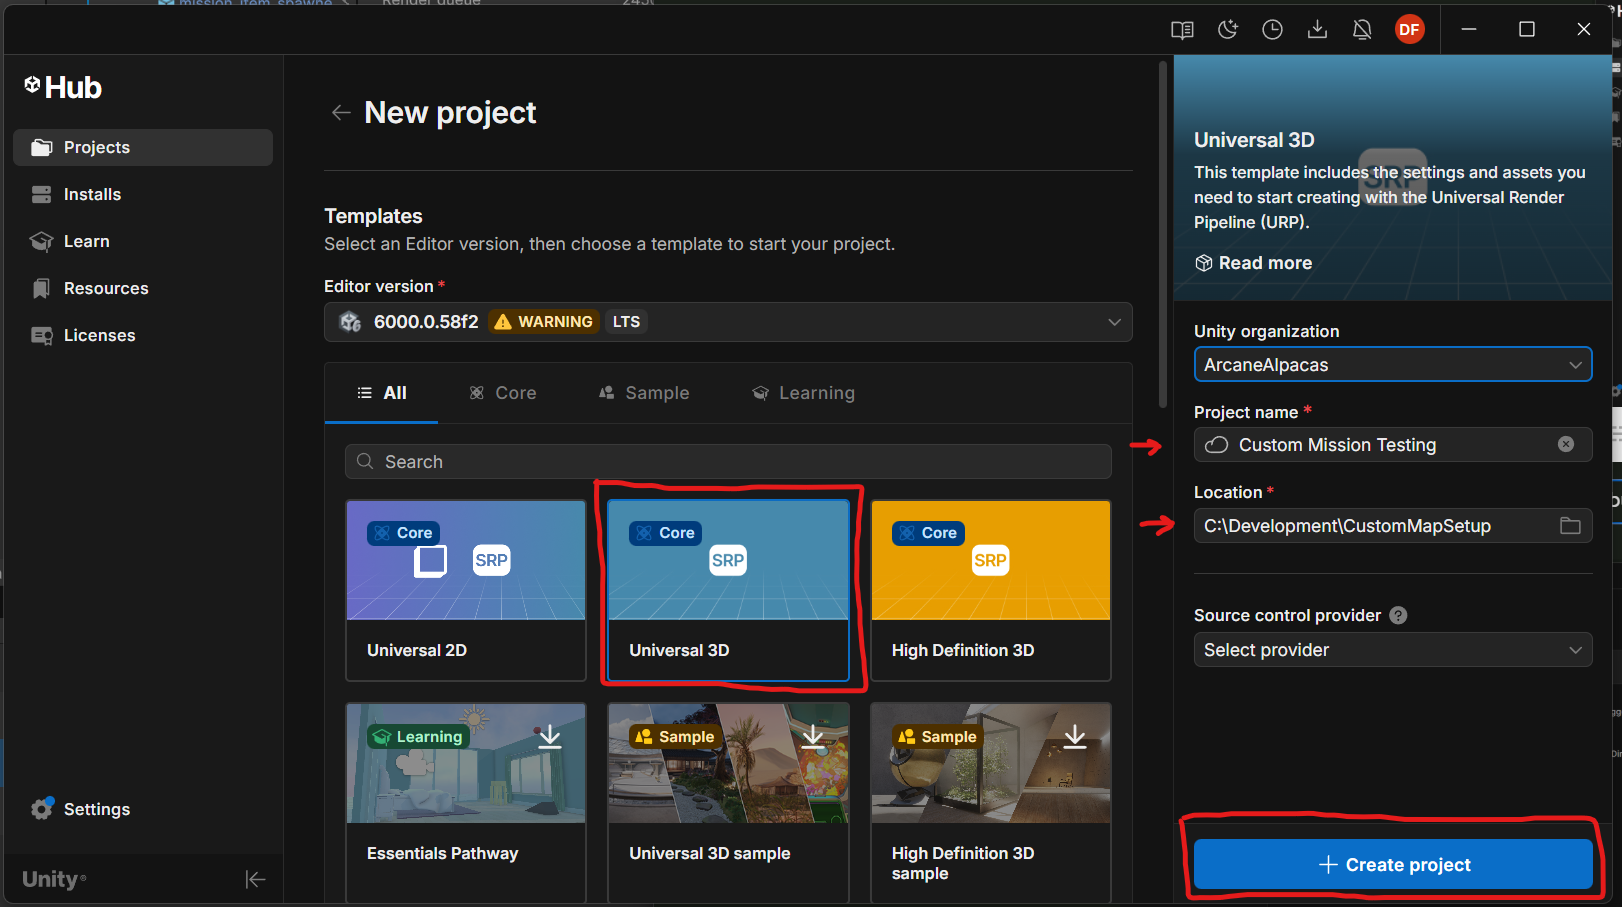
3: Create a new project by click the “+ New Project” button.
Make sure the Editor Version is set to 6000.0.58f2
Select the “Universal 3D” template.
Create a project name
Select a good location
Lastly, click “+ Create project”
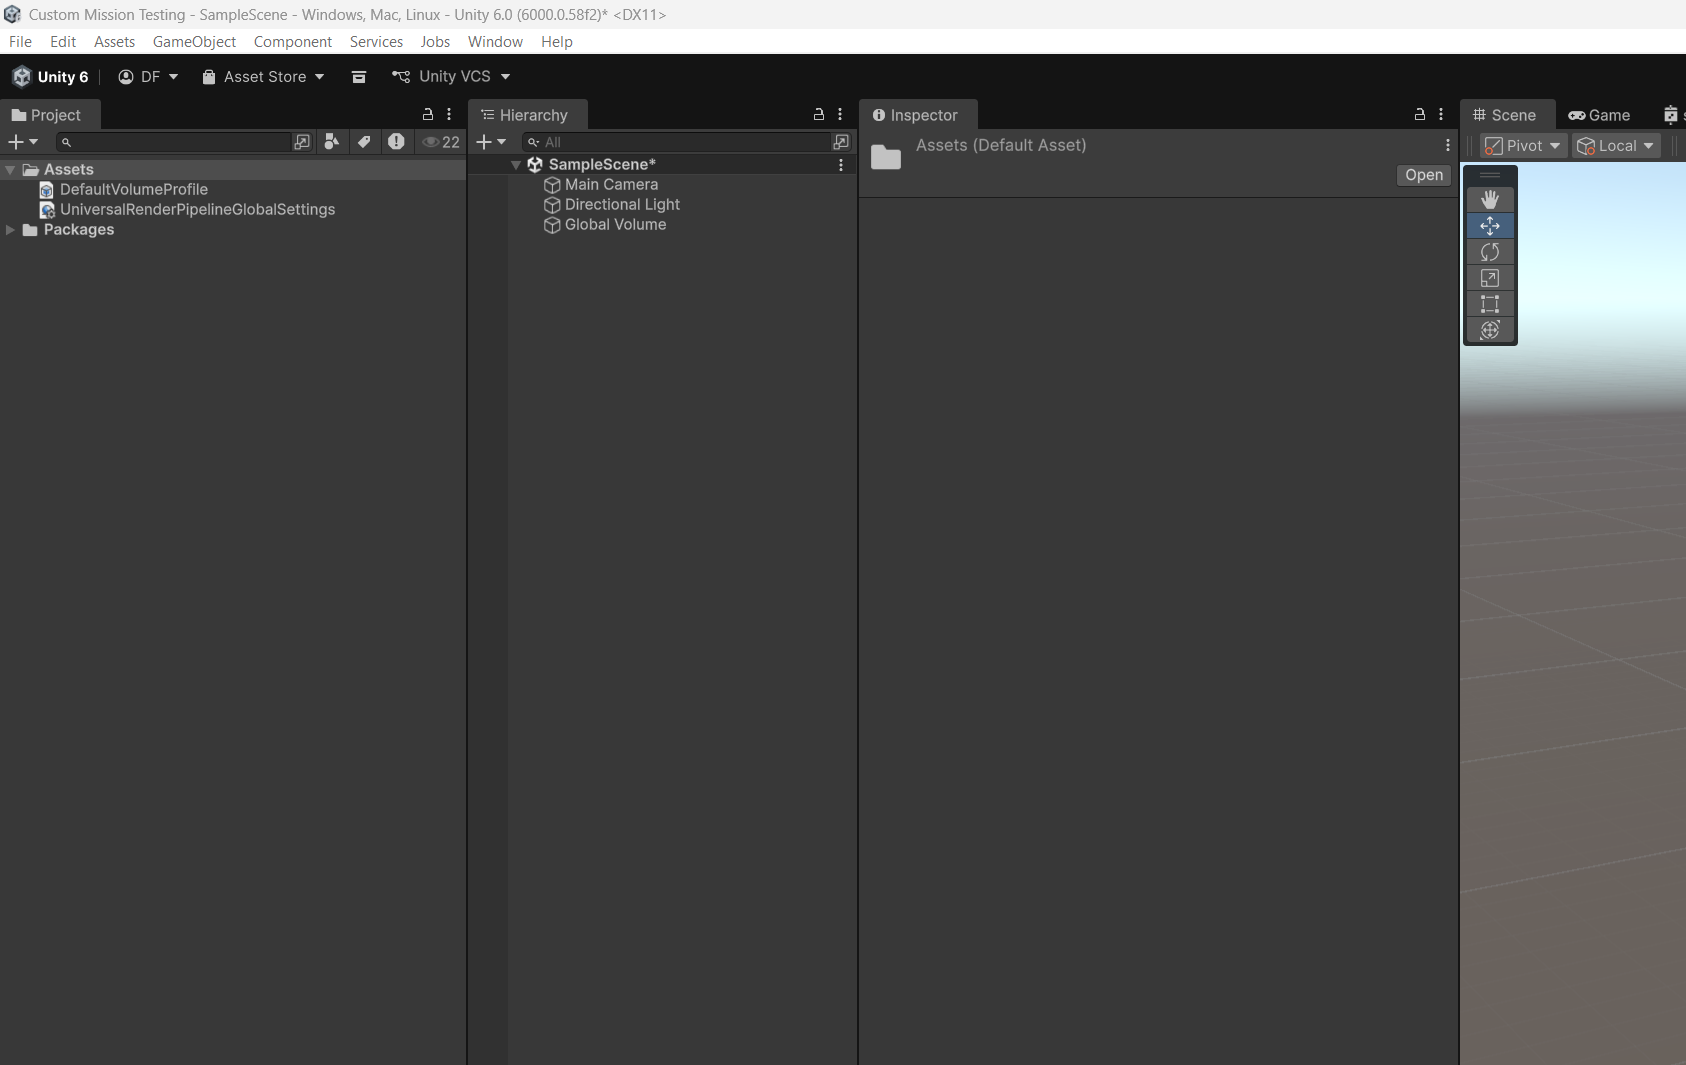
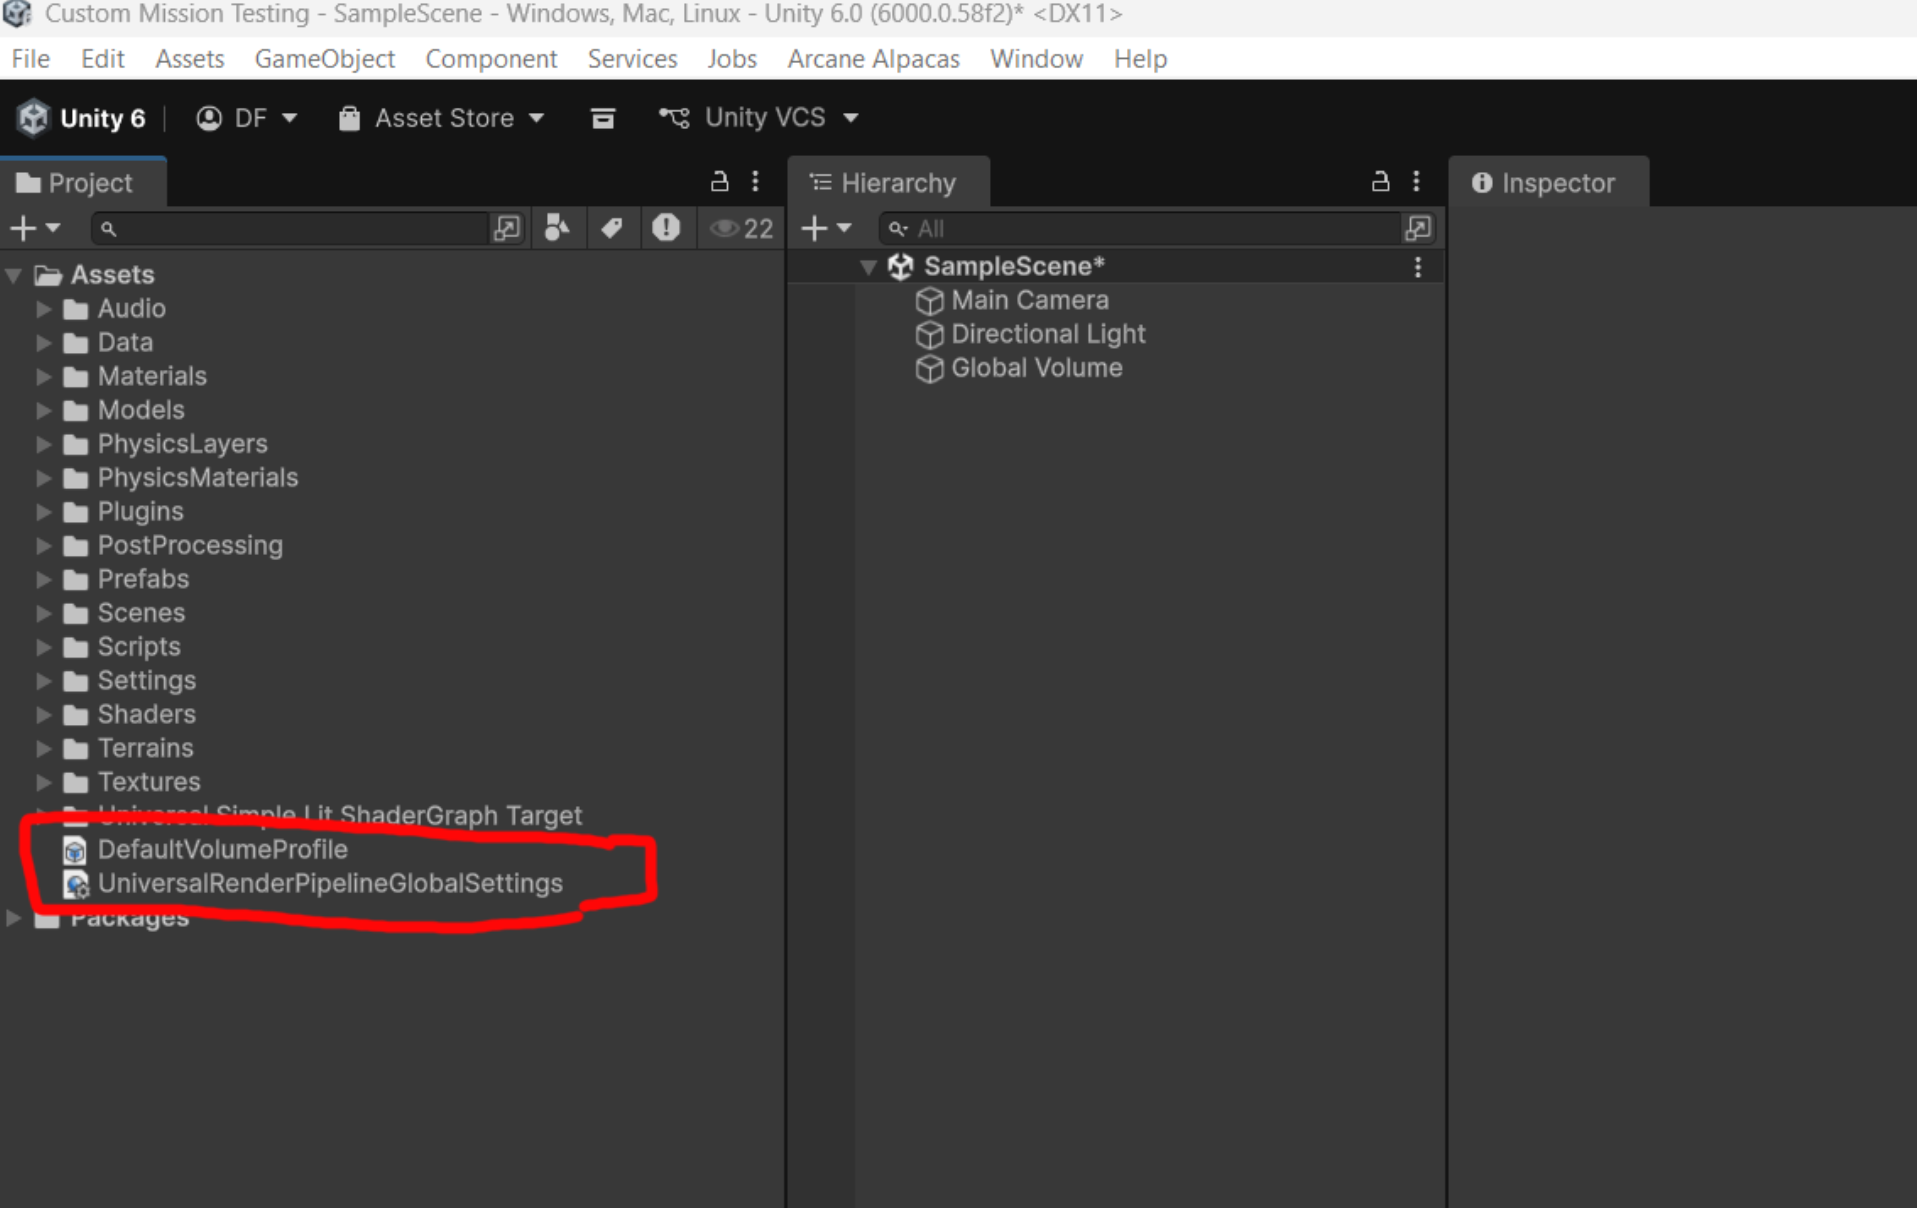
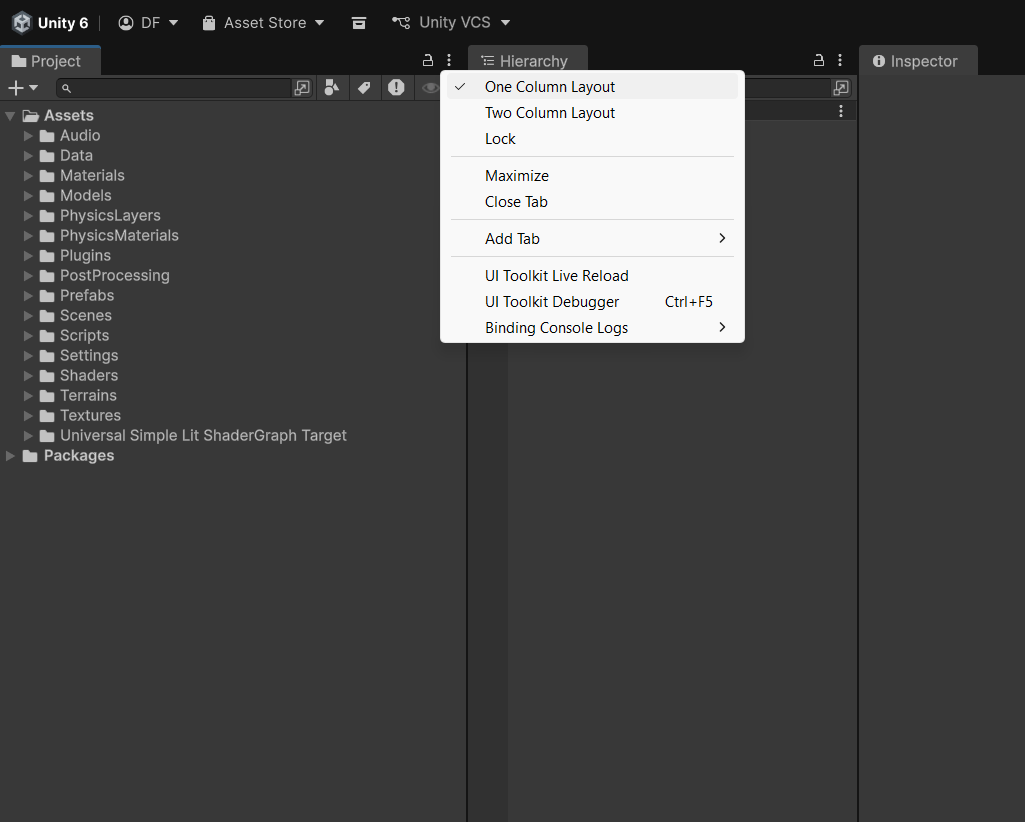
6: Once the import is complete you should see all of the assets in the project window. You can now delete the last two assets in the root Assets folder. If your project window looks different from the screen shot, it may just be set to “Two Column Layout” You can change it by clicking the 3dots on the Project window and selecting “One Column Layout”.
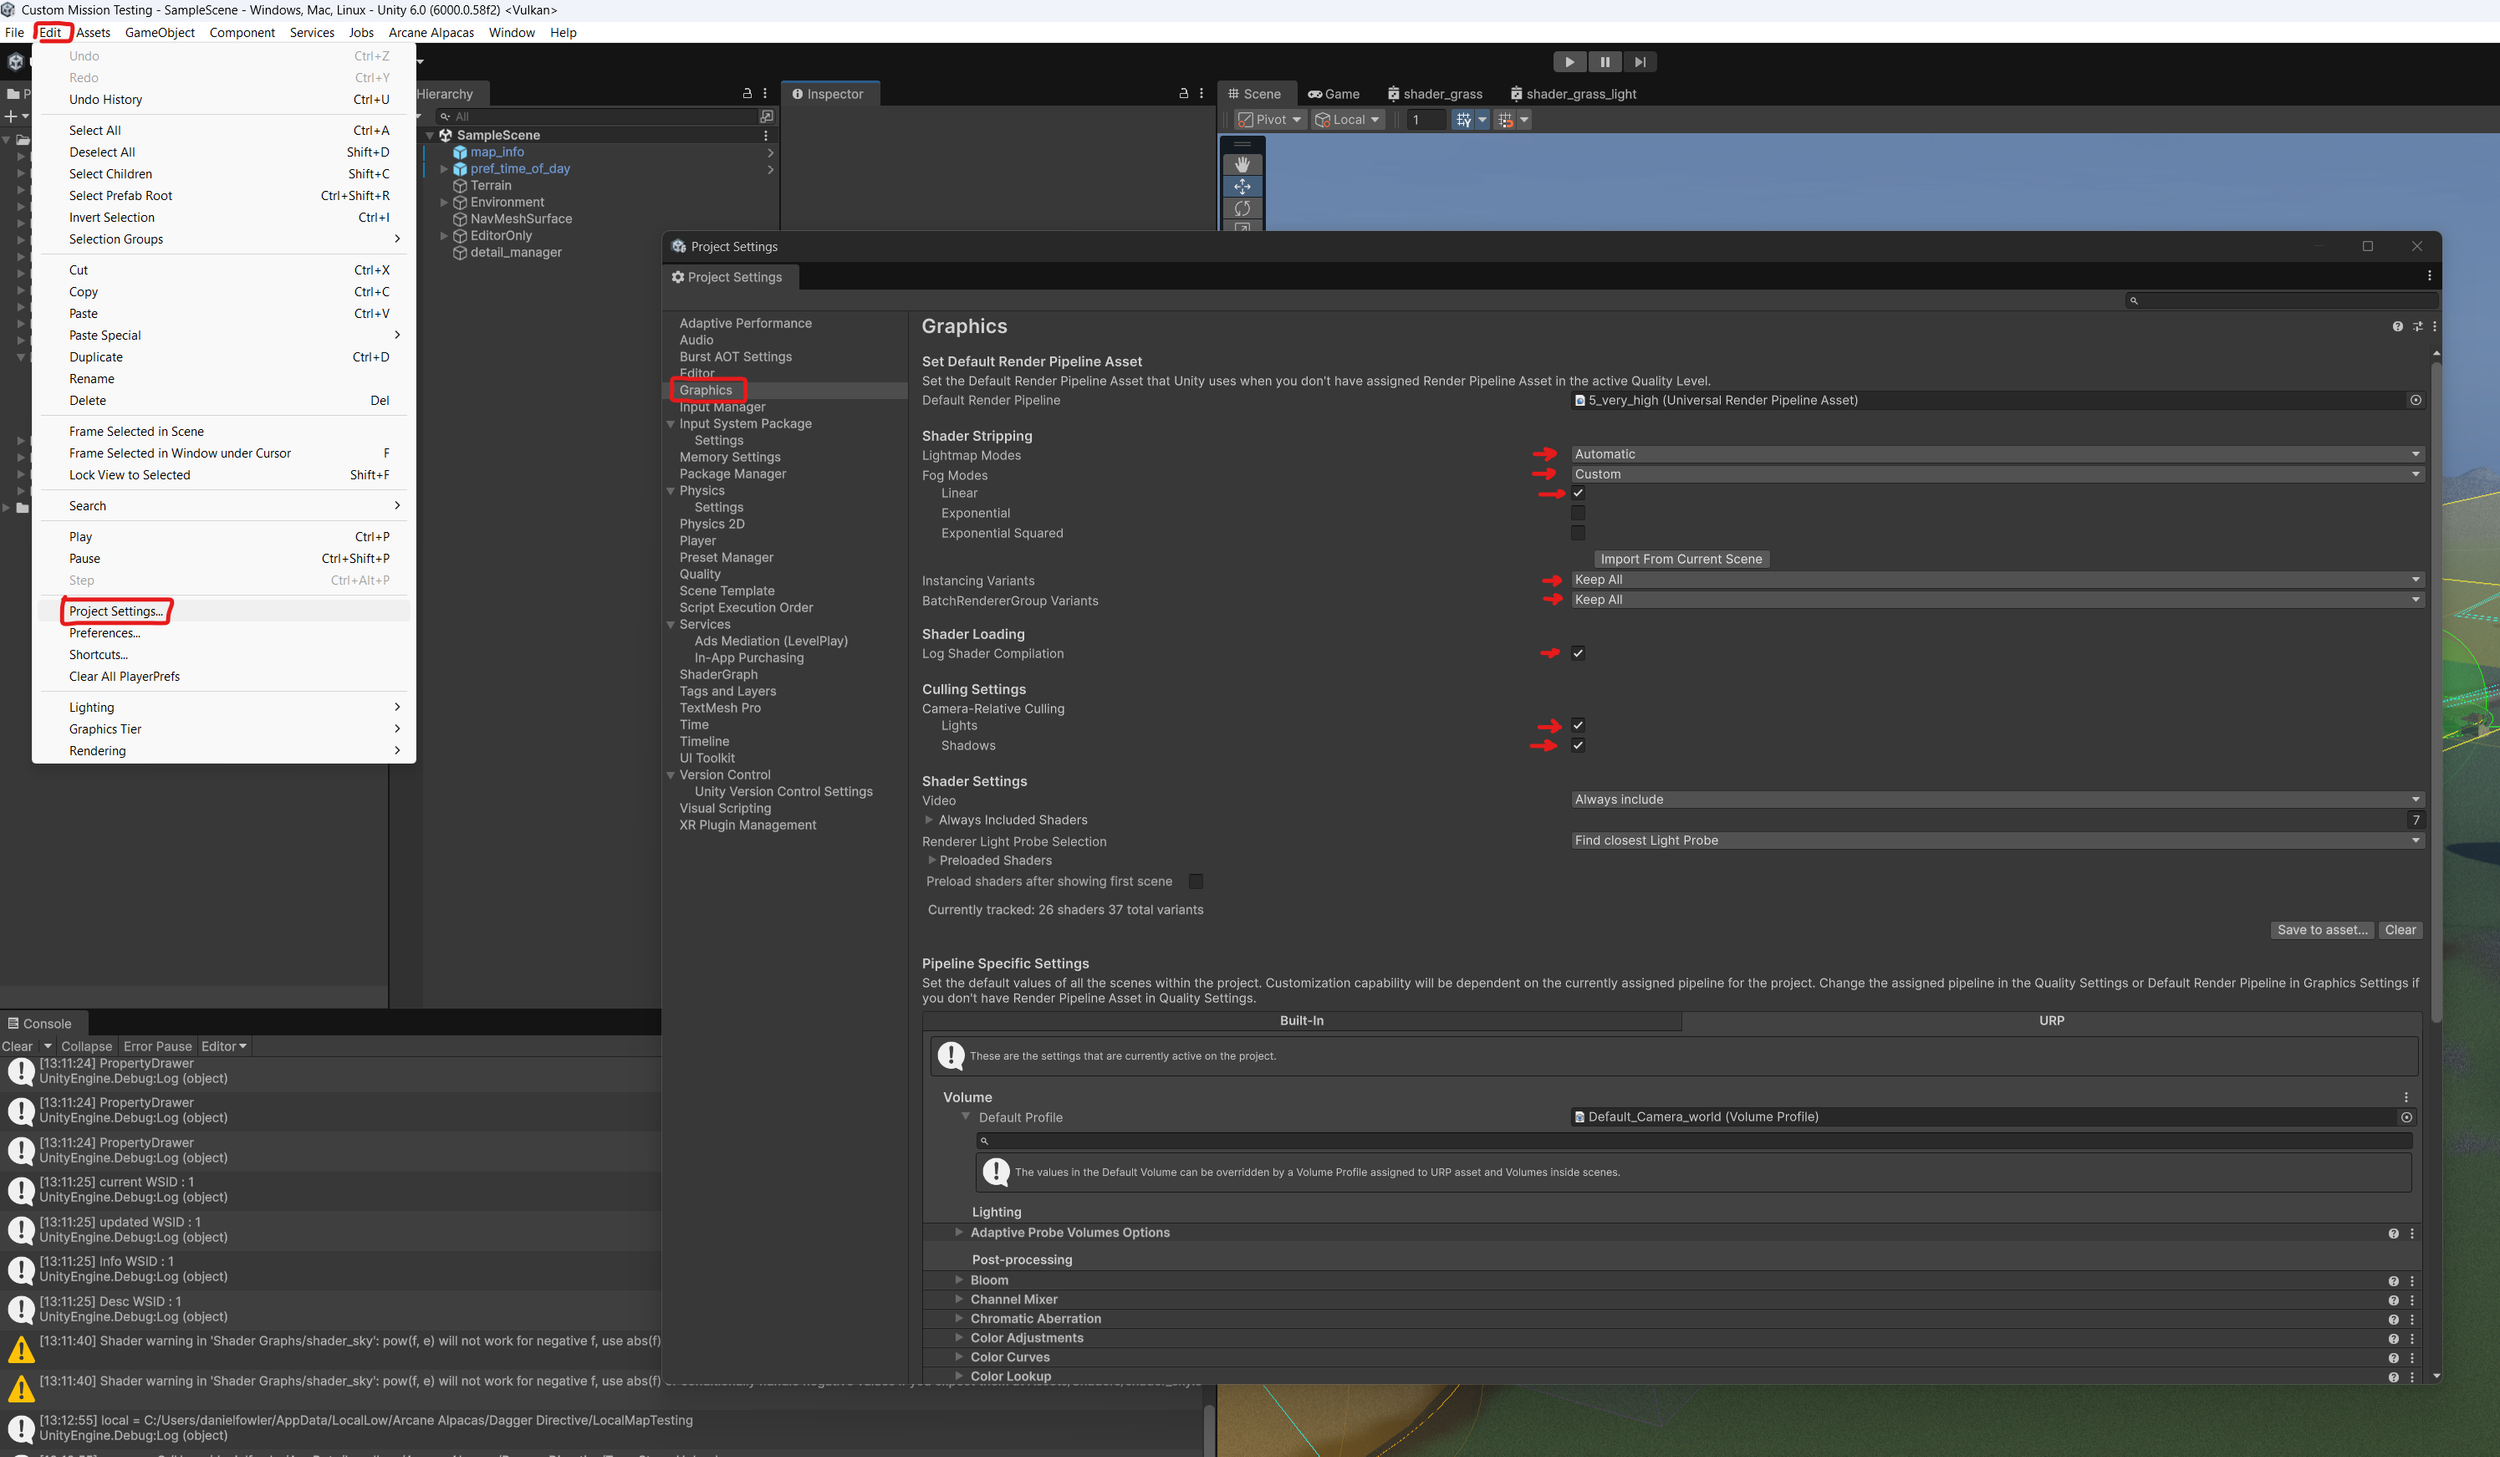
8: Unfortunately there are a few settings that must be done manually. Open the Graphics Settings menu, Edit<Project Settings, then select the “Graphics” tab.
Make sure the settings are as follows.
Lightmap Modes - Automatic
Fog Modes - Custom
Linear - on
Exponential - off
Exponential Squared - off
Instancing Variants - Keep All
BatchRendererGroup Variants - Keep All
Camera-Relative Culling
Lights - on
Shadows - on
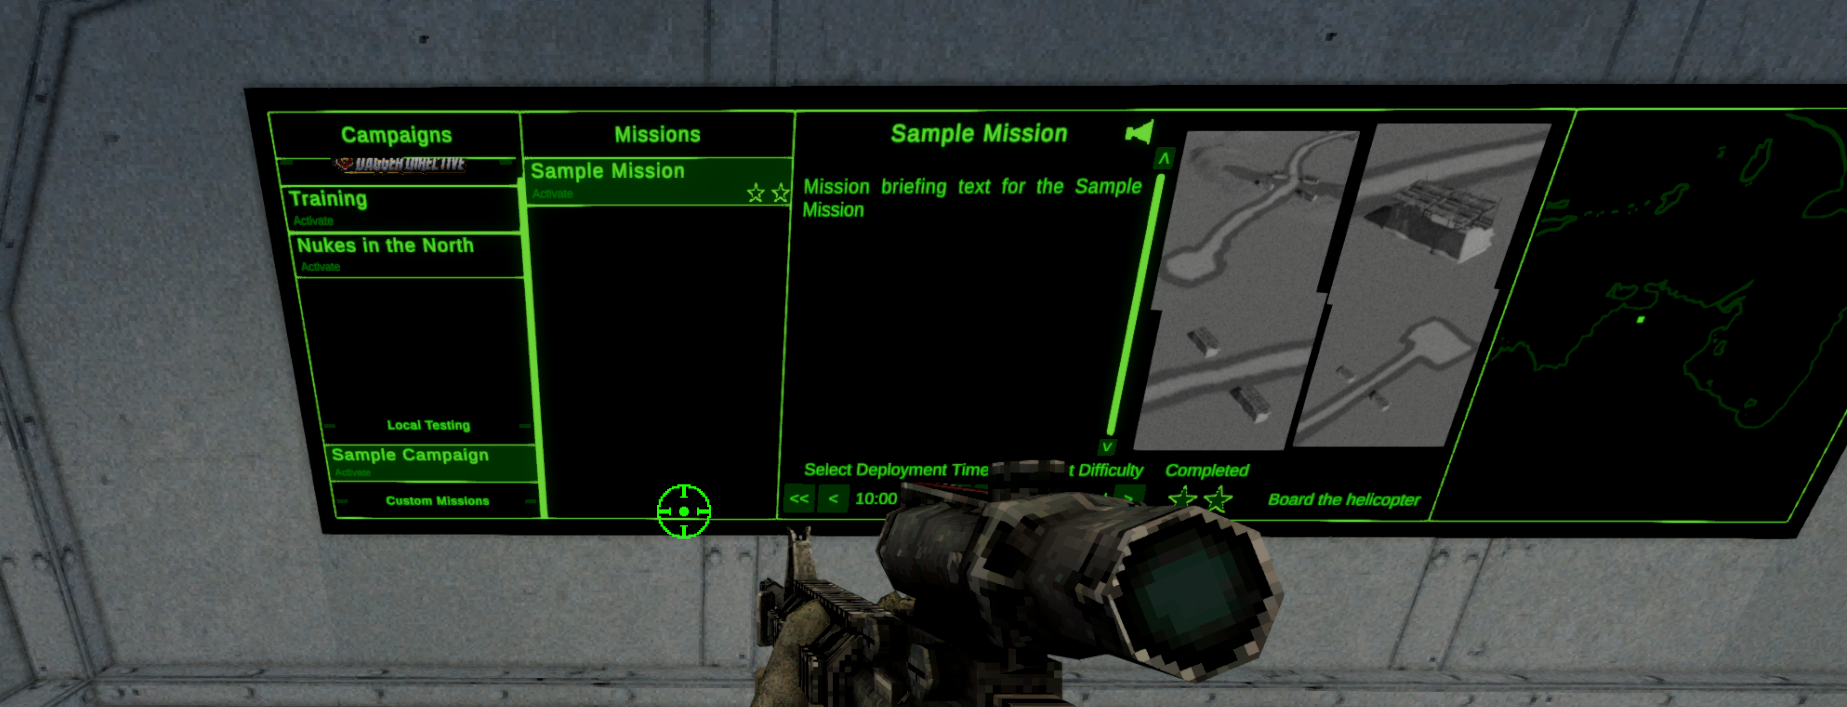
Open Dagger Directive and you should now see your map in the “Local Testing” section of mission select menu.
If you don’t see some of the models or something else goes wrong then double check the settings. The most common error could come from the Graphics Settings setup in step 8.
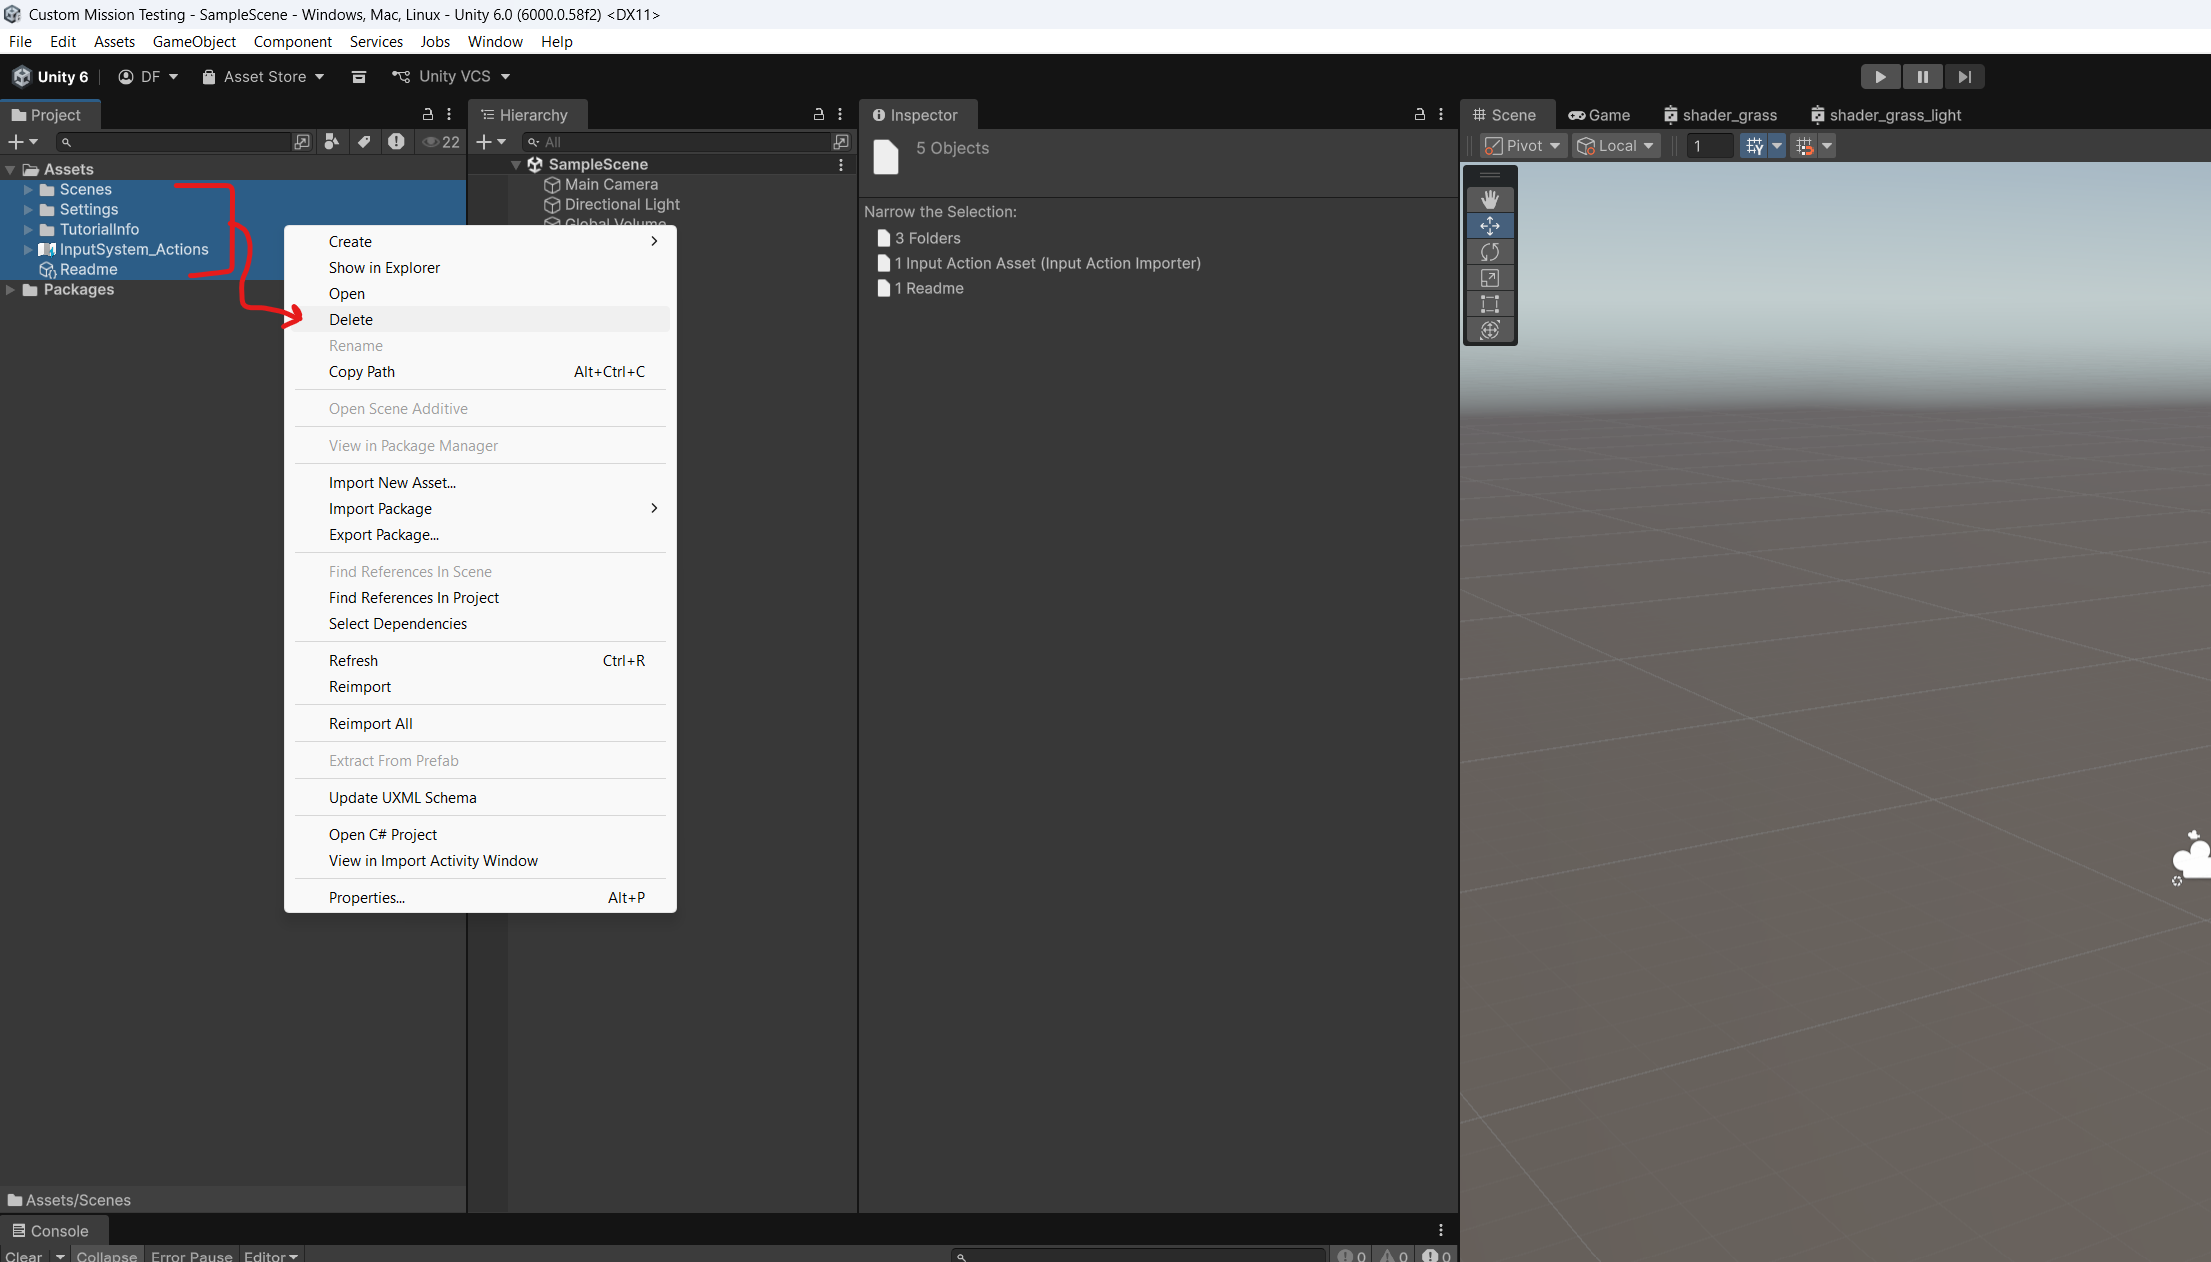
4: Wait for the project to open. Then delete the default assets inside the Assets folder. Select the sub folders and assets, right click, and select delete. It may recreate a couple files when you are done. This is fine.
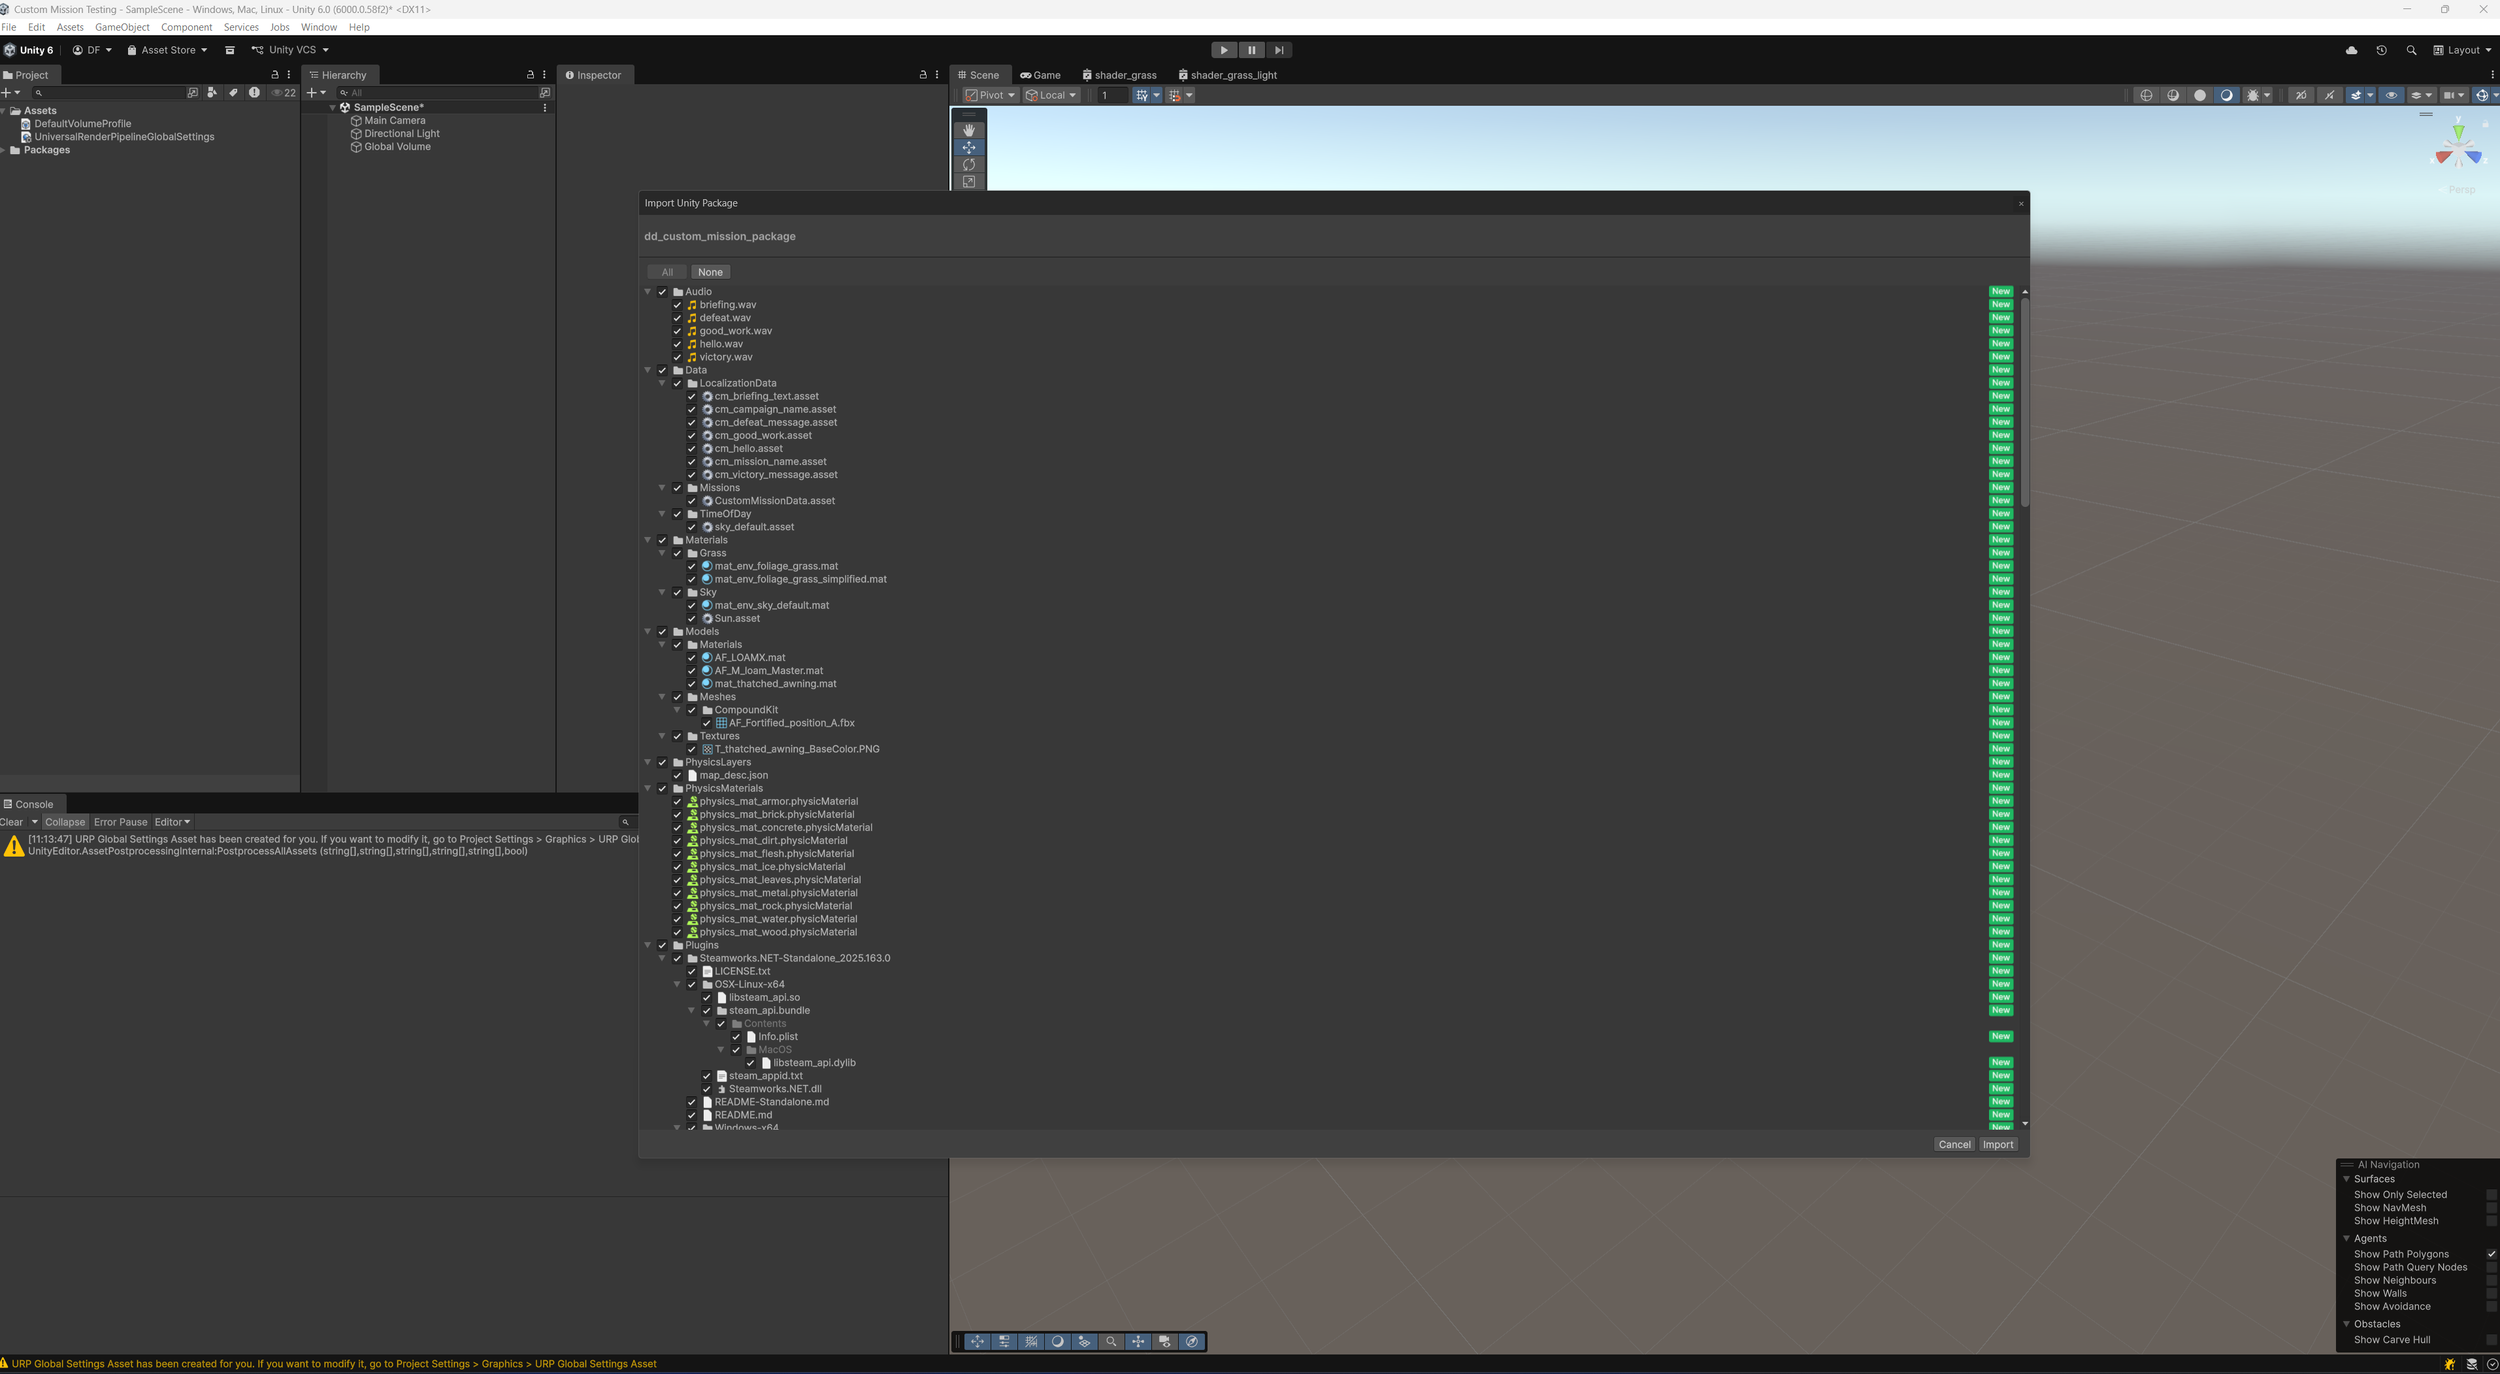
5: Download and import the Custom Mission Package.
Download : https://drive.google.com/file/d/1-2IH7u-agv4JefJRC00JquIGbaWmzziM/view?usp=sharing
Double clicking the package will open the import window. Click “Import” in the bottom right. It may take a few minutes for the import to finish.
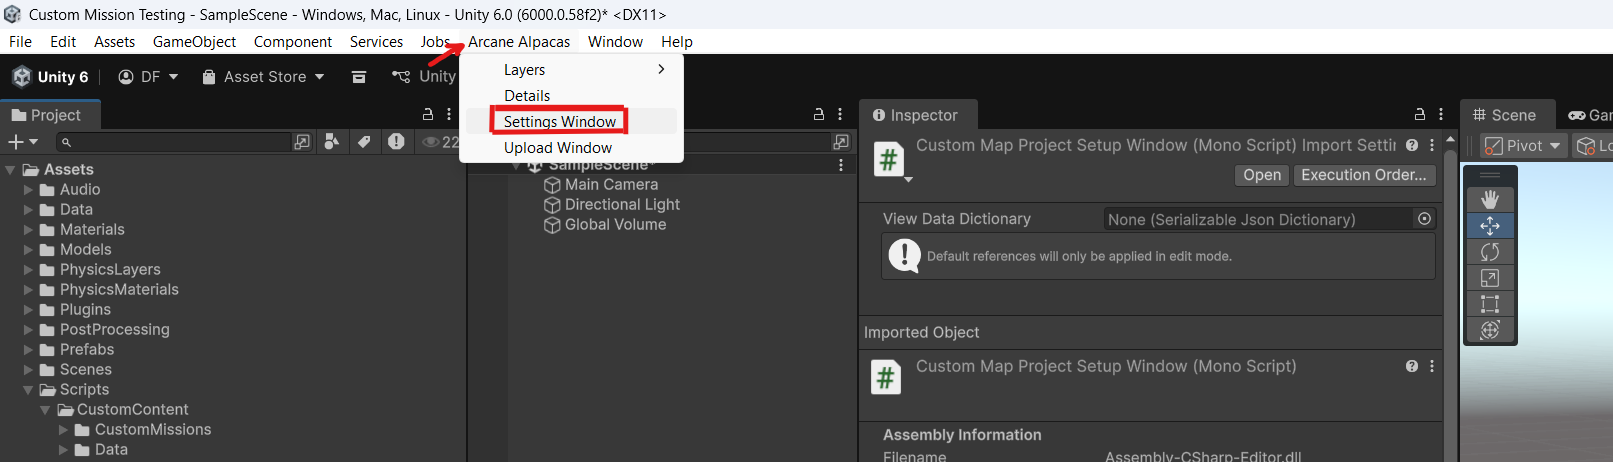
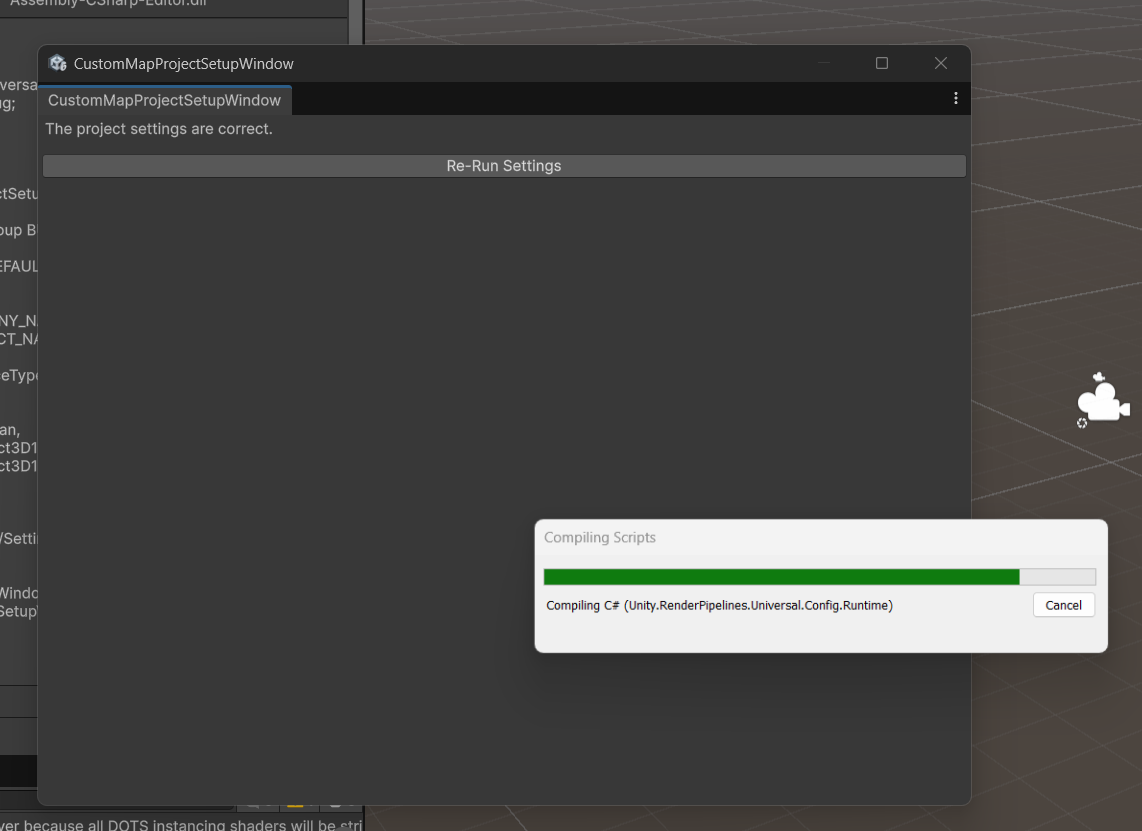
7: Next we’ll set up some settings for the project. Start by opening the Settings Menu Tool: “Arcane Alpacas<Settings Window”.
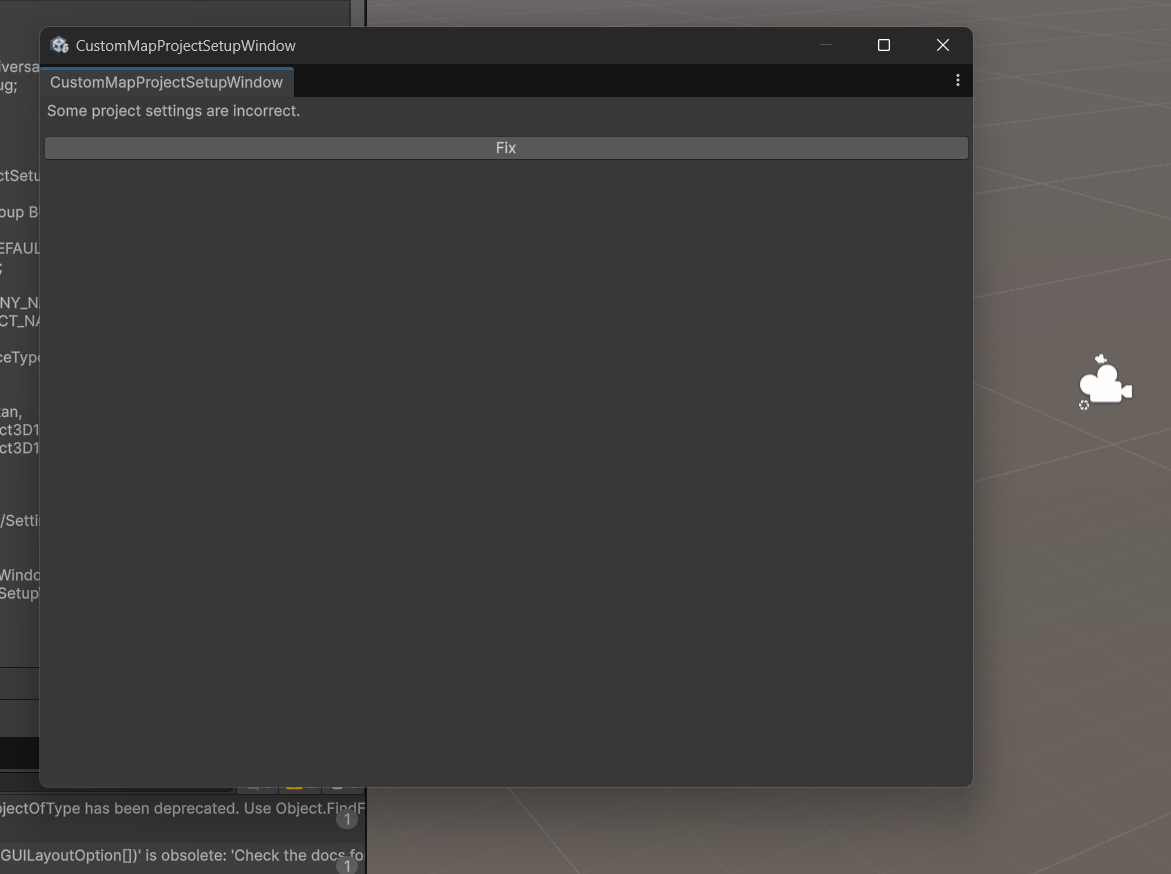
Click the “Fix” button. You’ll see some progress bars popup but when it’s done you should see the window change to say “The project settings are correct.”
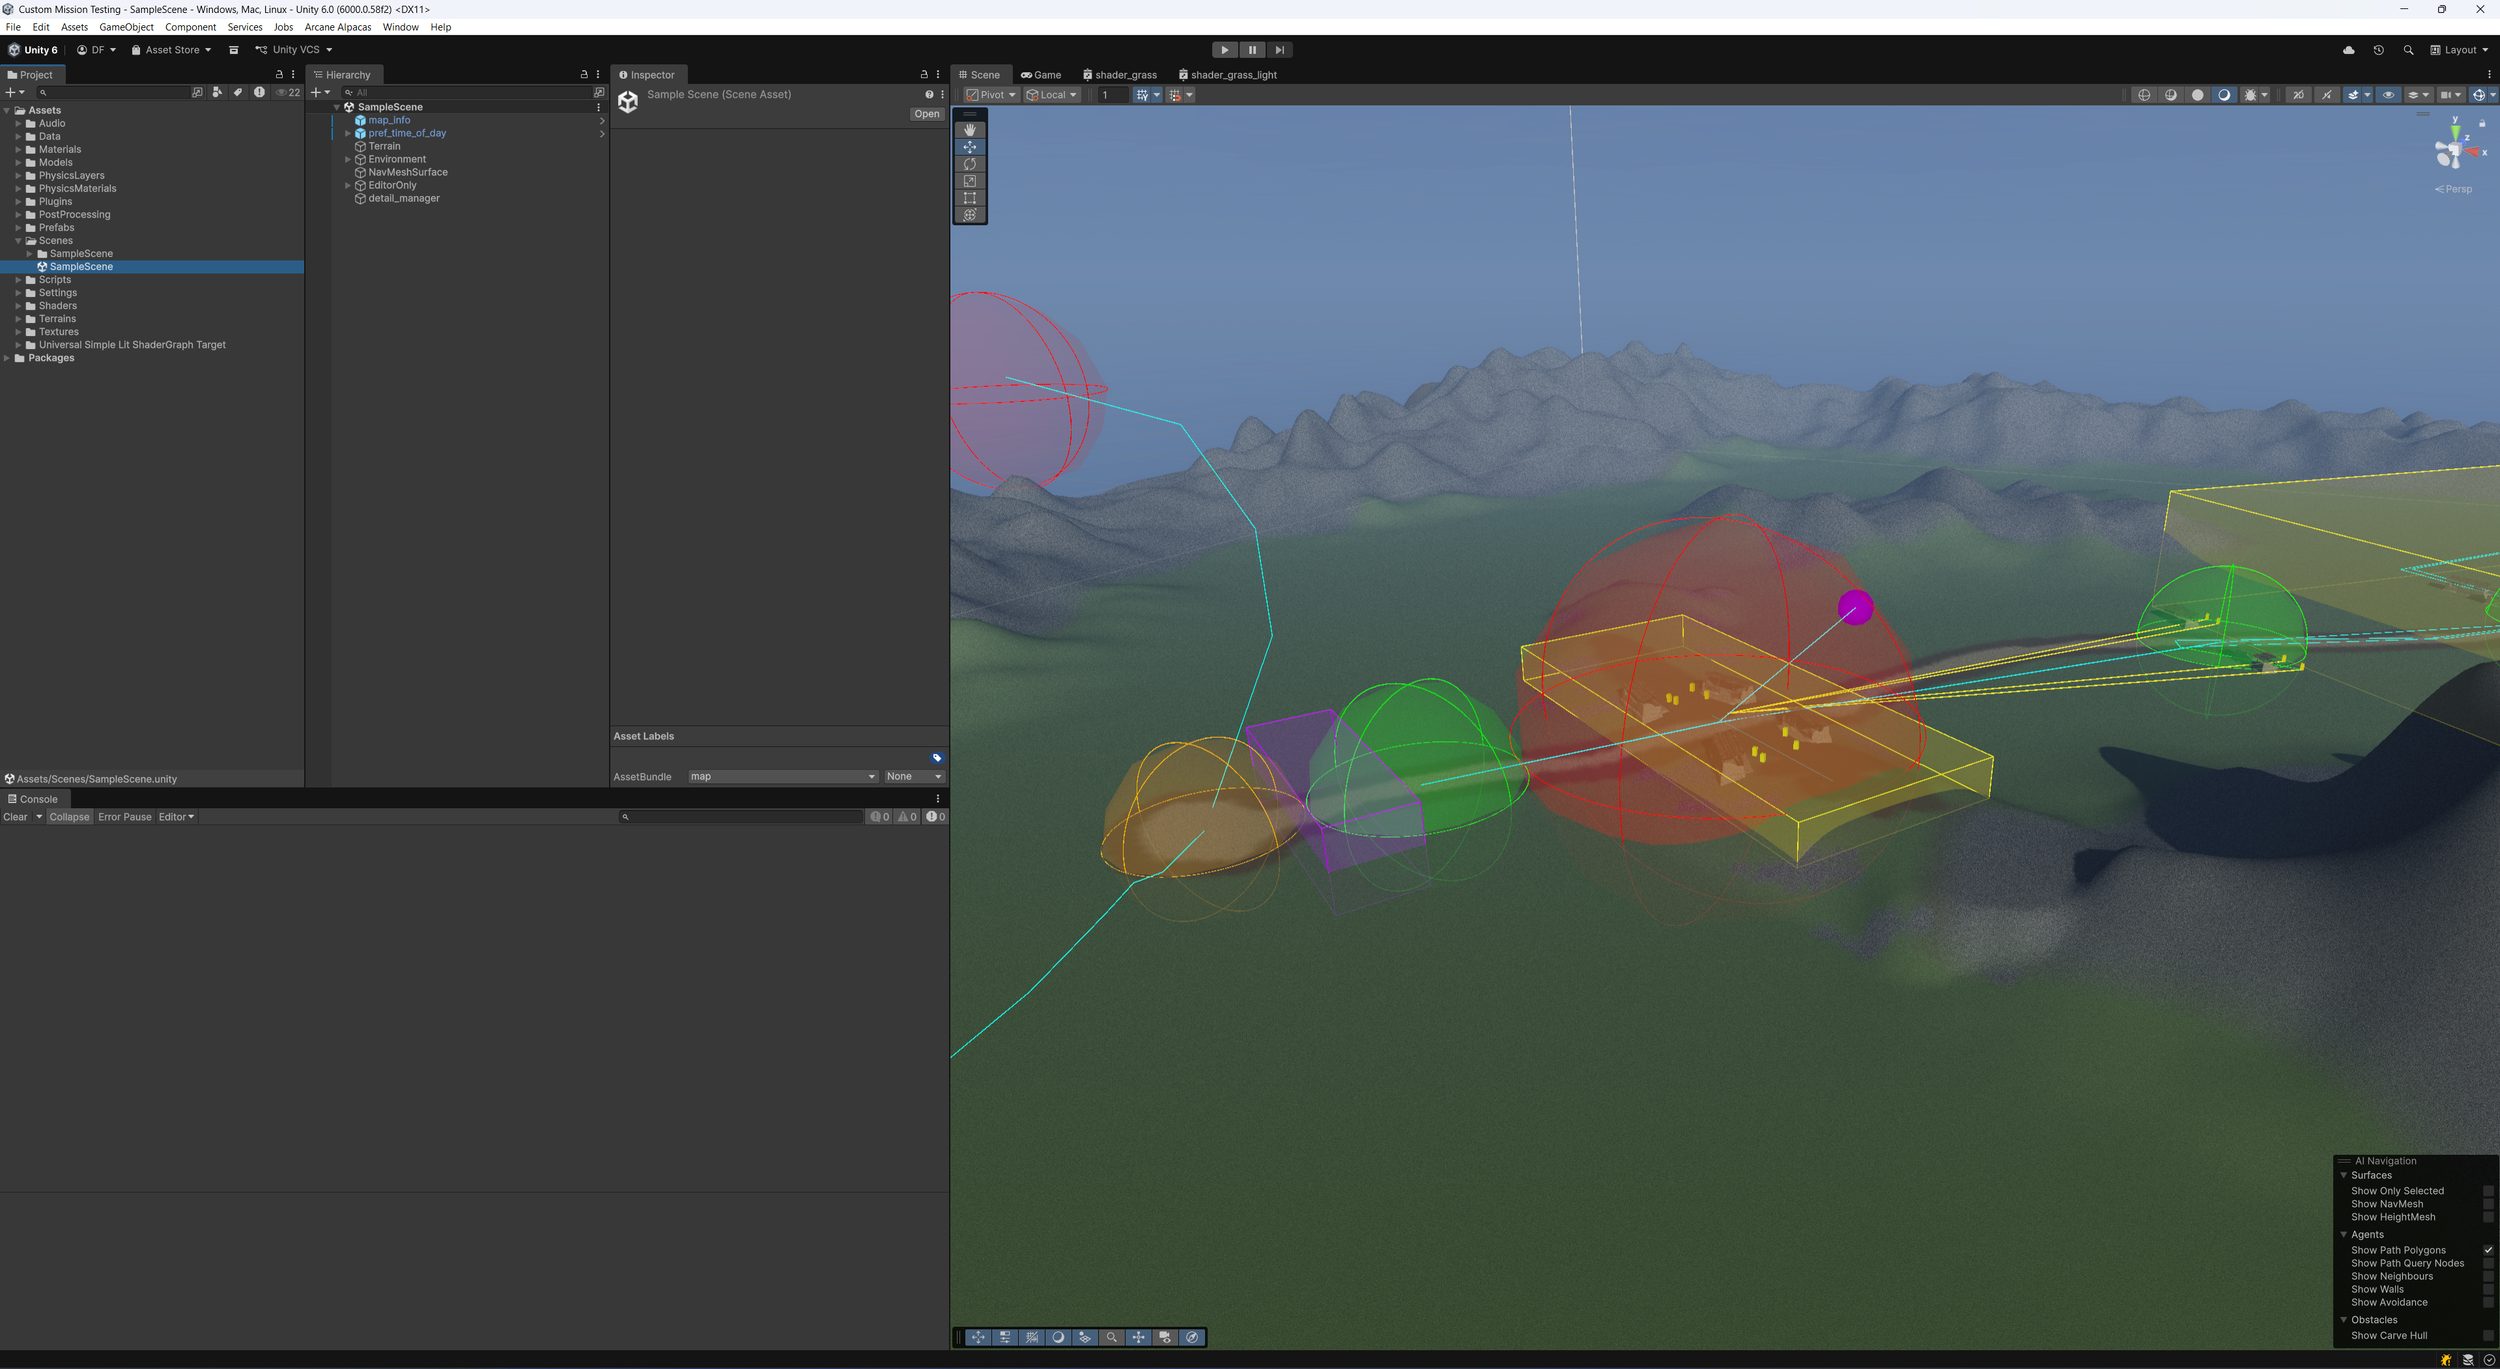
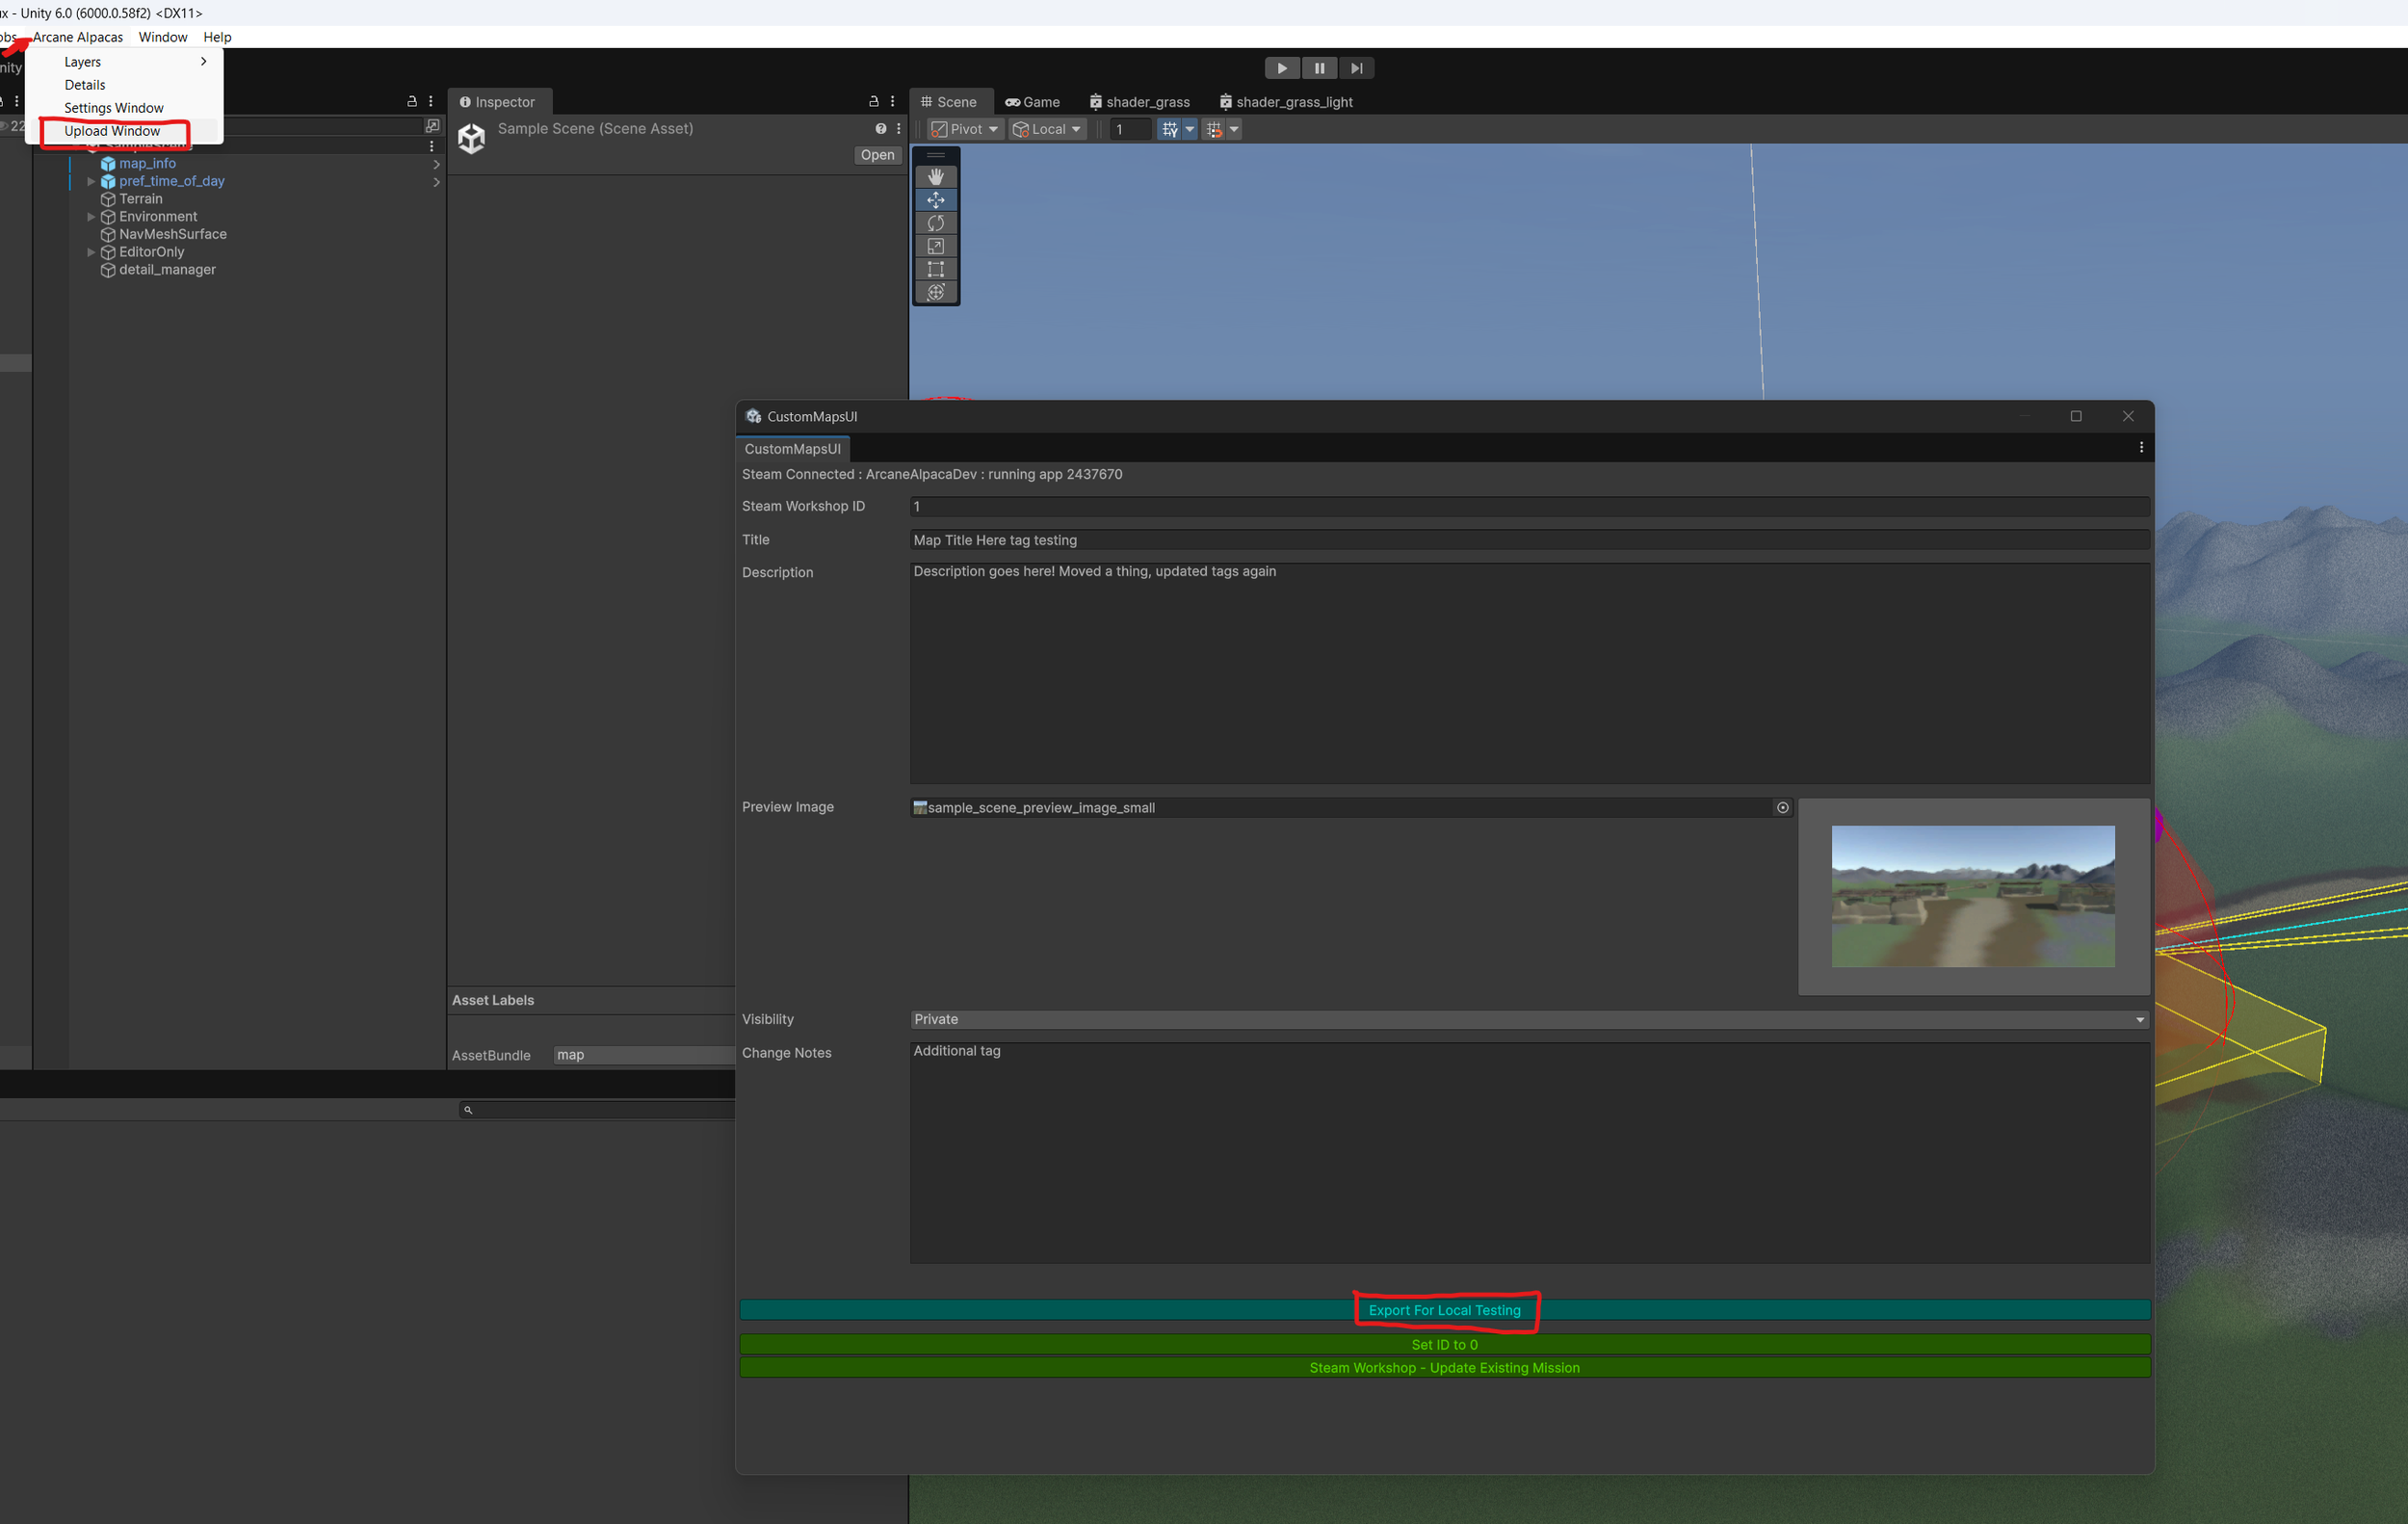
9: Finally lets test the set up to make sure it’s all working. Open the “SampleScene” in “Assets<Scenes<SampleScene”.
Then open the “Upload Window” and click “Export for Local Testing”.