3: Create A Scene
Now we’ll learn how to create a new scene and build up the environment.
1: Start by creating a new scene. File<New Scene. Then select “Empty” and click create.

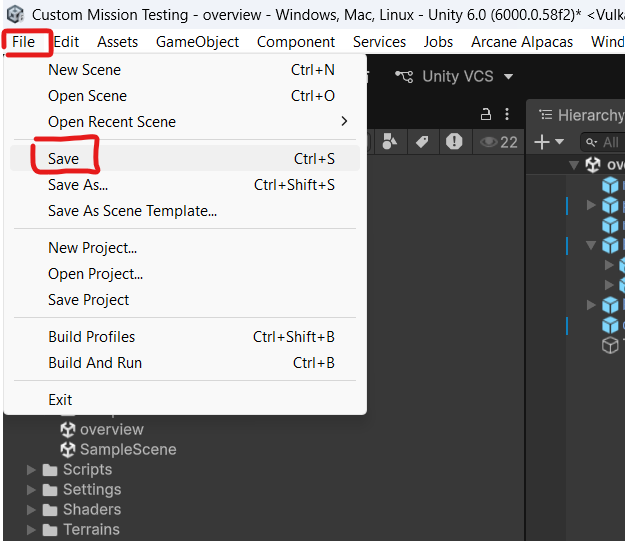
2: You should now be in an empty scene. Save the scene by clicking “File<Save”. Name it and save it to the scenes folder. Saving often is a good idea so if the editor crashes you won’t lose too much work.
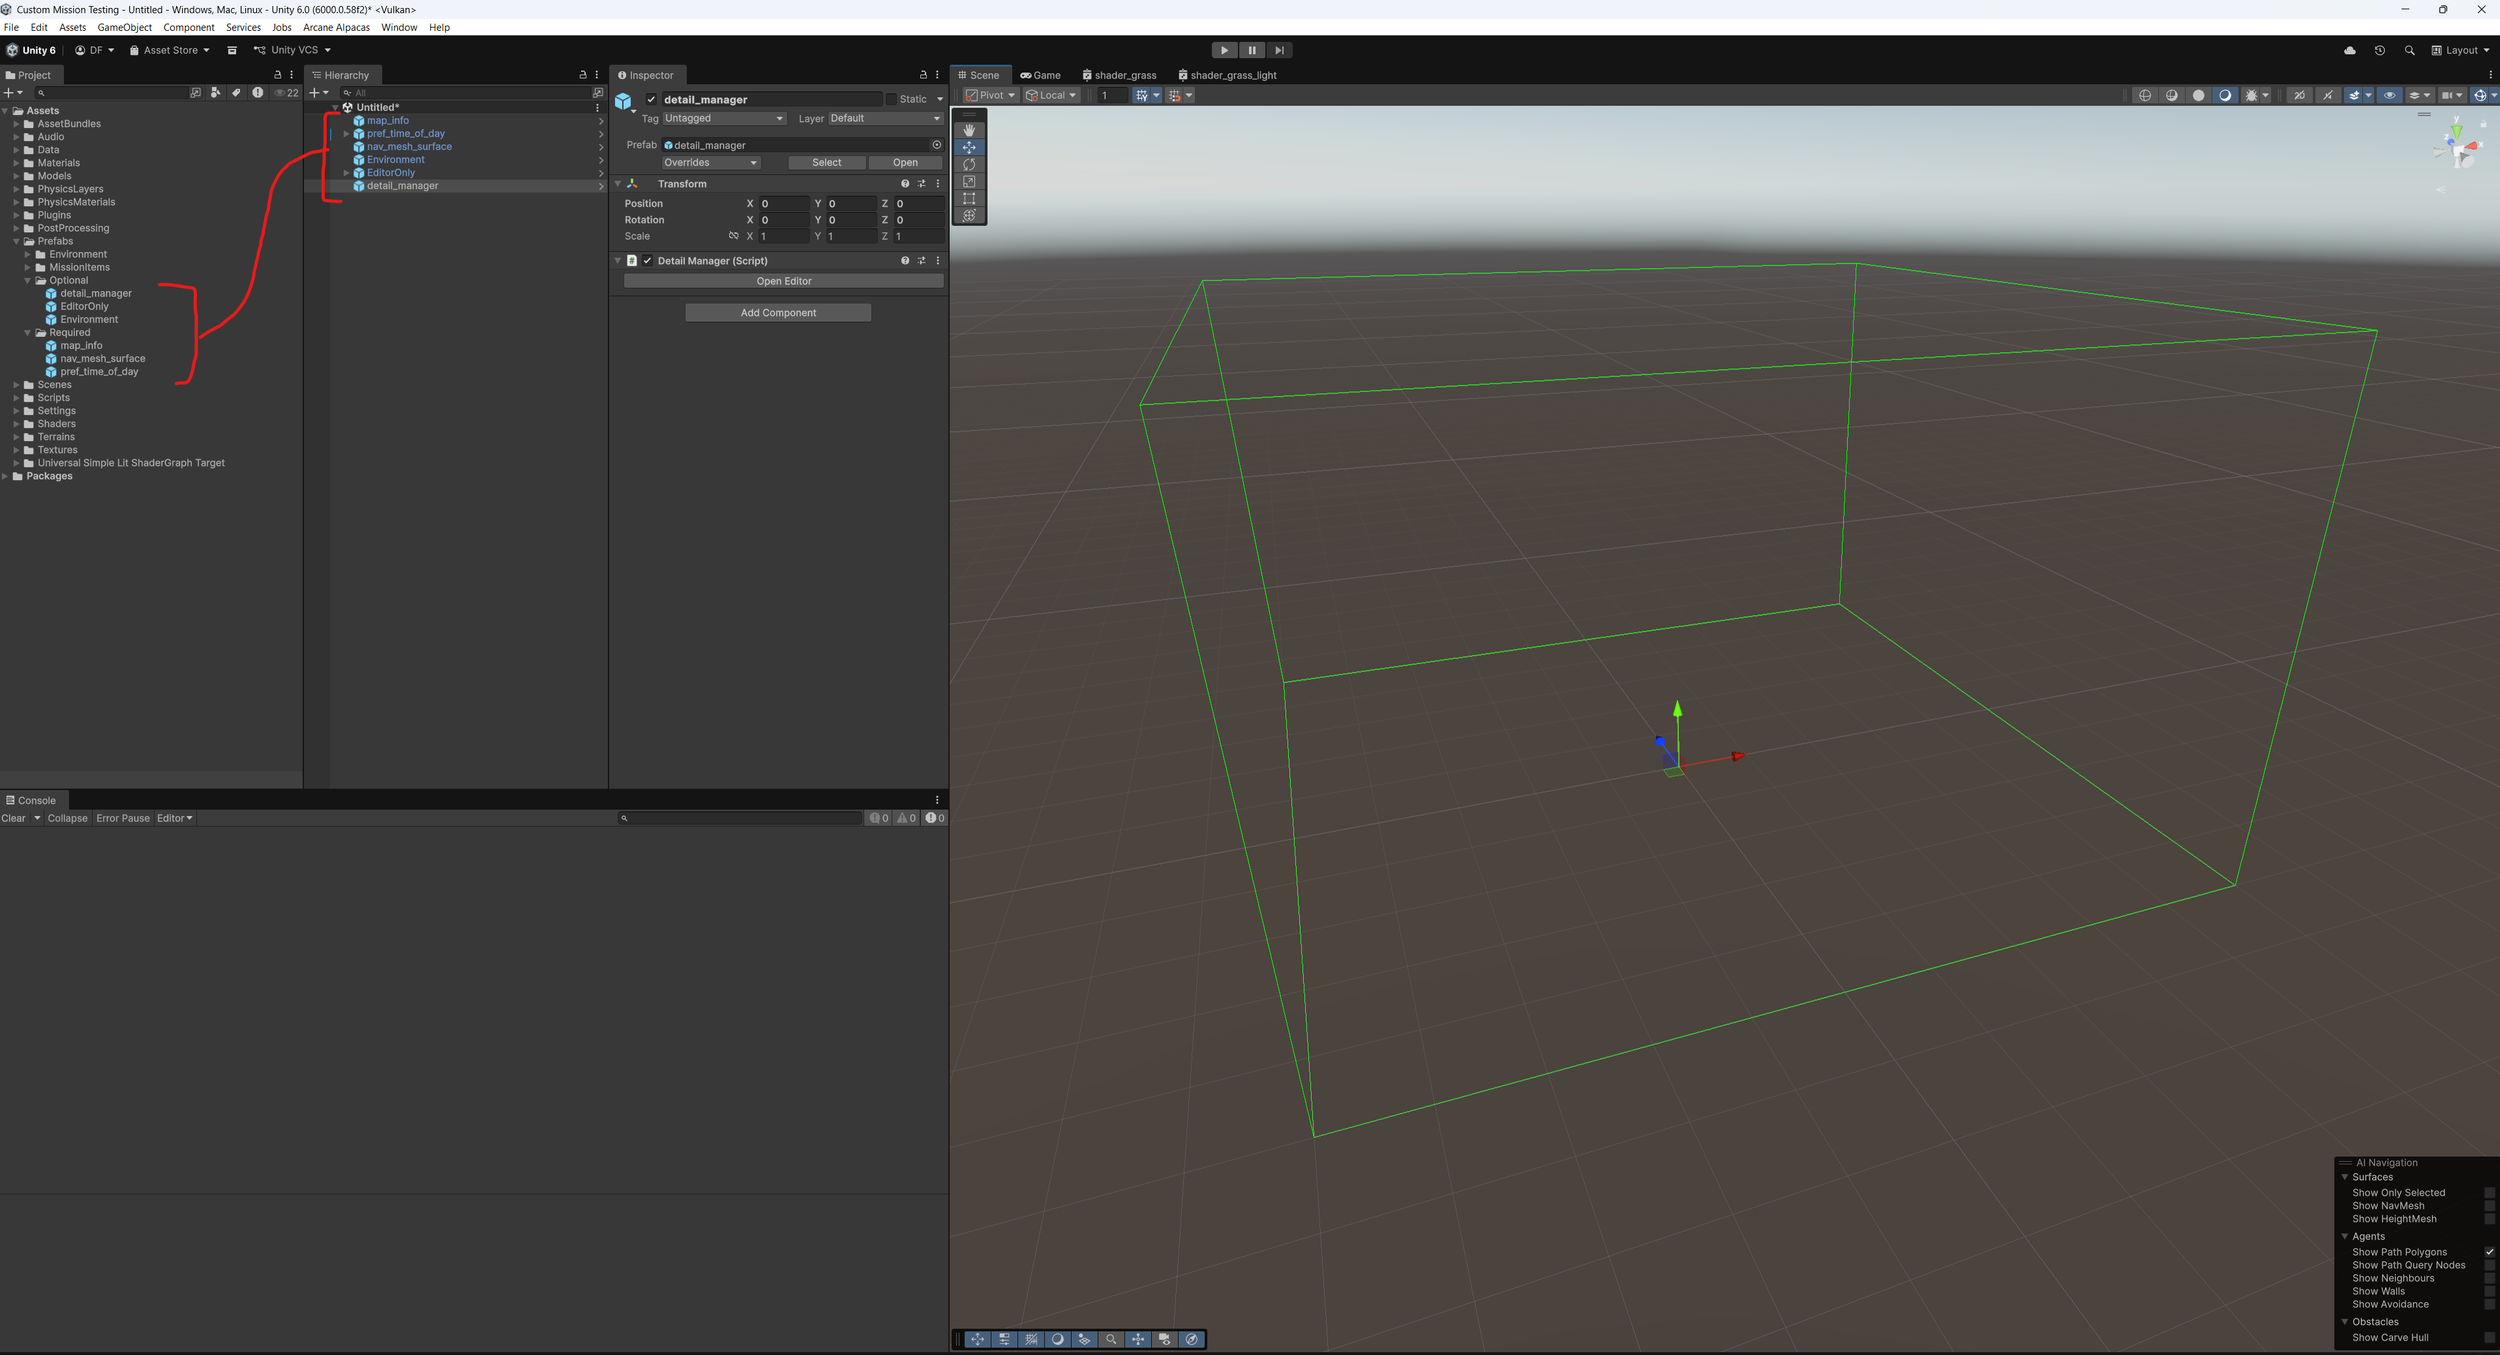
3: Lets start by bringing in the important prefabs. We’ll go into a deeper explanation on each one later on.
map_info - contains all of the mission and workshop data.
pref_time_of_day - controls the sky and time of day settings
nav_mesh_surface - handles creating AI navigation meshes.
detail_manager - controls drawing grass in the scene. This is optional.
Environment - just a placeholder to contain all of the environment prefabs.
EditorOnly - Keeps objectives and the map screen shot tool organized and out of the build.
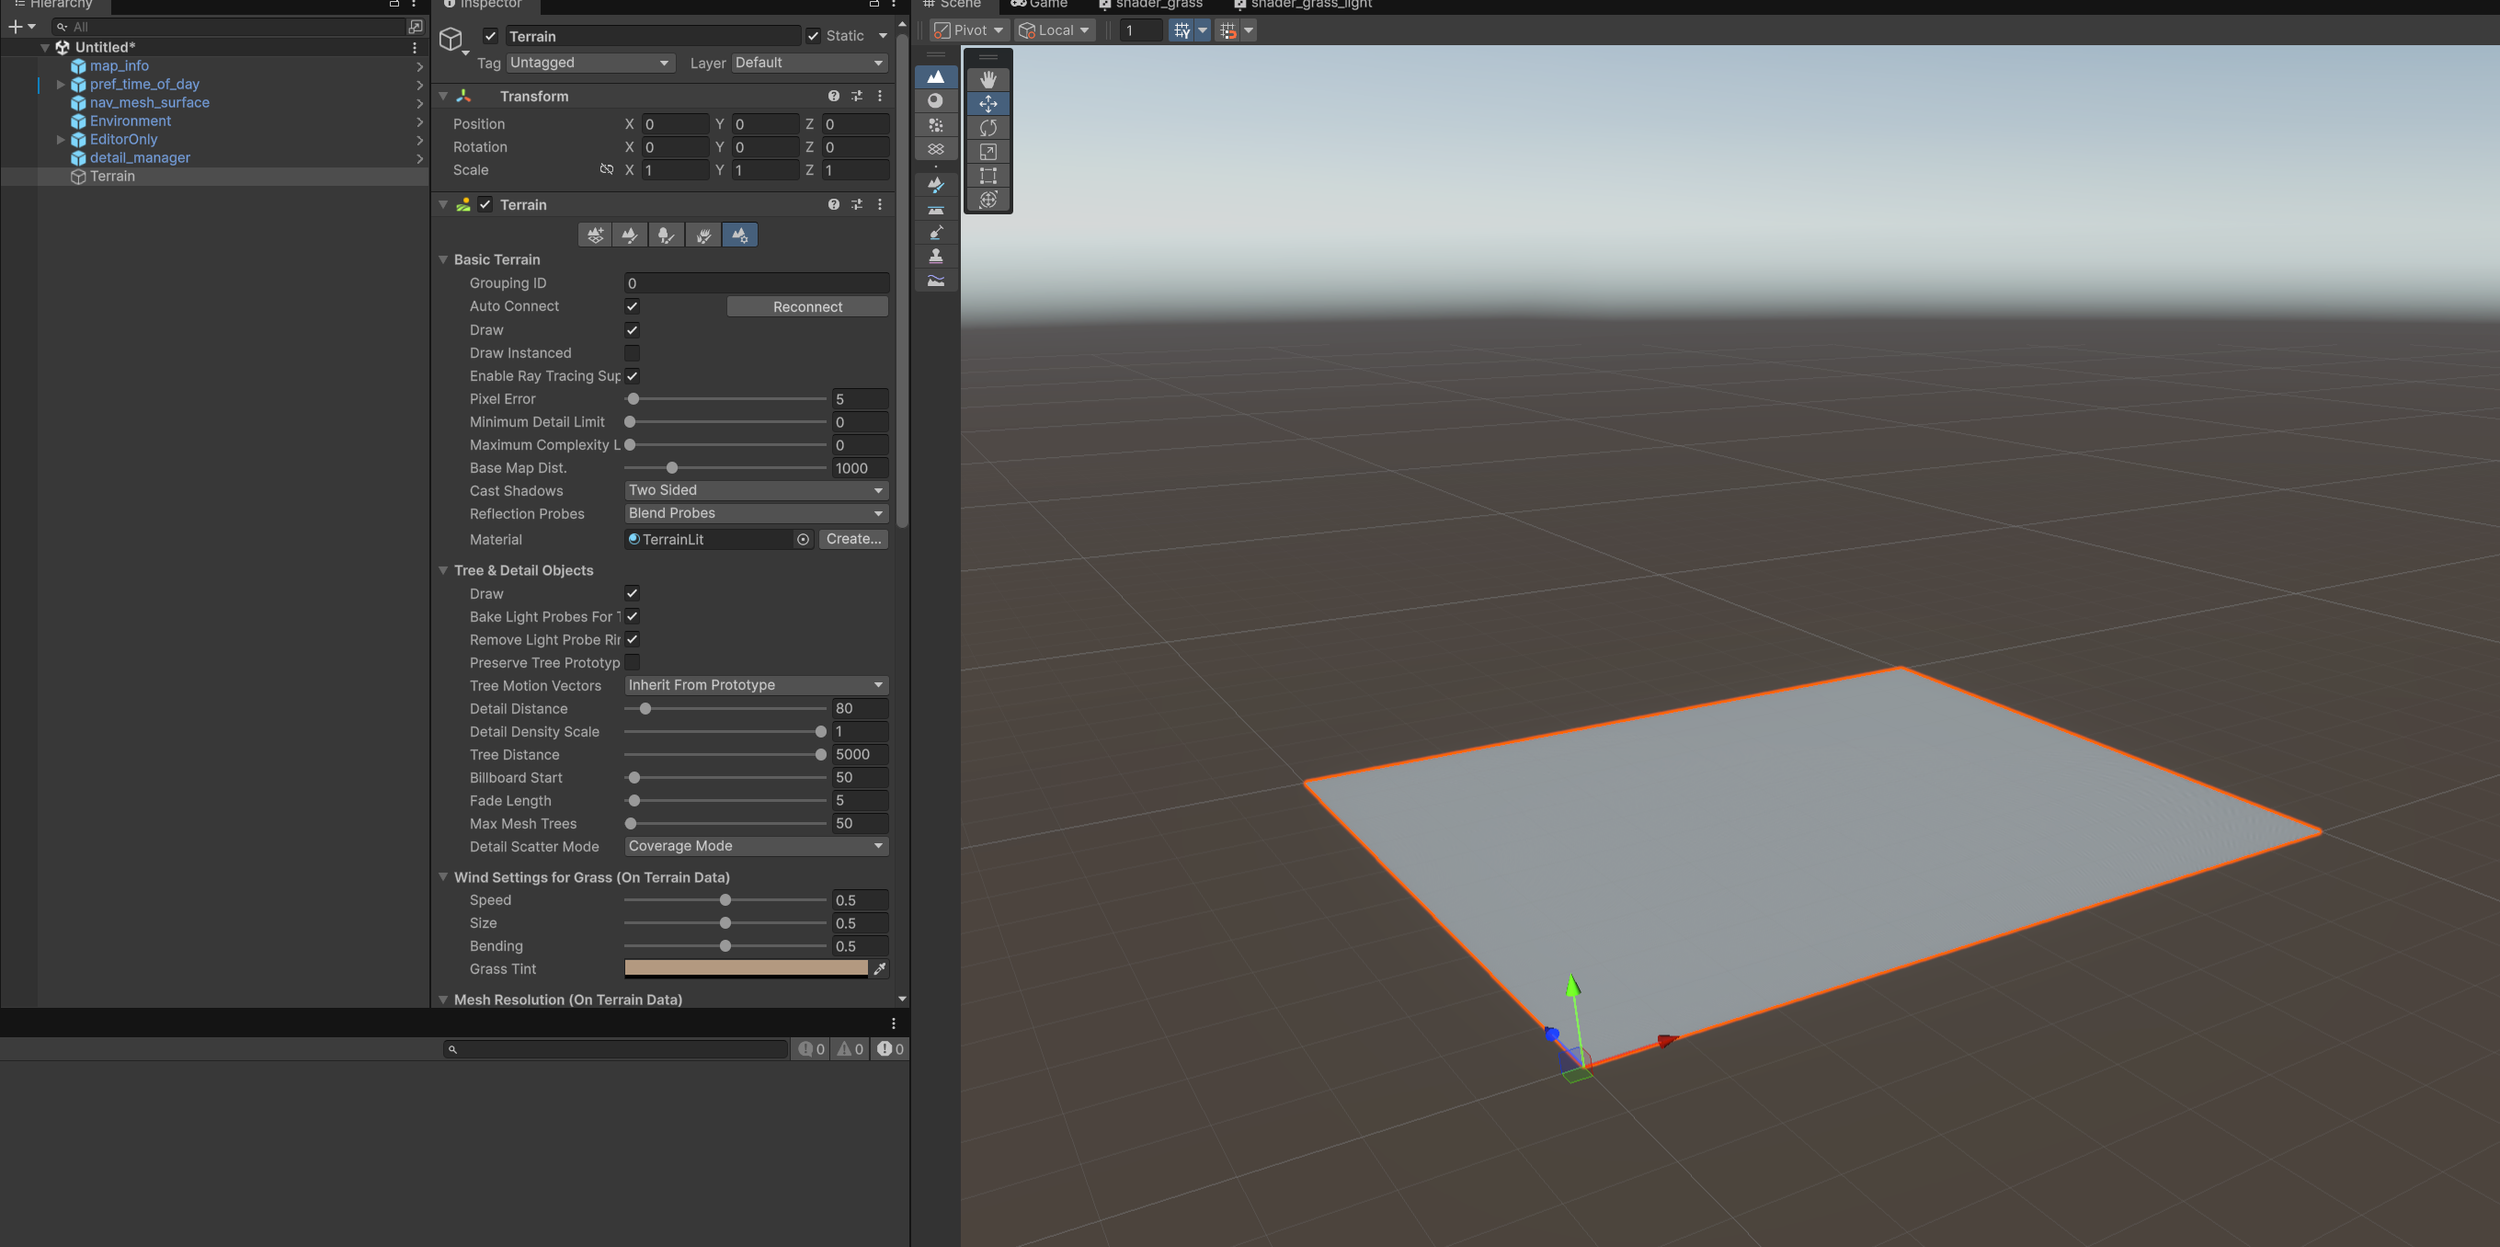
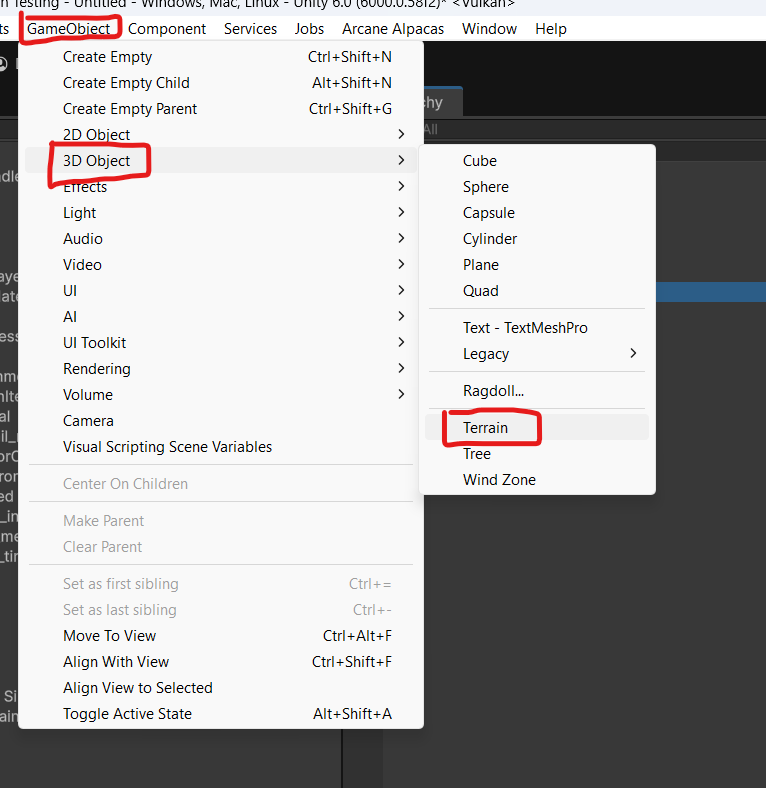
4: We need somewhere for the player to run around. So let’s create a terrain. Got to GameObject<3D Object<Terrain. It will create a terrain and place it in the scene.
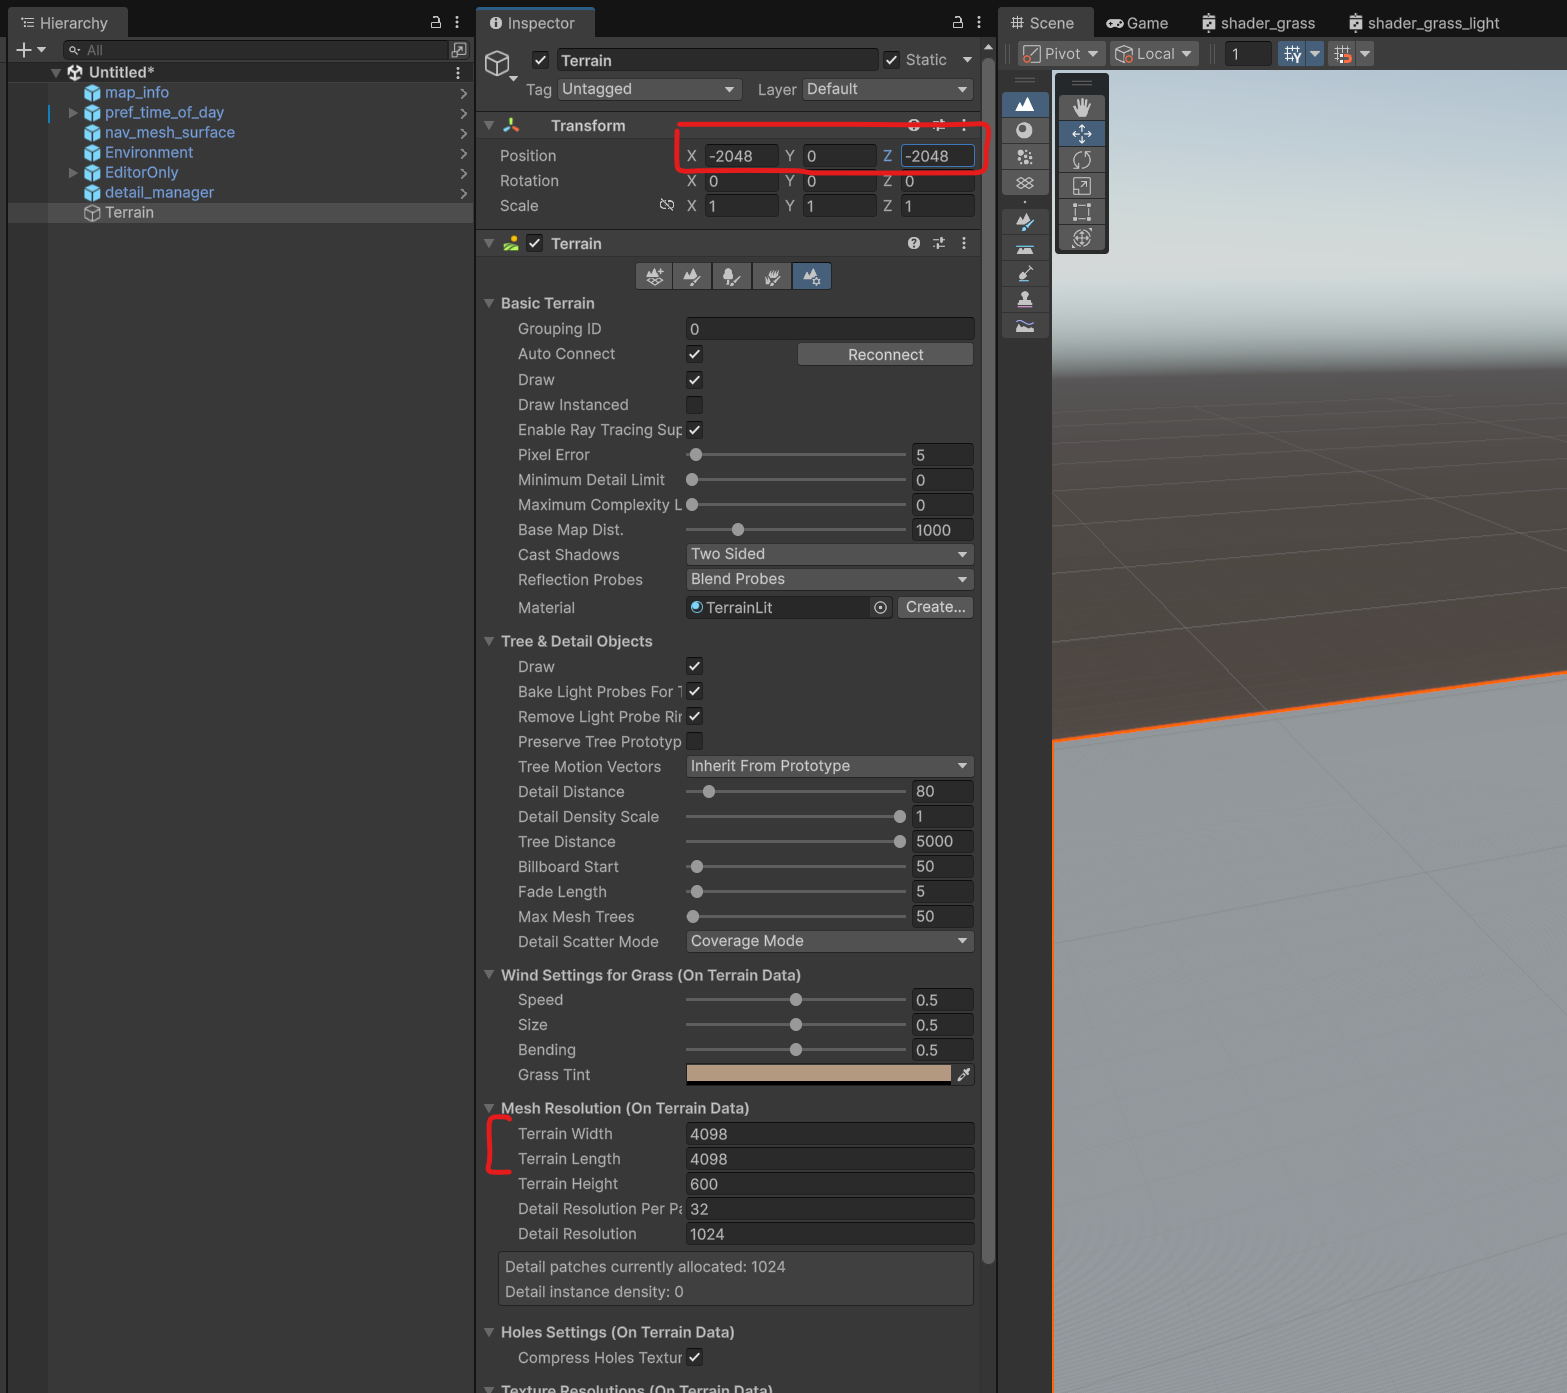
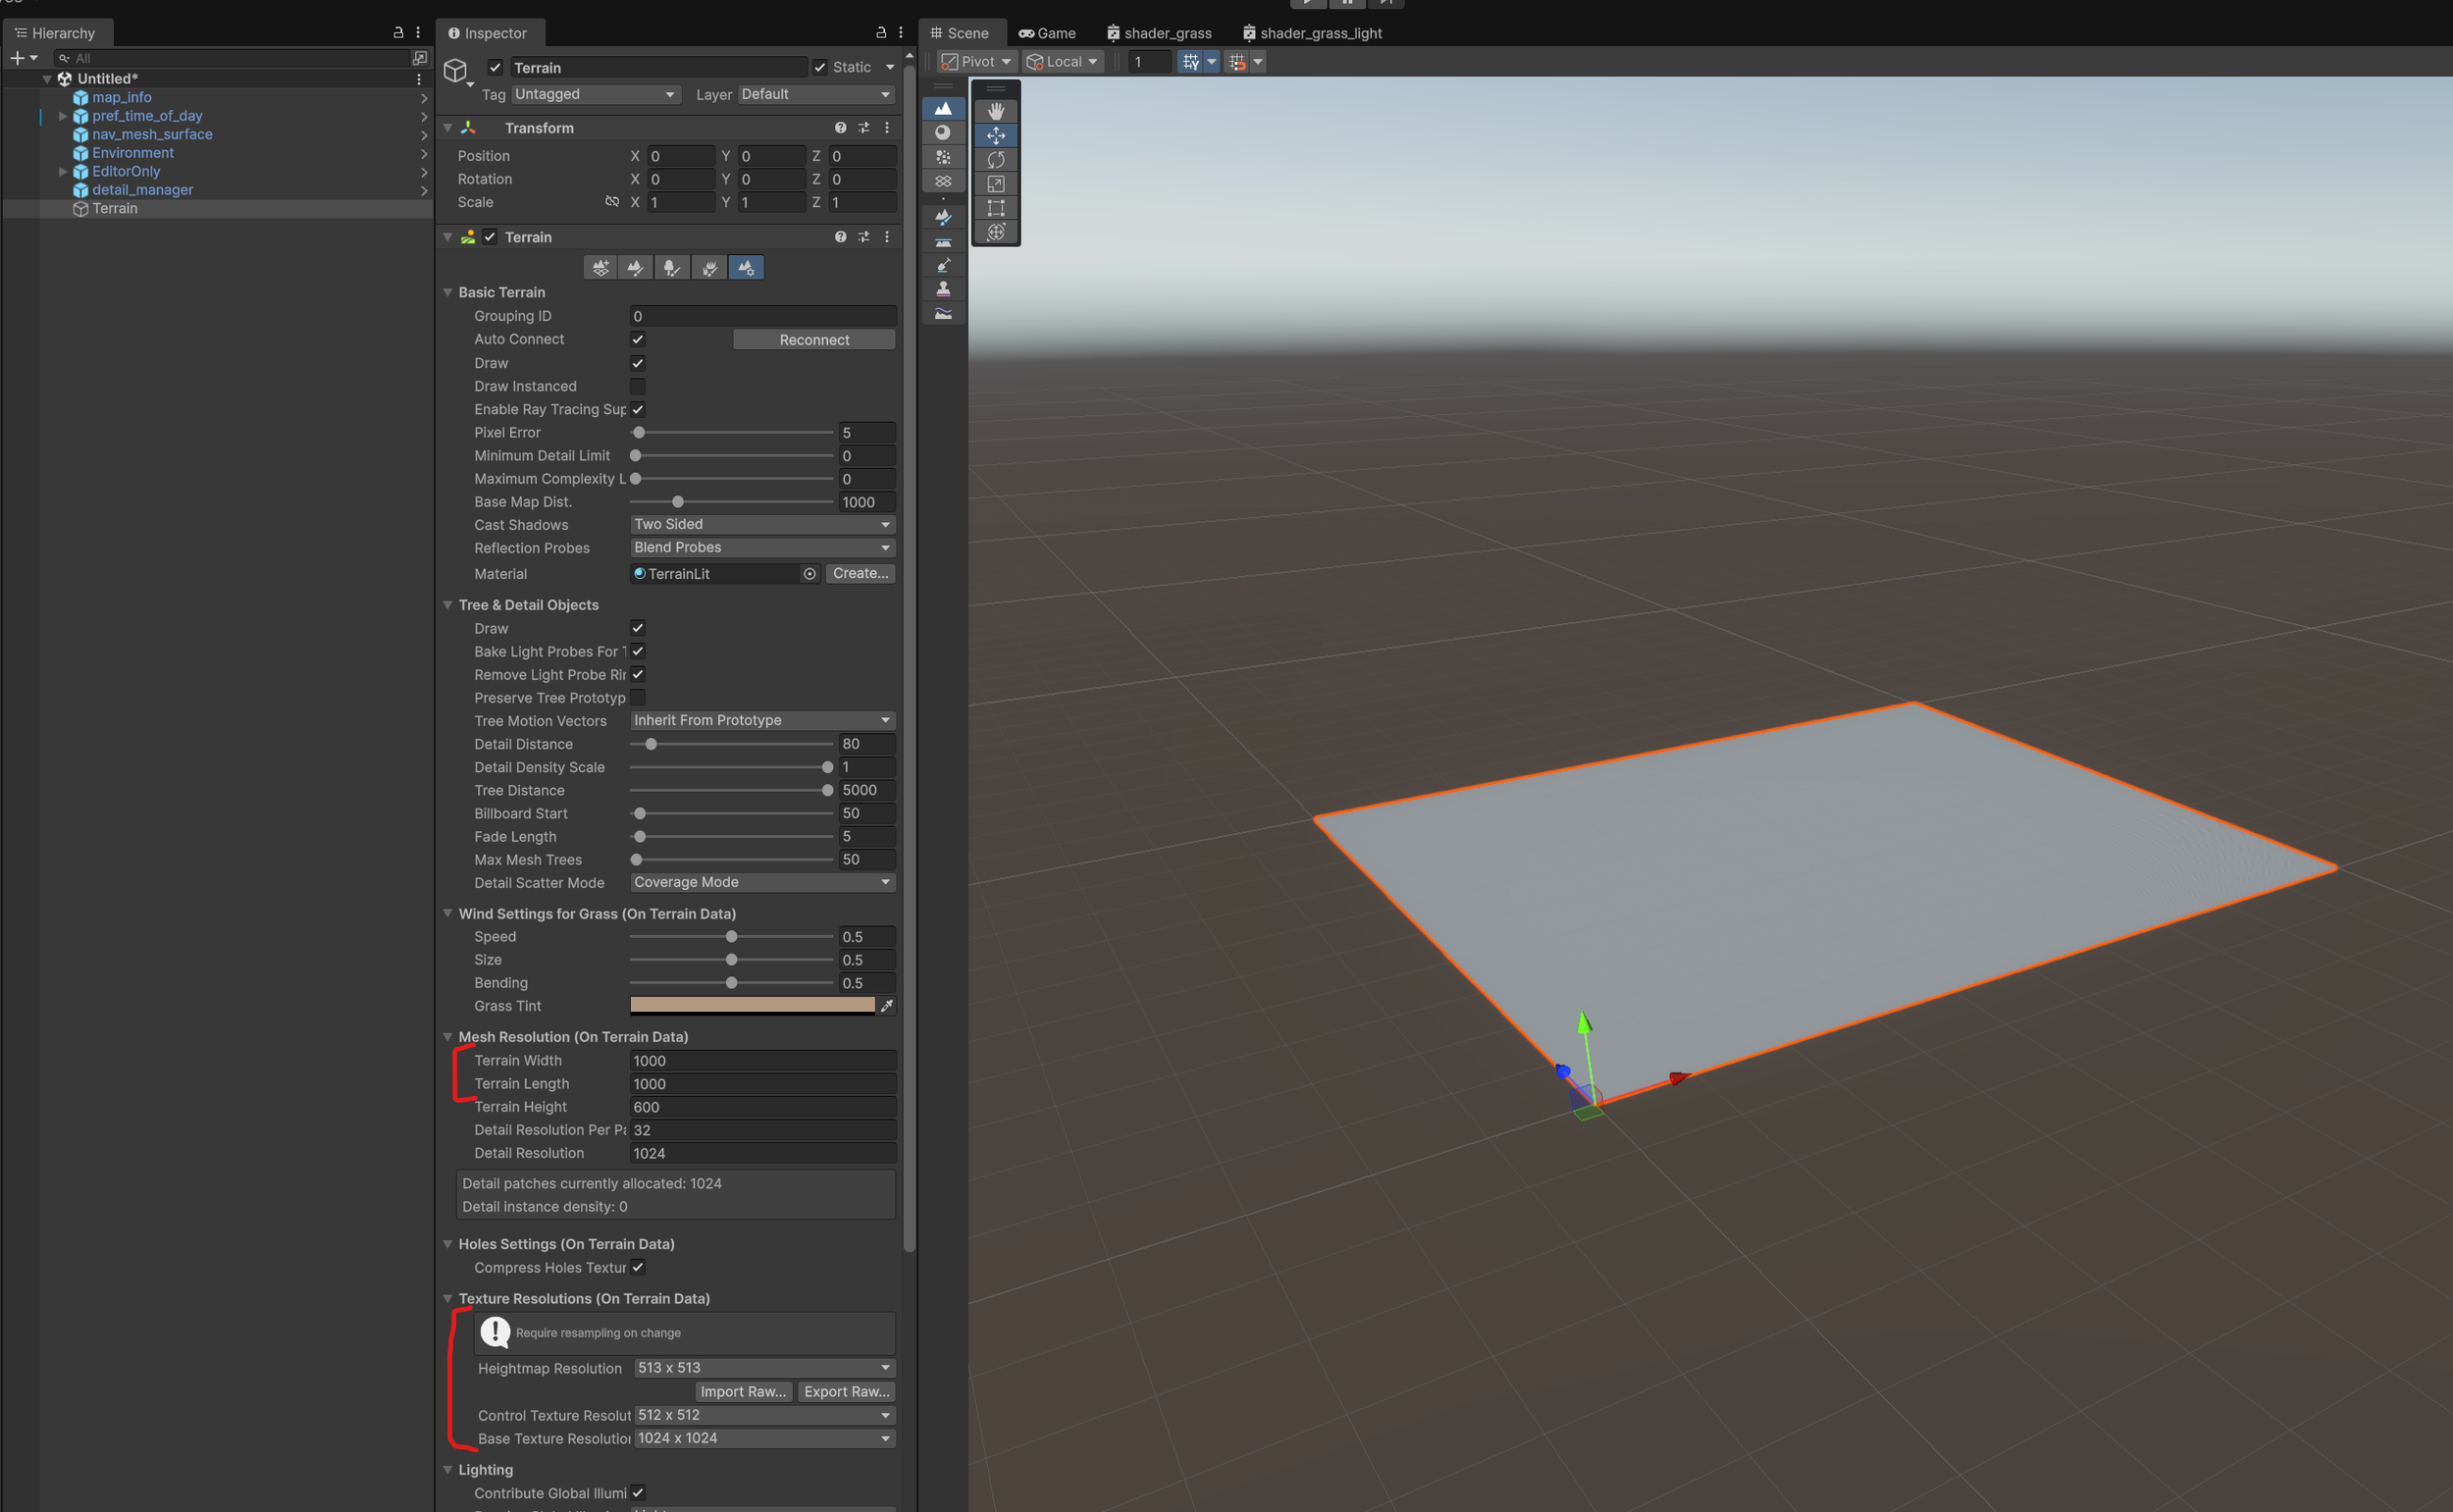
5: We’ll adjust some of the settings now. Starting with the Width and Length. Most maps in Dagger Directive are 4098×4098. This is measured in meters. But you are free to use a smaller size. Larger may work but there may be some issues.
You can also import a hightmap if you have one you made in a different program.
For now we’ll just set the size to 4098×4098. Then center the terrain in the world. To center it set the Transforms X and Y position to be half of the width and length.
6: Now we’ll add the material data. Select the first tab, find the material field, and select dirt (or another material if your terrain should be something else).
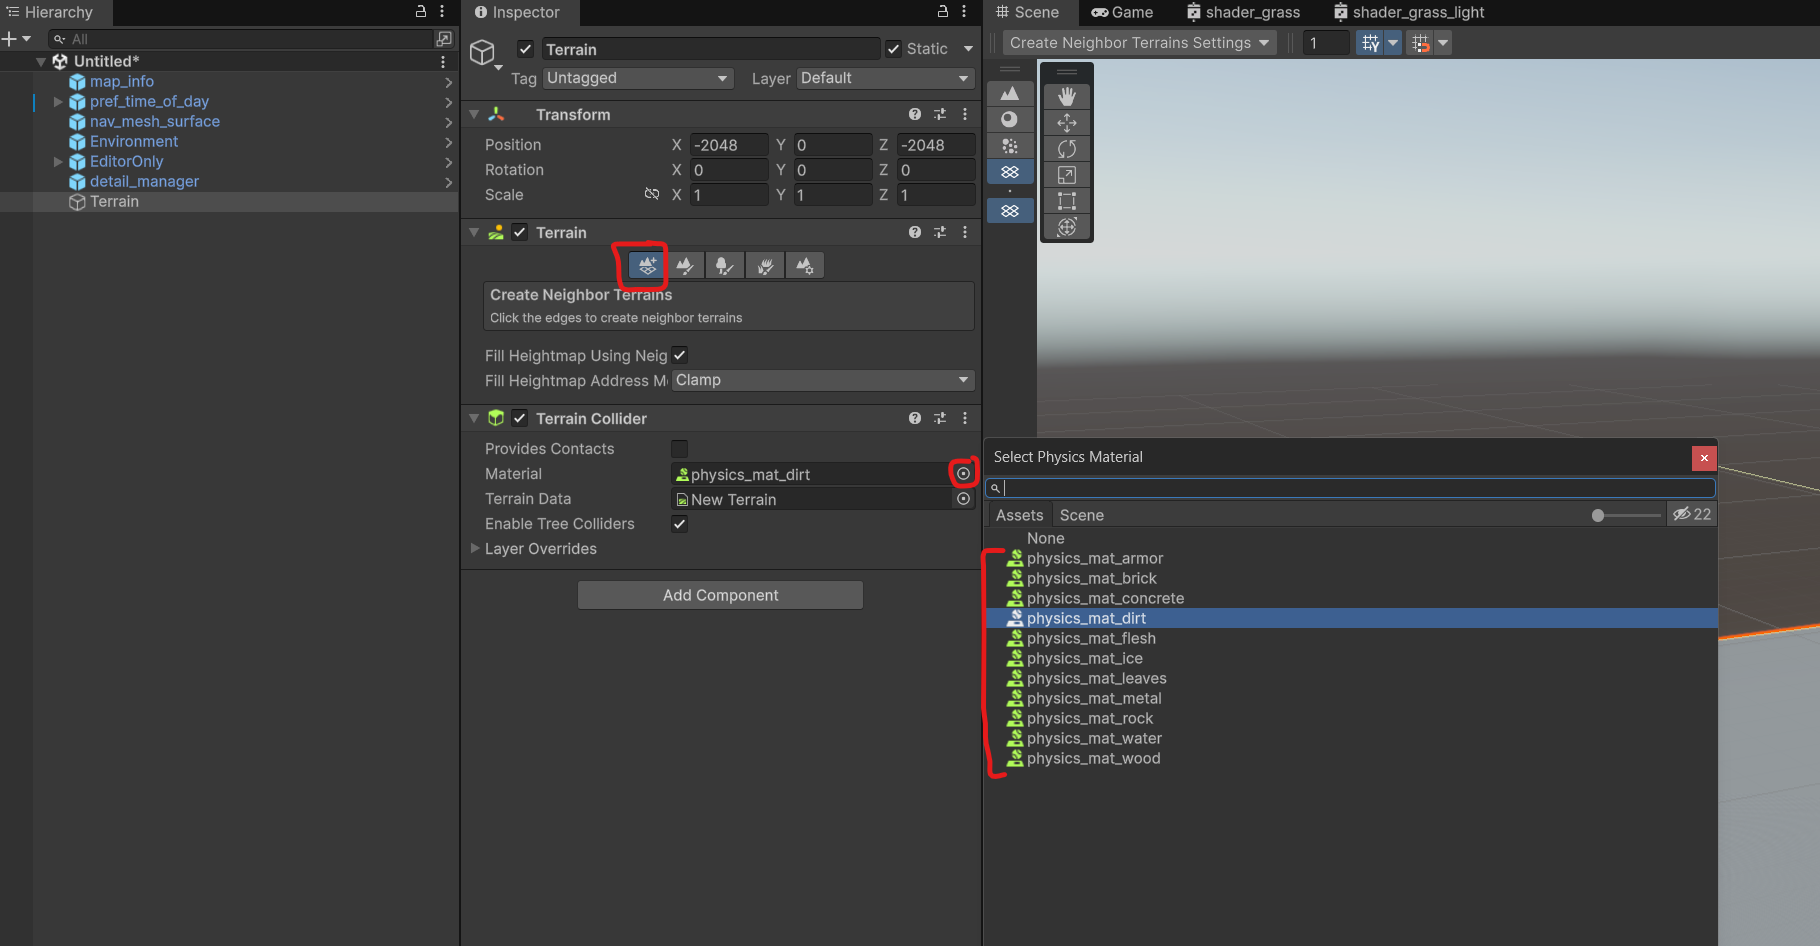
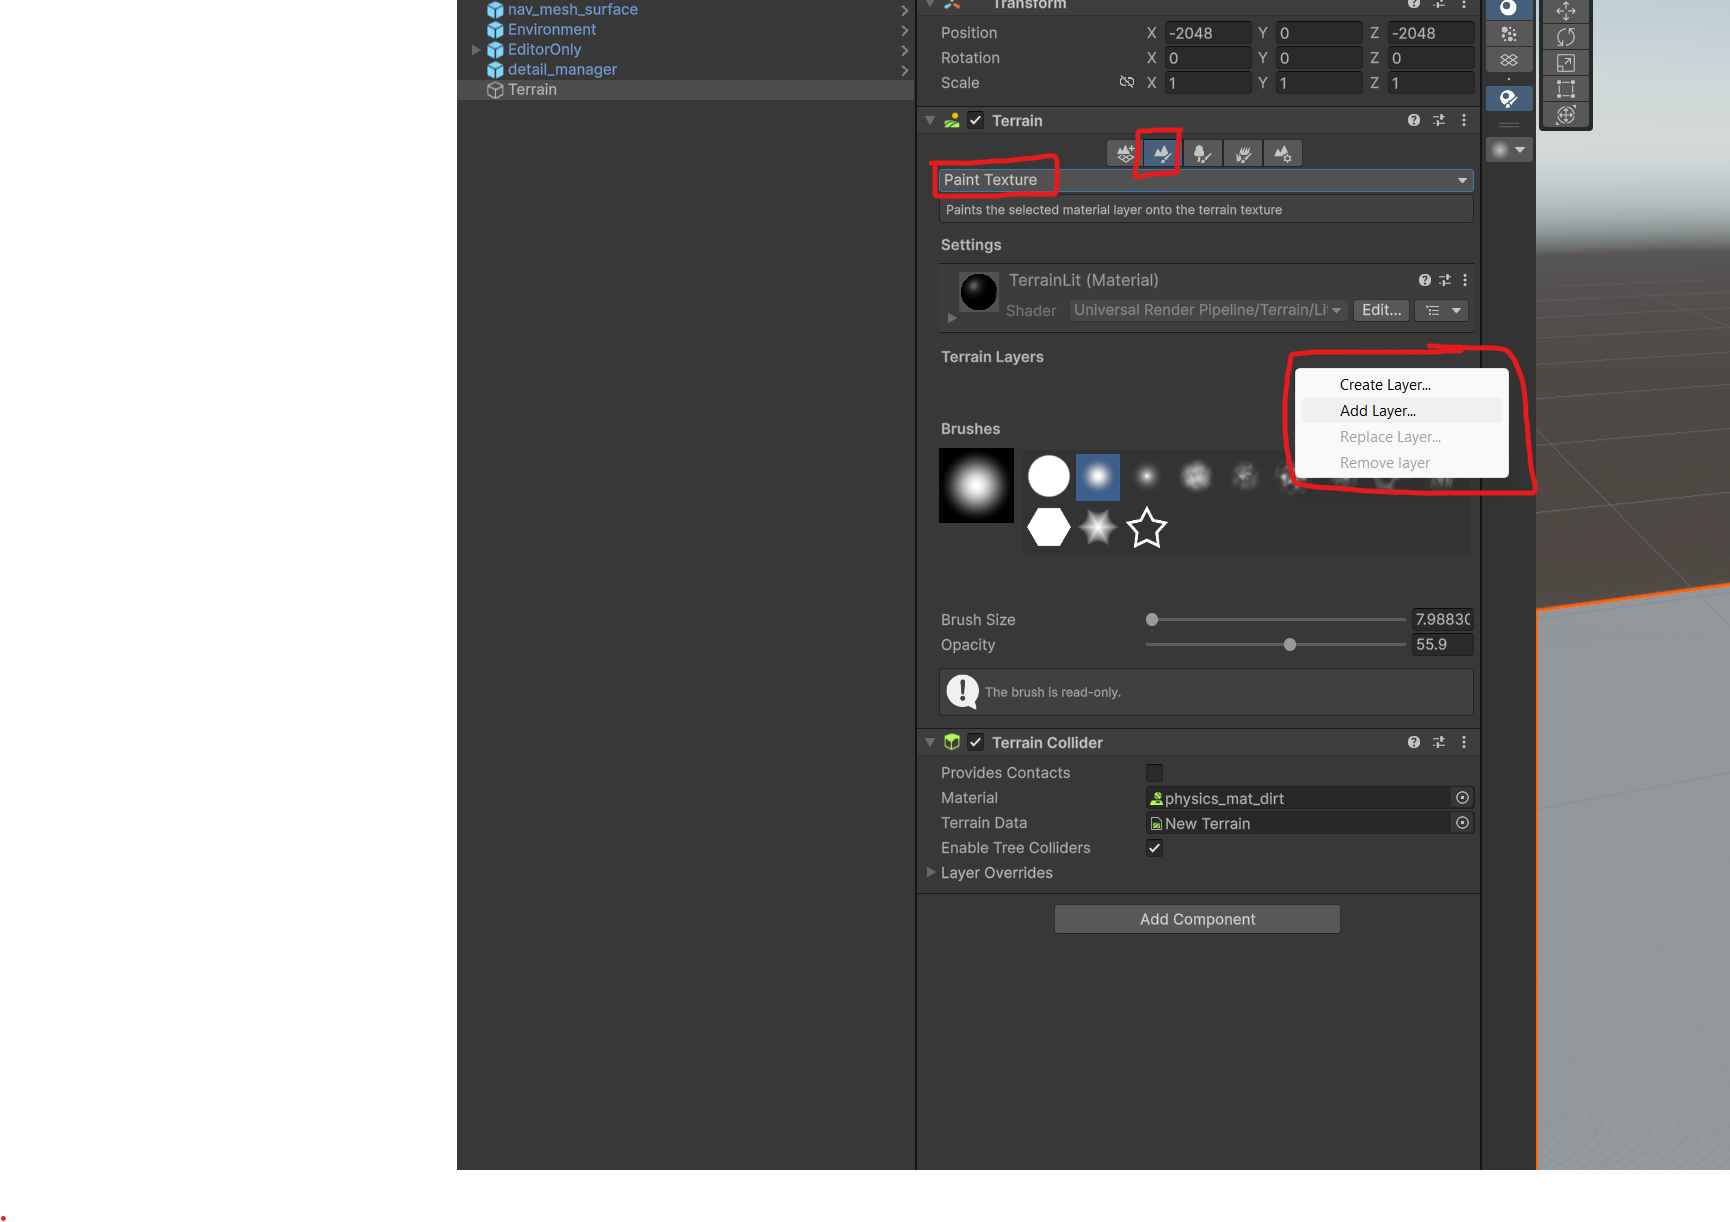
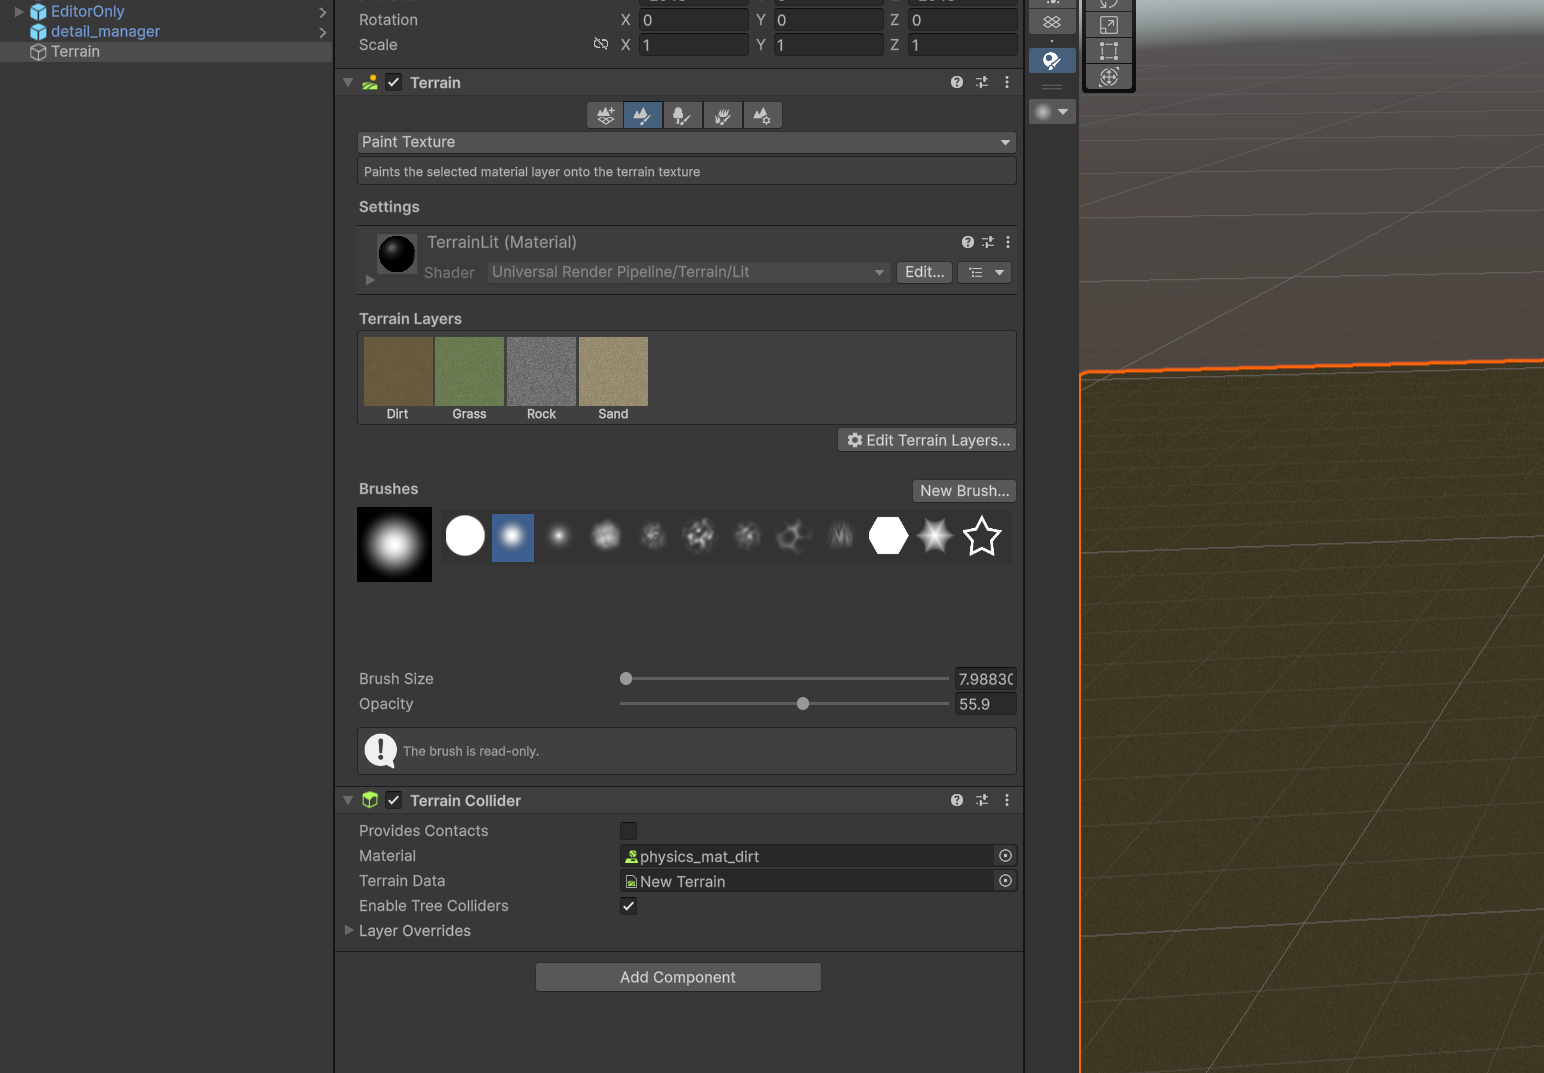
7: Next add some terrain layers. Select the second tab. Make sure the dropdown is set to “Paint Texture”. Then select “Edit Terrain Layers”. From there you can create a new layer or select from some of the existing ones. Add a few layers now.
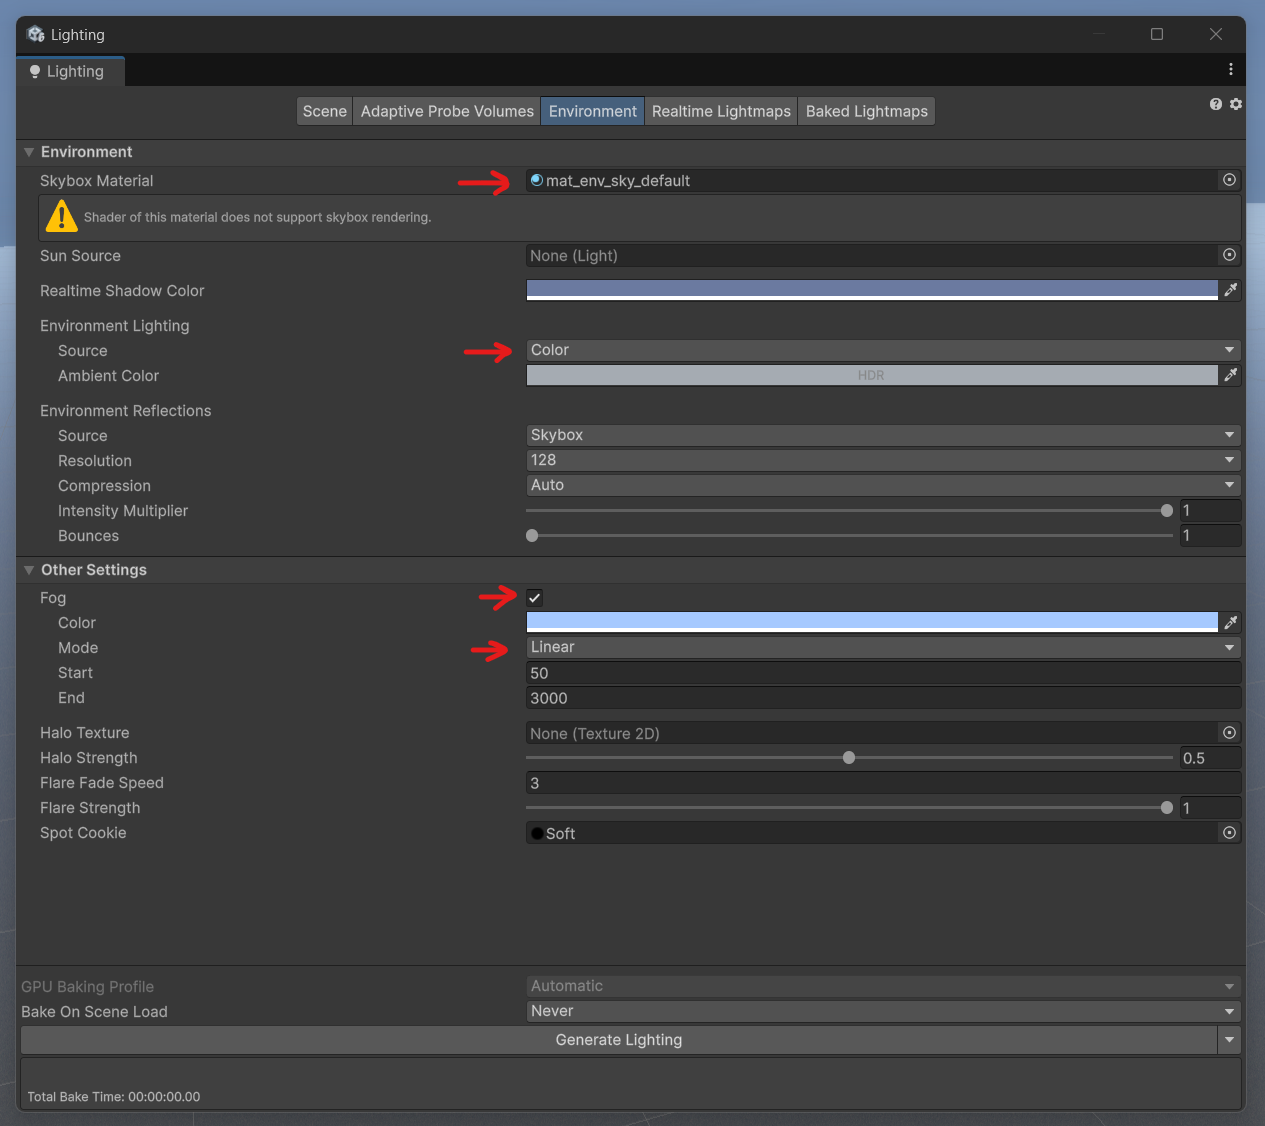
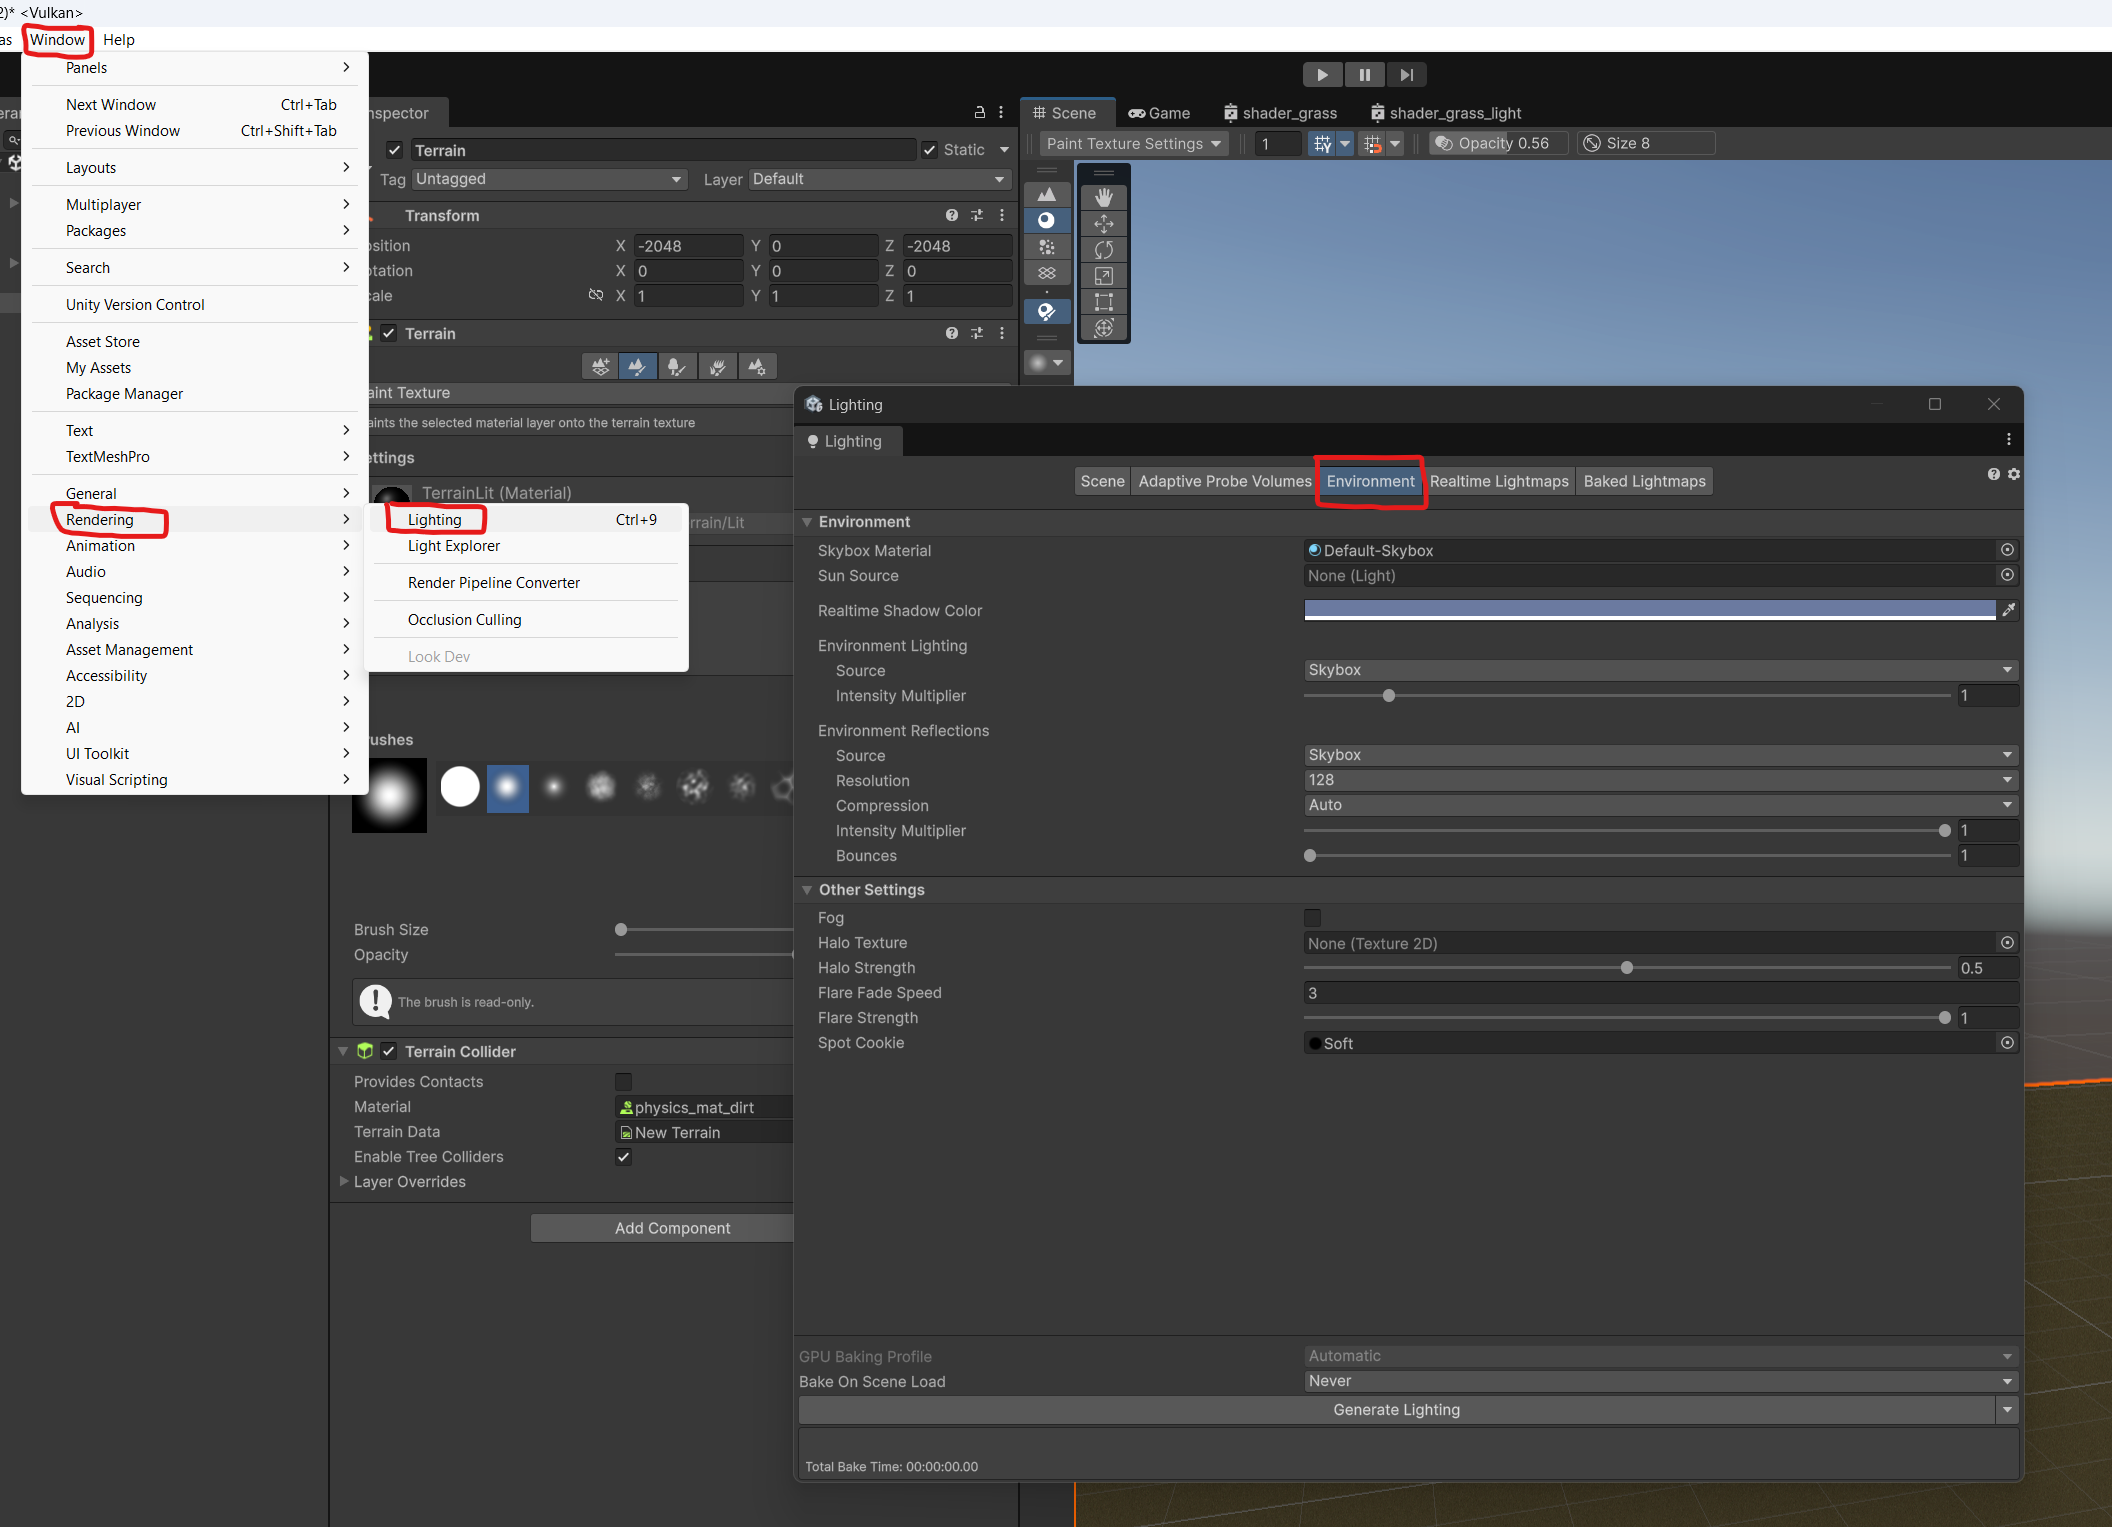
8: Next we’ll set up the sky. Open the lighting window. Select “Window<Rendering<Lighting”. Then select the “Environment” tab.
Skybox Material - mat_env_sky_default
Environment Lighting Source - Color
Fog - On
Fog Mode - Linear
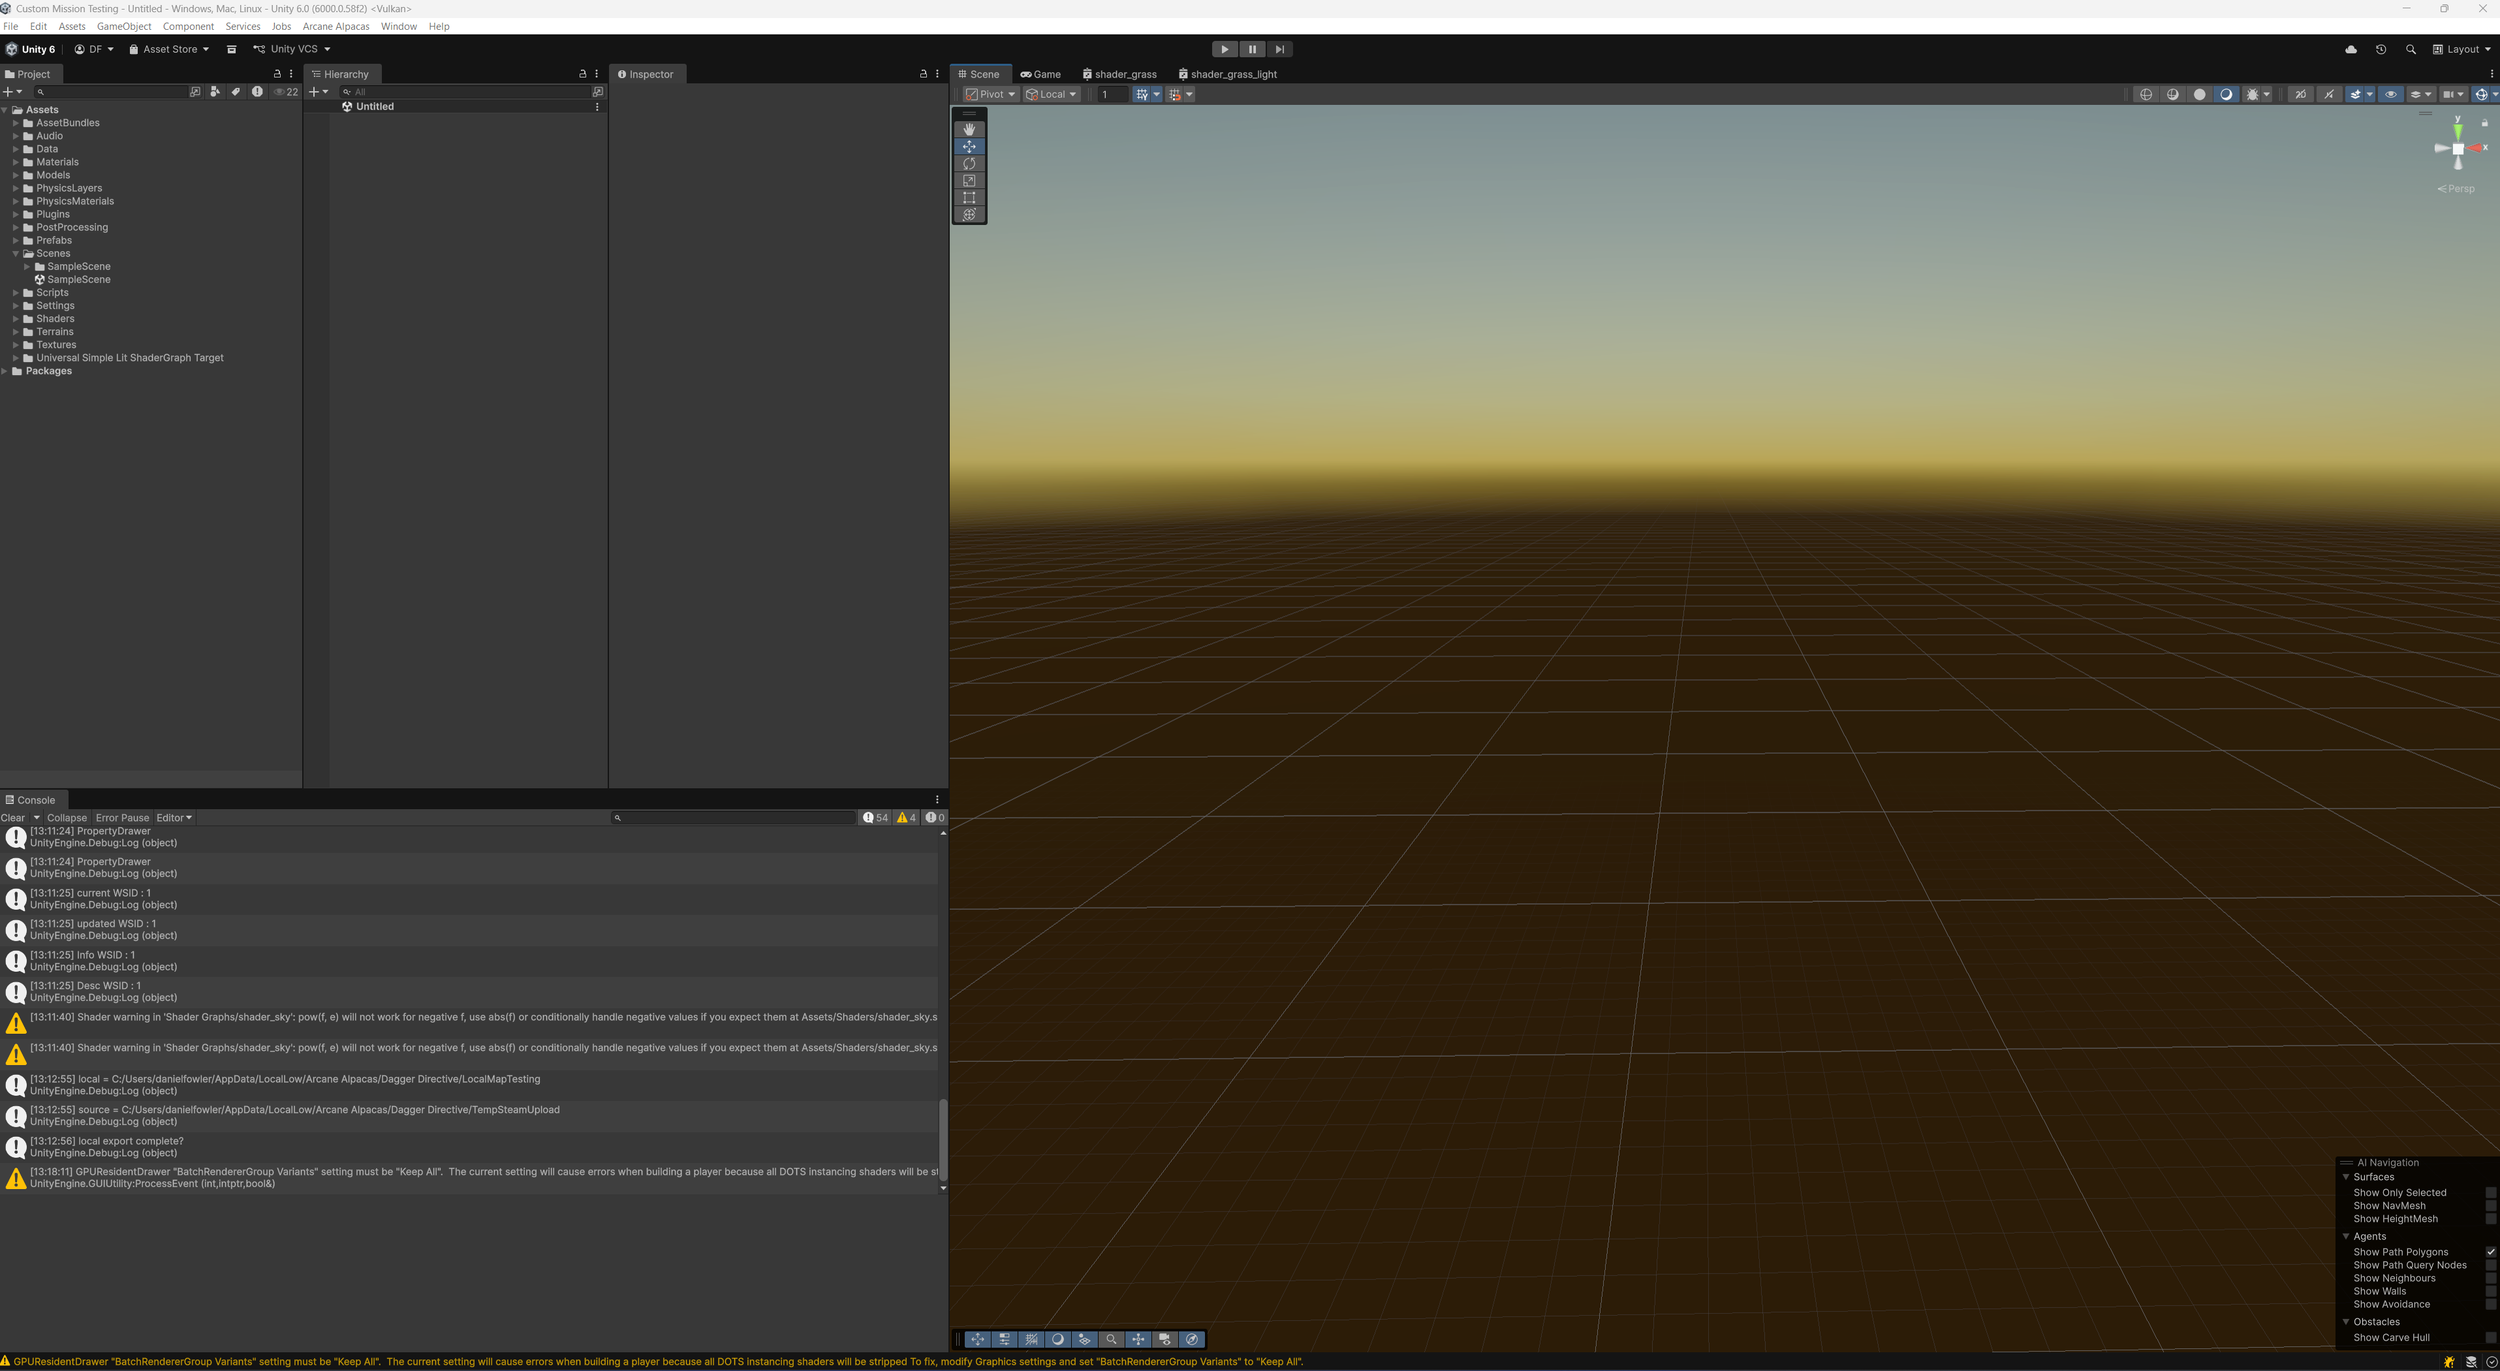
9: From here you can build out the environment, edit the terrain, and decorate it with props.