4: Details - Grass
This section will go over the grass painting system which will allow you to fill your mission with grass and other plants.
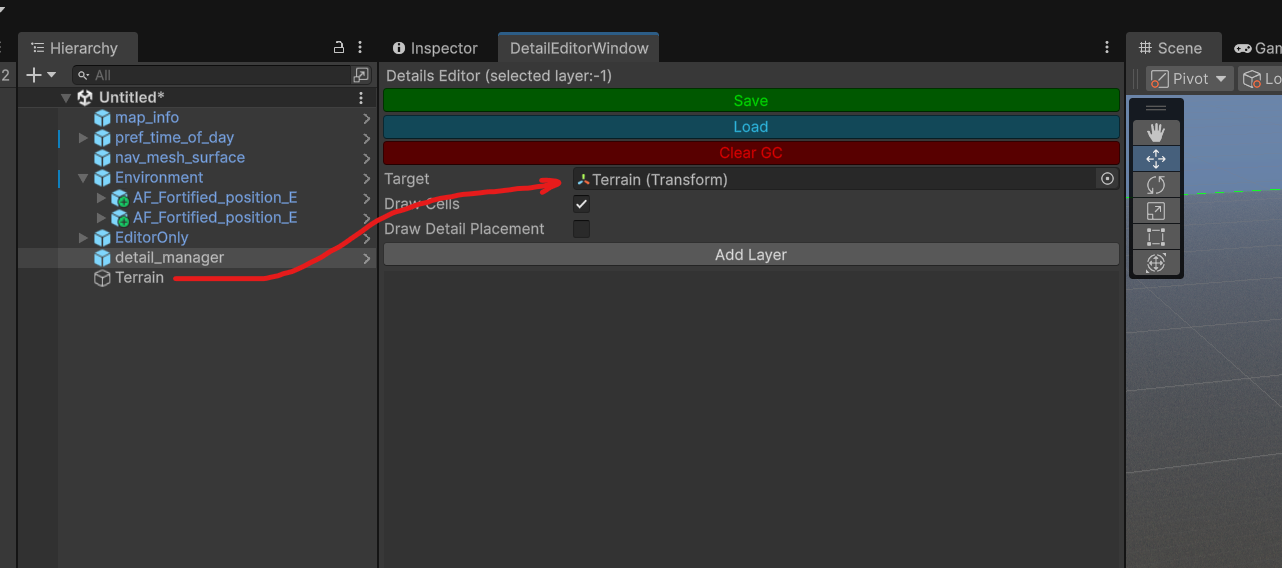
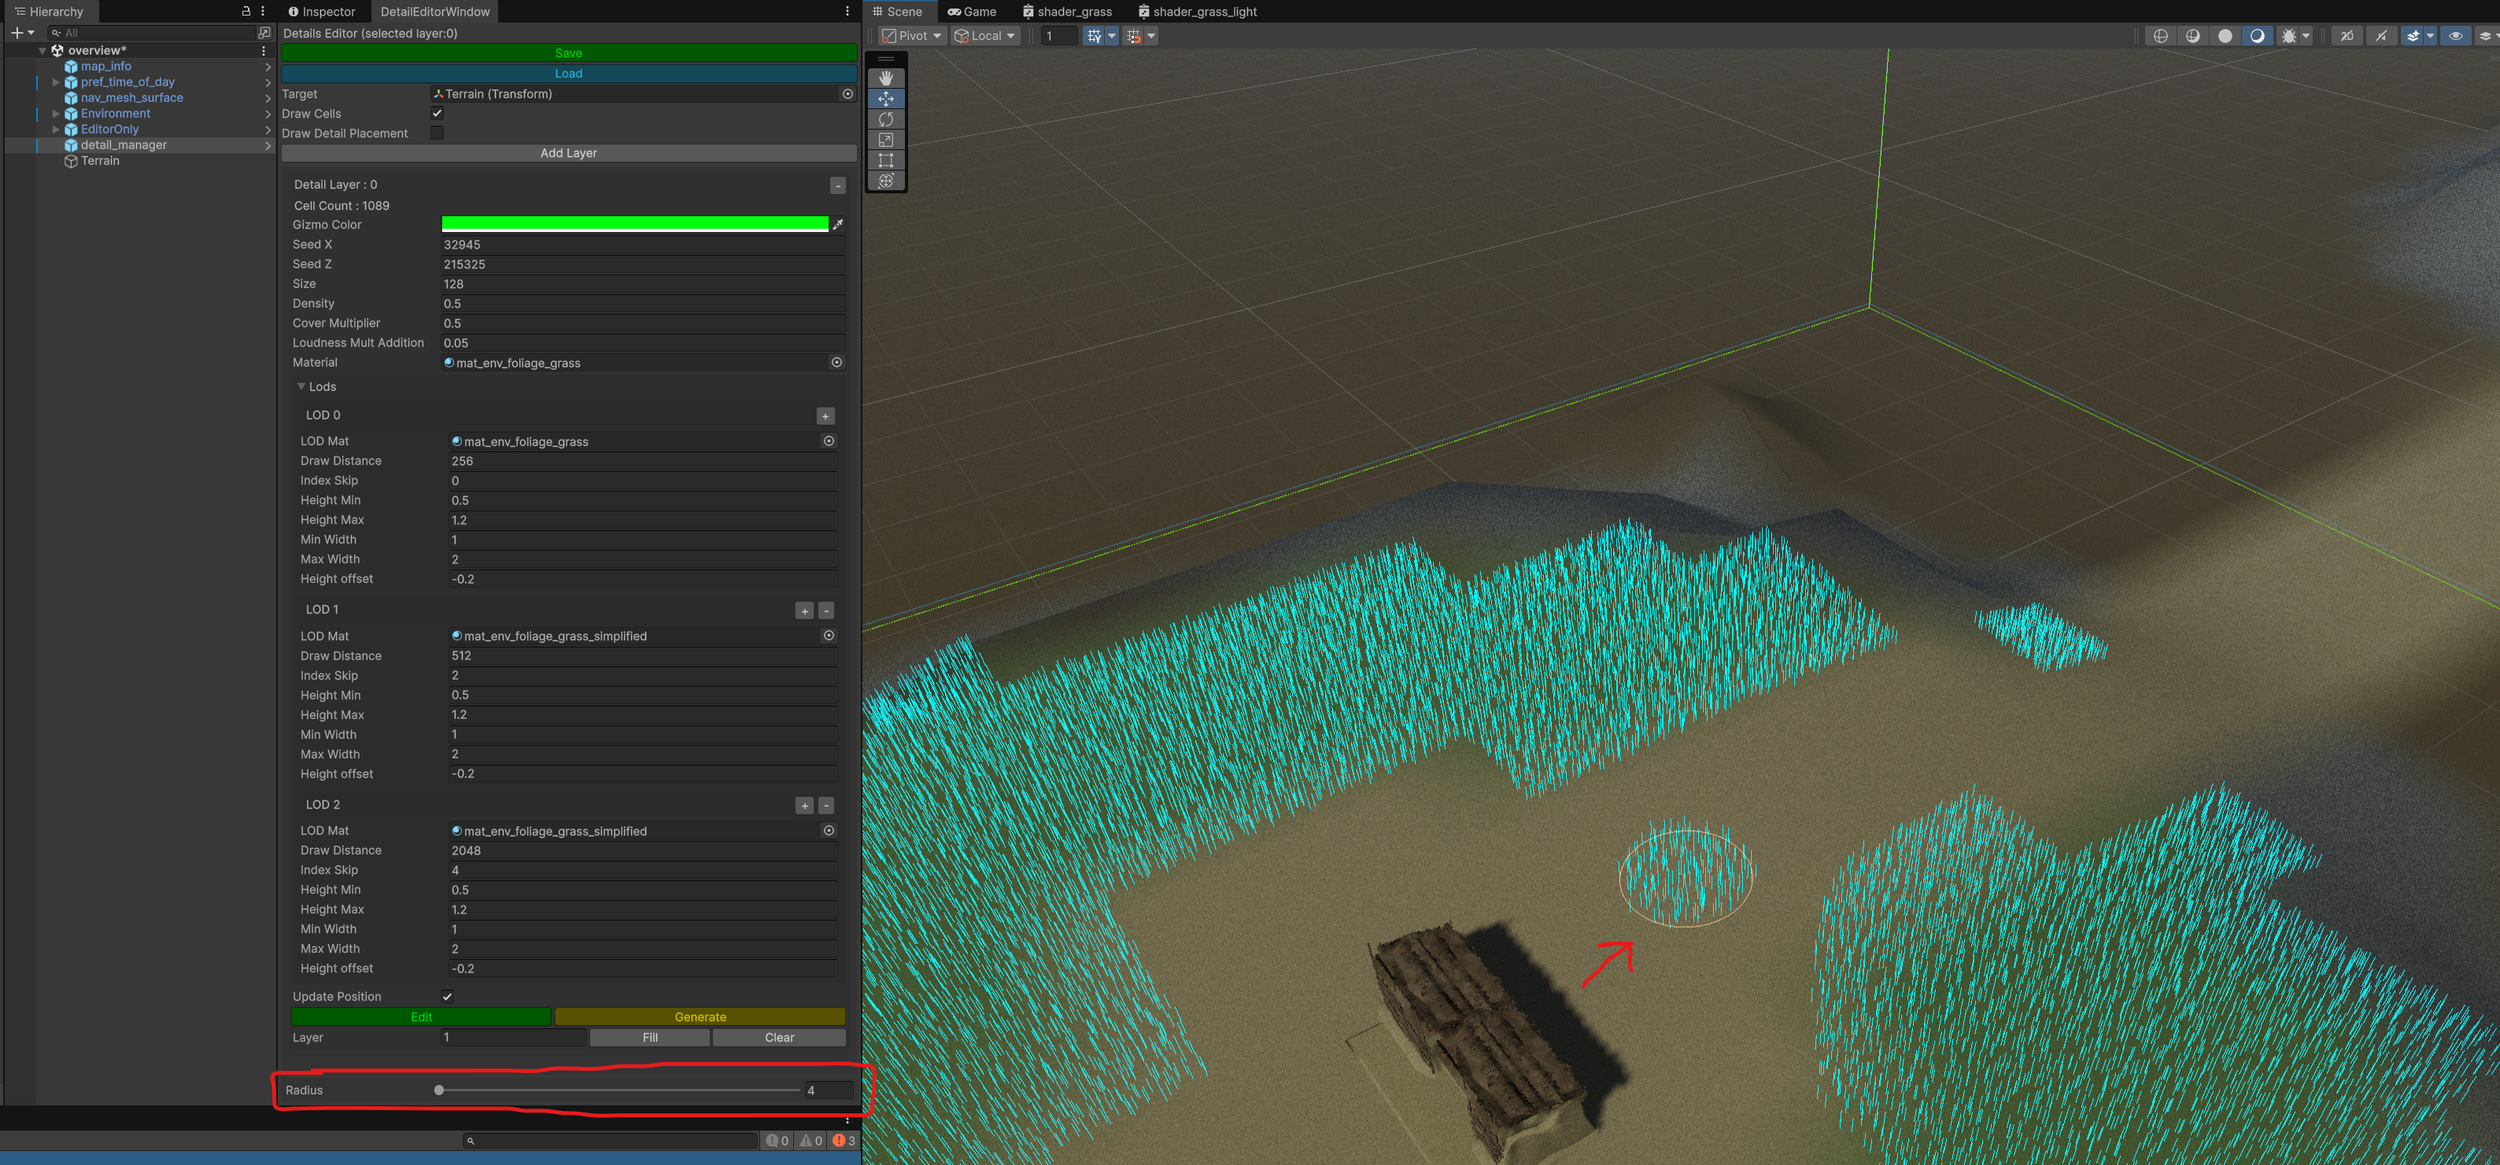
1: First select the “detail_manager” and click “Open Editor”

2: Set the terrain to the Target Field.
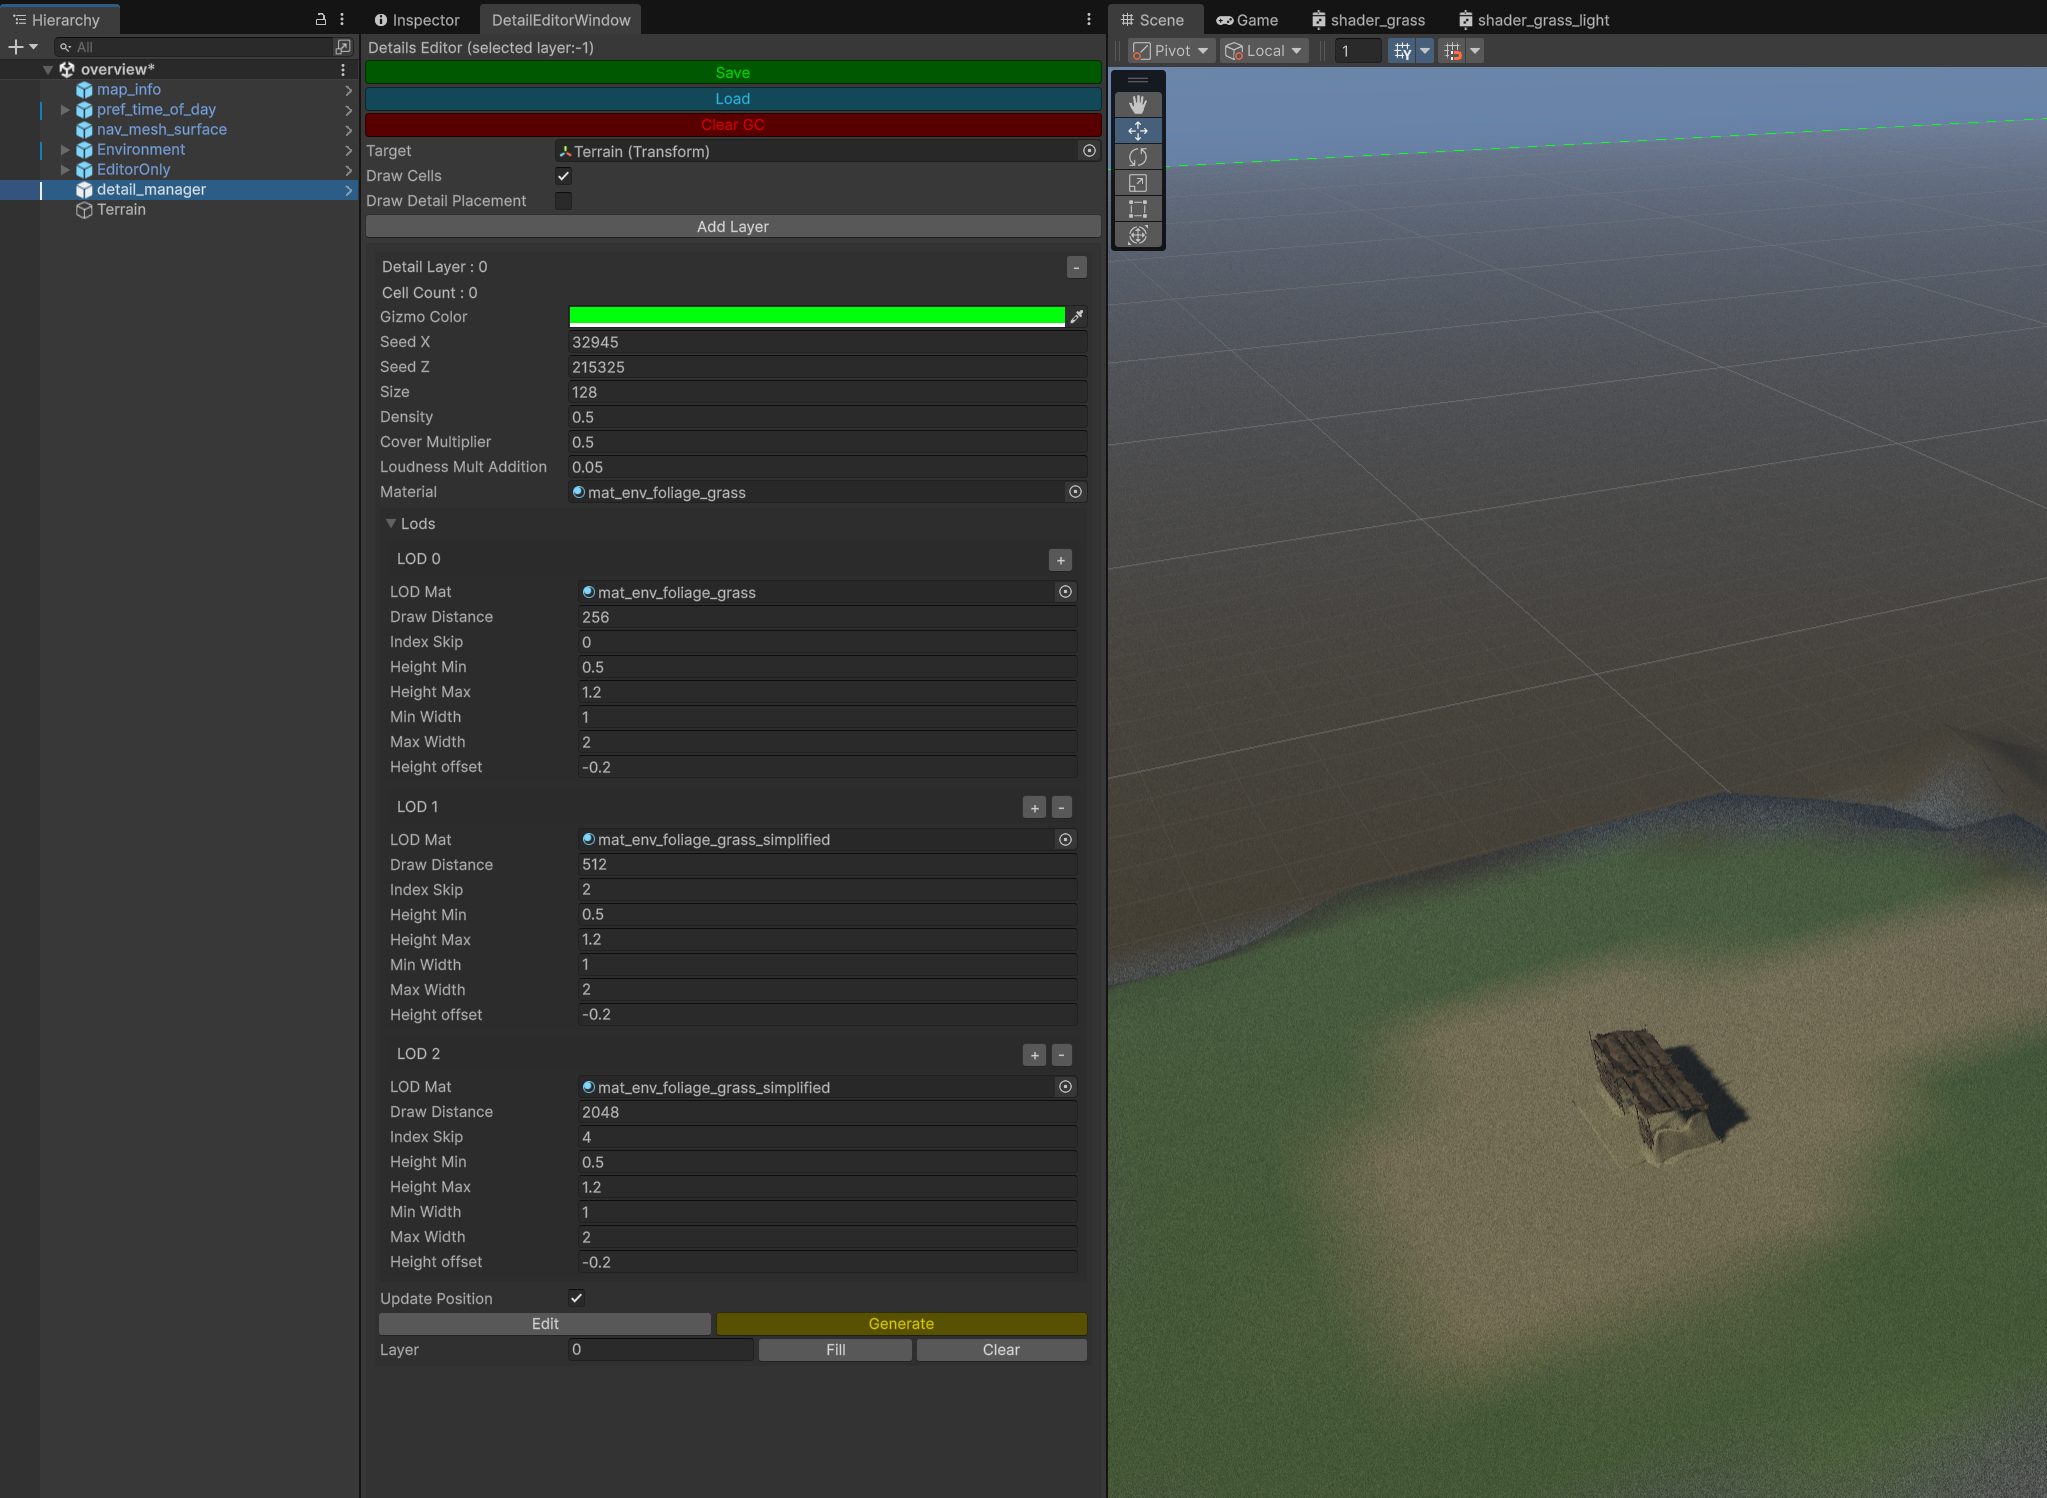
3: Add a new layer. Click “Add Layer”. Now fill out some stats for the grass. We’ll use these that work well. Feel free to play around with the settings though.
Gizmo Color - any color, make sure the alpha is 1
SeedX - SeedZ - Just random number to feed into the generation code
Size - This is the cell size. Setting it between 32 and 128 should work for most maps.
Density - how much space between grass meshes. 0.5m should work.
Cover Multiplier - Affects AI vision. A setting of 0.5 would cut the AI’s ability to see a player in the grass in half. * Note other things affect their ability to see the player. This is just one part.
Loudness Mult Addition - Oddly named but the player makes noise moving through grass. The higher the number, the louder the player will be. For short grass a smaller number like 0.05 (5% increase) should work. Taller grass or wheat fields have a higher addition like 0.35 (35%).
Material - This is the lowest LODs material. Select “mat_env_foliage_grass” or make your own.
Add 3 LODs using the “+” button. These will draw a different distances.
LOD Mat - The first LOD should use the normal grass shader. Further LODs should use the simplified material.
Draw Distance - 256, 512, 2048 should work for most maps for LOD 0,1, and 2.
Index Skip - This skips drawing grass at different intervals. Anything above 0 will skip each point at that interval. 0, 2, then 4 for LOD 0, 1, and 2 is a good starting point.
Height Min/Height Max - The min and max height in meters of each grass card drawn.
Width Min/Width Max - The min and max width in meters of each grass card drawn.
Height offset - offsets the height of the card drawn on the terrain. If your grass looks like it’s floating off the ground. Try lowering the value. -0.2m works for the default grass.
When you are done the values should look like this:
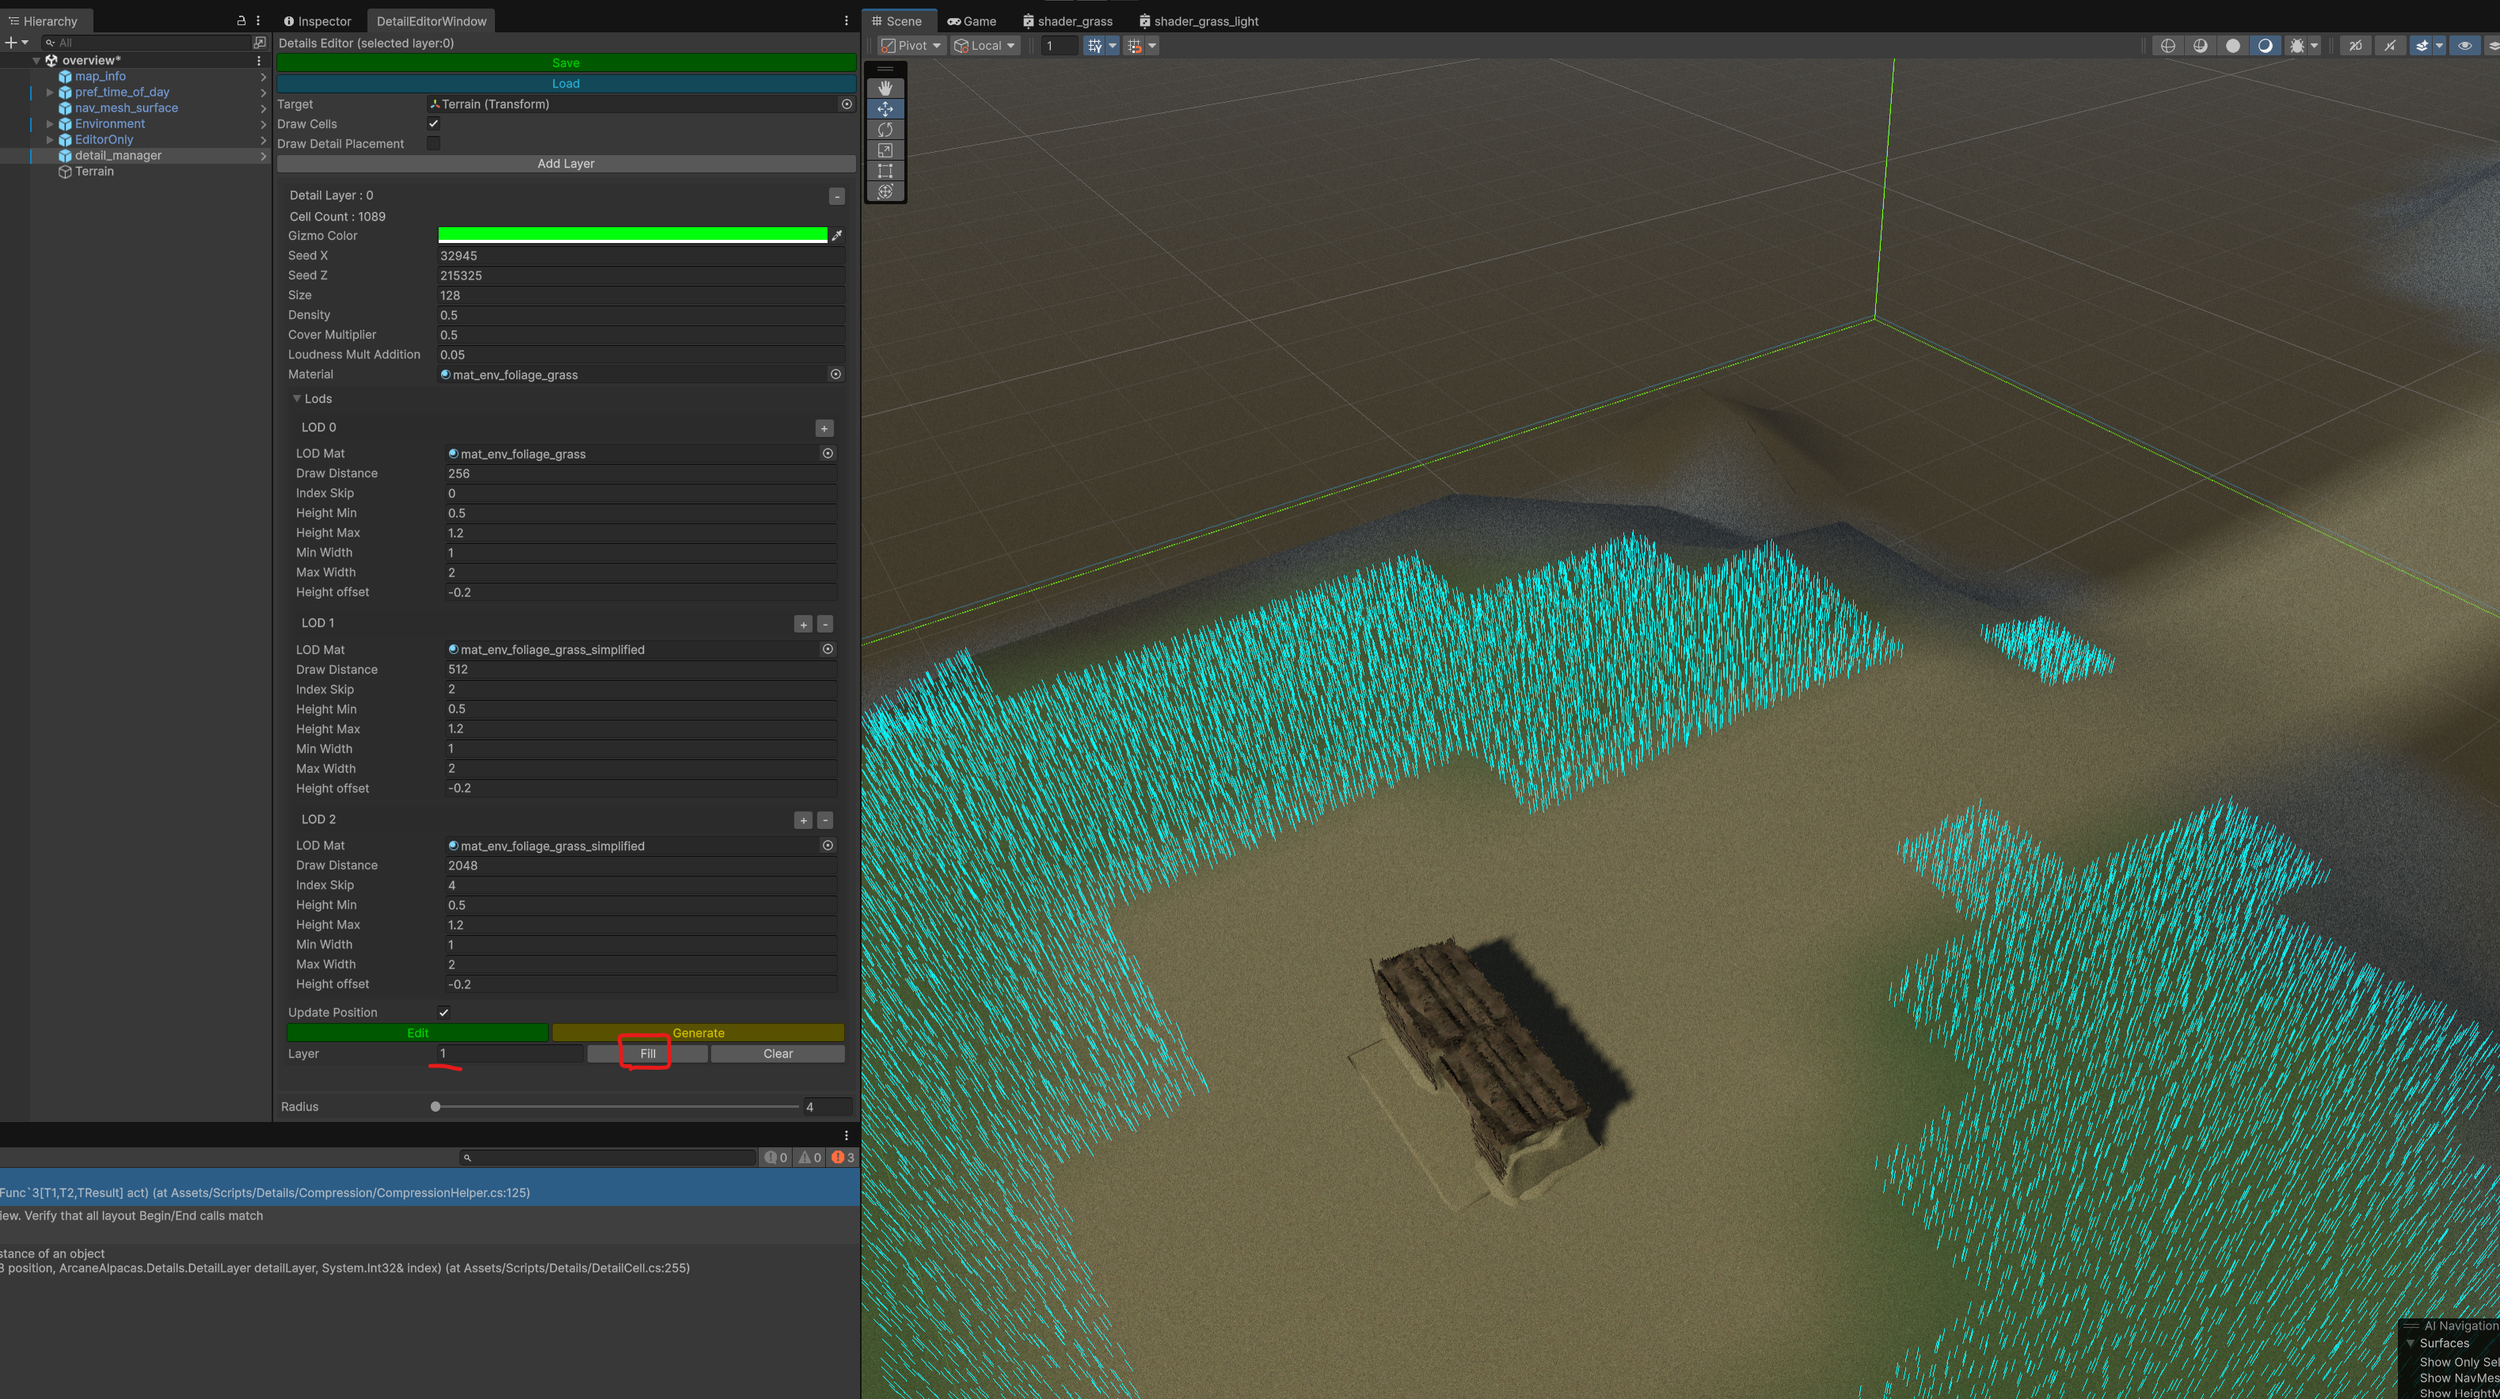
4: Now we’ll paint the grass onto the terrain. There are a few ways to do this.
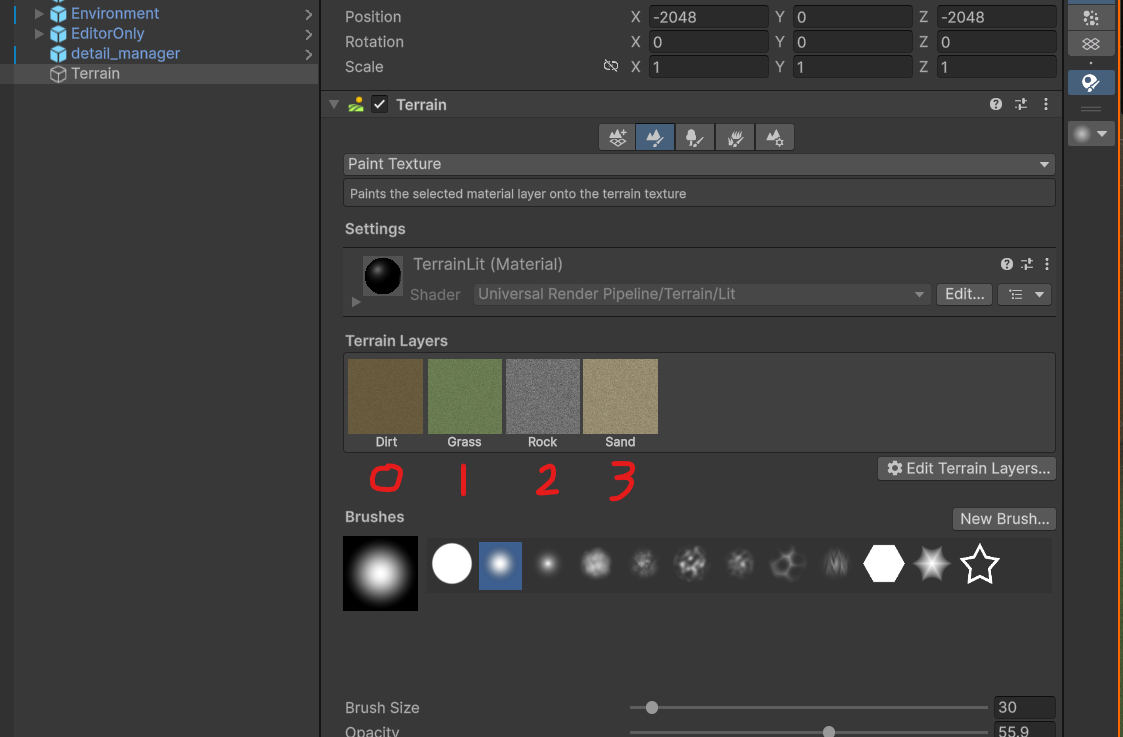
Flood Fill
First is the flood fill which is a good way to get started. You can set a terrain splat layer and fill all of that type with the selected detail layer. View the layers in the terrain to see which one you need to fill. Click the “Fill” button to flood fill the layer. Click “Clear” to remove all grass on that layer.
* This may take a few moments on larger maps.
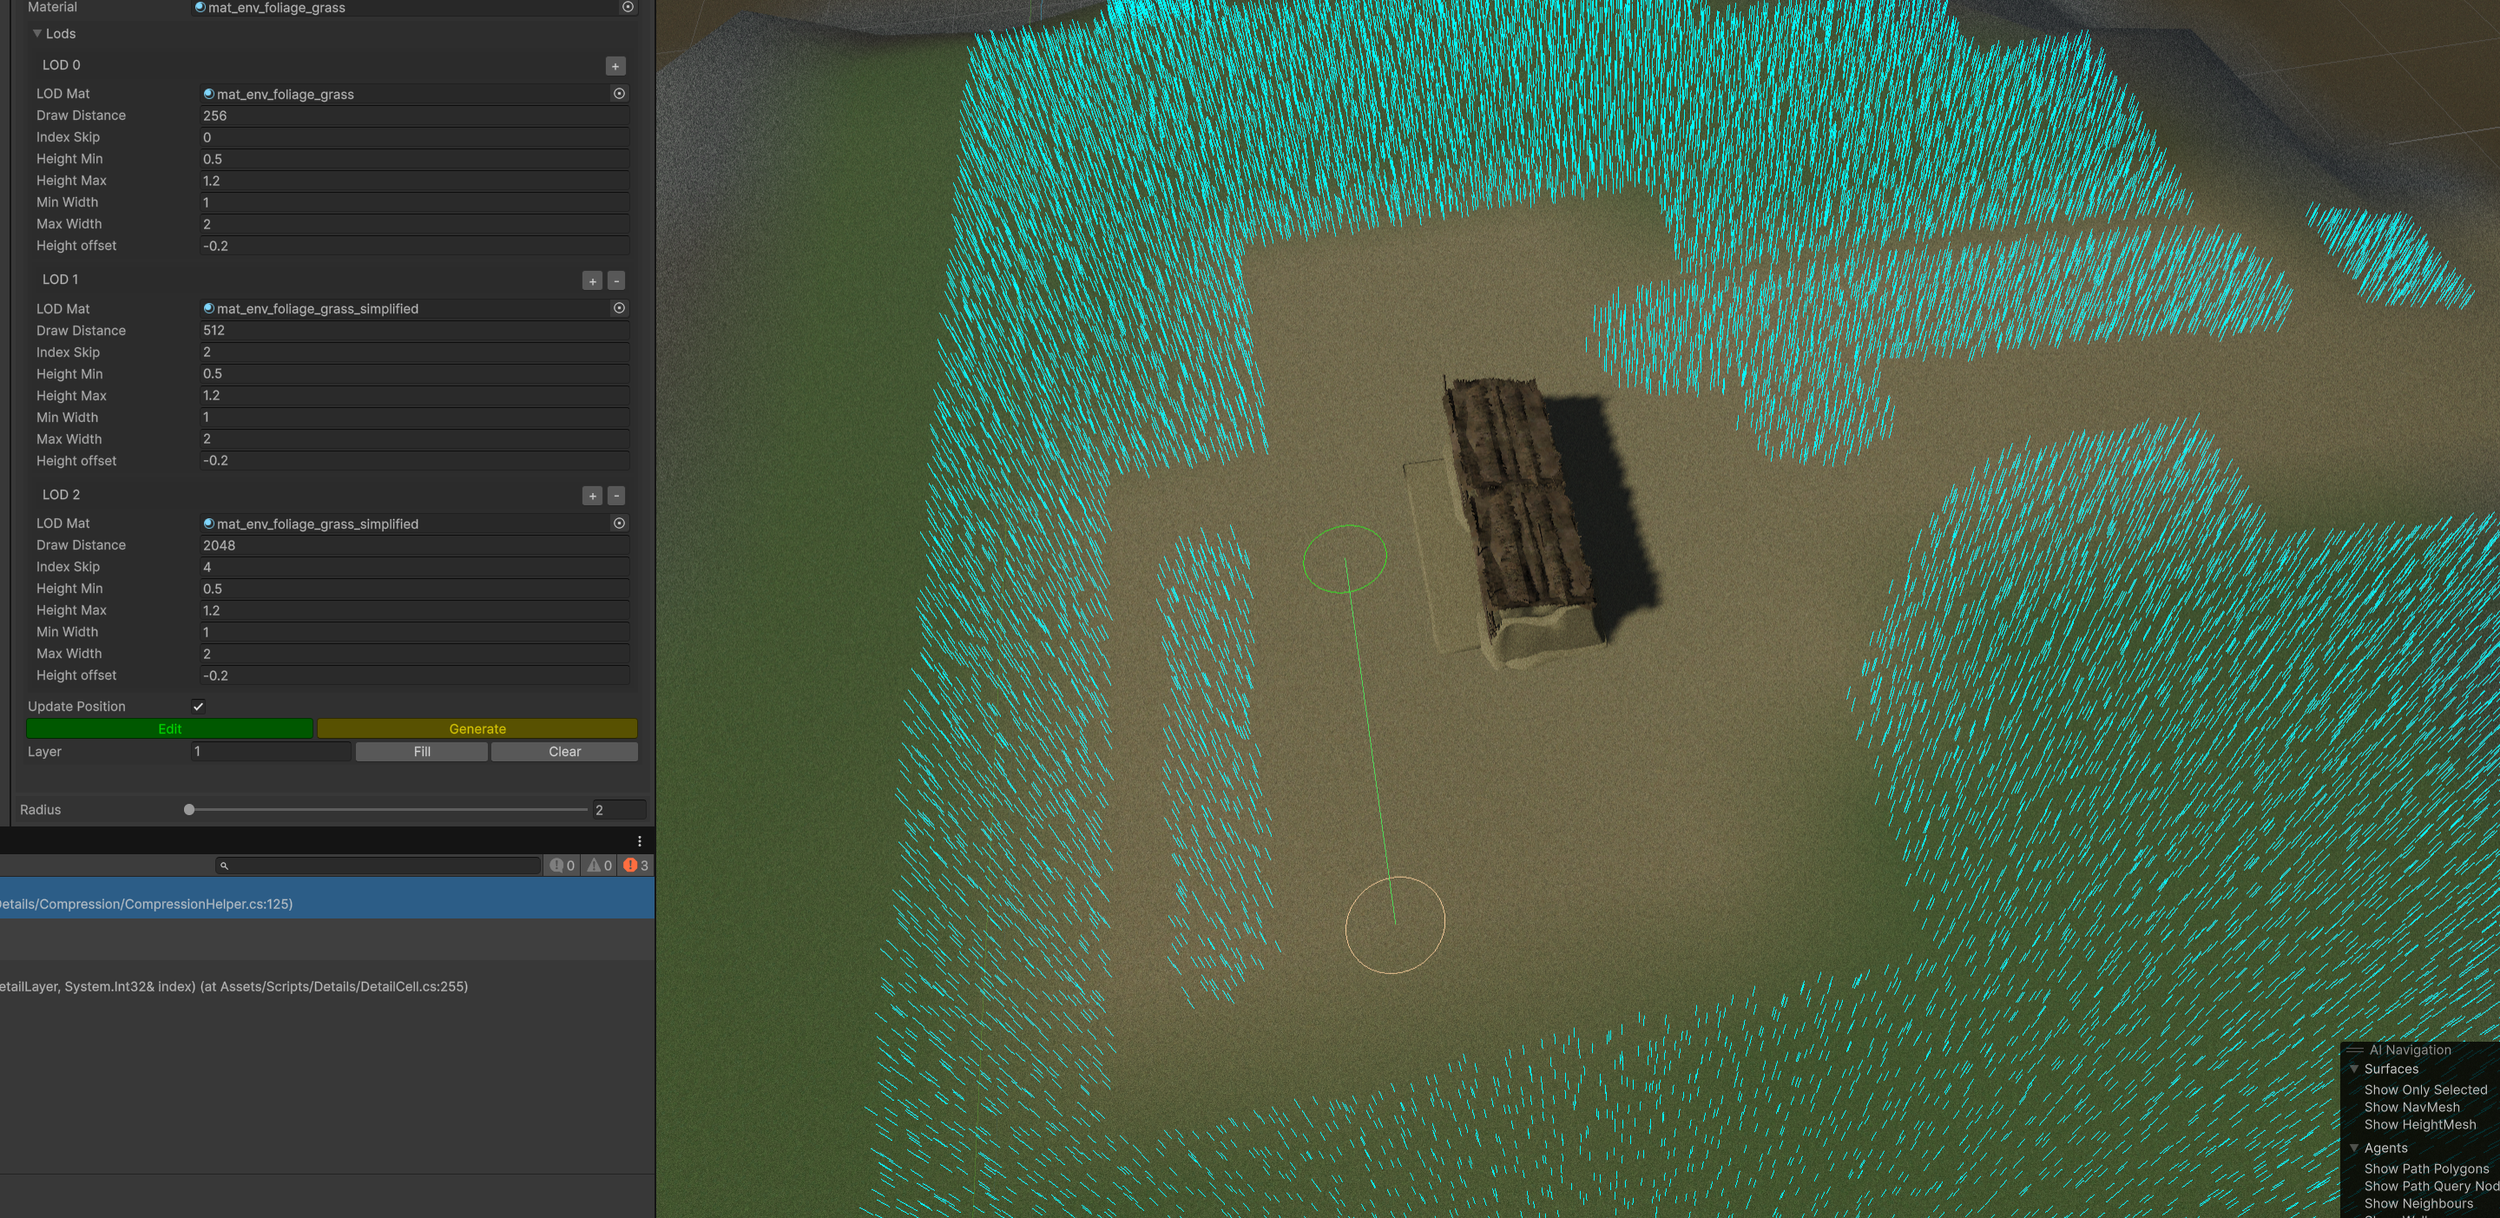
Painting
Painting can be done by simply left clicking. You can adjust the size of the brush using the “Radius” setting at the bottom of the menu.
Hold “Control” while left clicking to erase.
Line Painting
Holding “Shift” will place an initial point at the current brush position. Clicking the “Left Mouse Button” will draw grass in a radius from the start to end position.
Holding “Control” while doing this will erase grass.
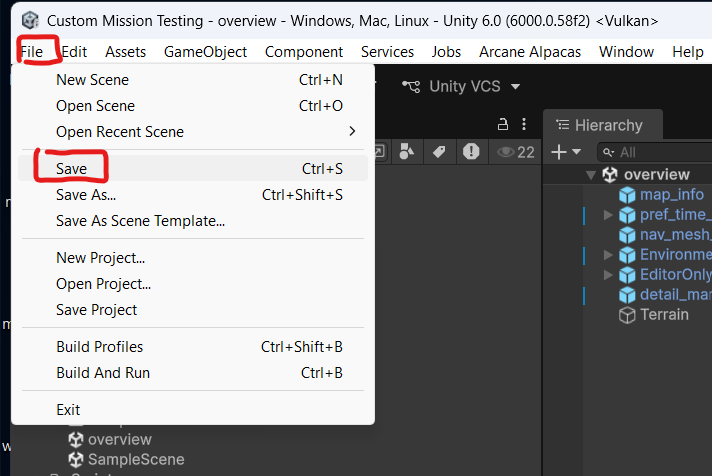
5: When you are done editing the grass. Click “Save” at the top of the editor window. This may take a few moments on larger maps.
6: Don’t forget to save the map! The grass data is saved inside the map scene so you need to Save both.