8: Upload To Steam
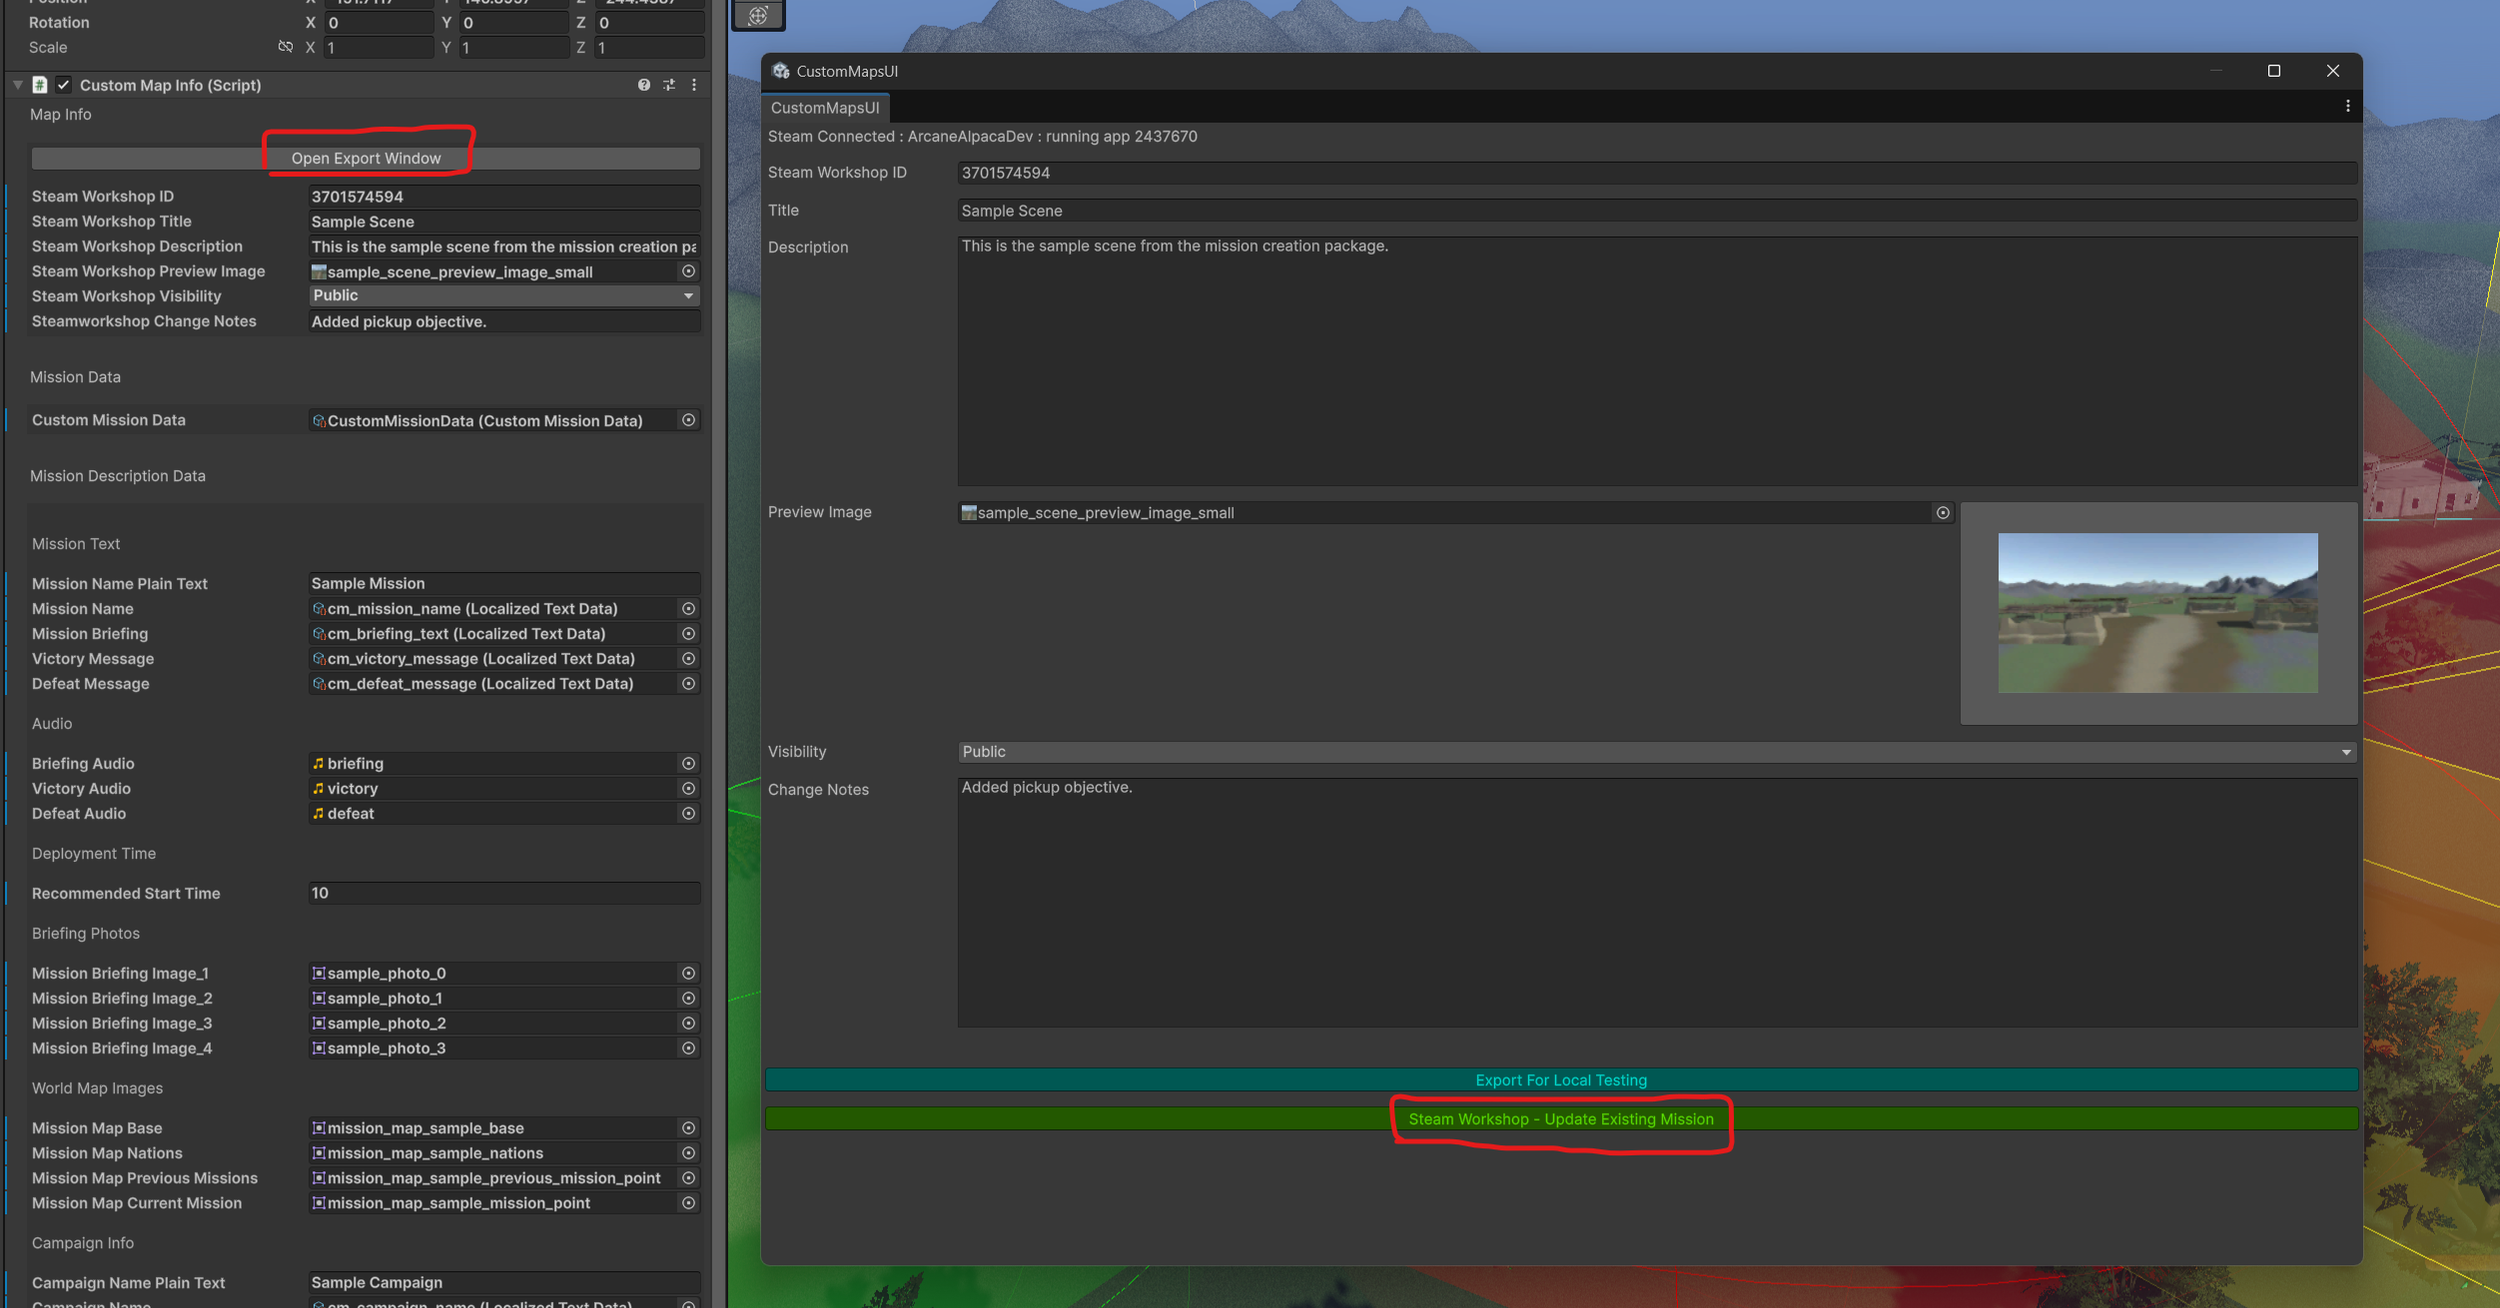
We’ll go over the Map Info Object now. It contains info such as the text and images you will see in the mission select menu, handle the victory and defeat messages, and names and ID to let you string missions together into your own campaigns.
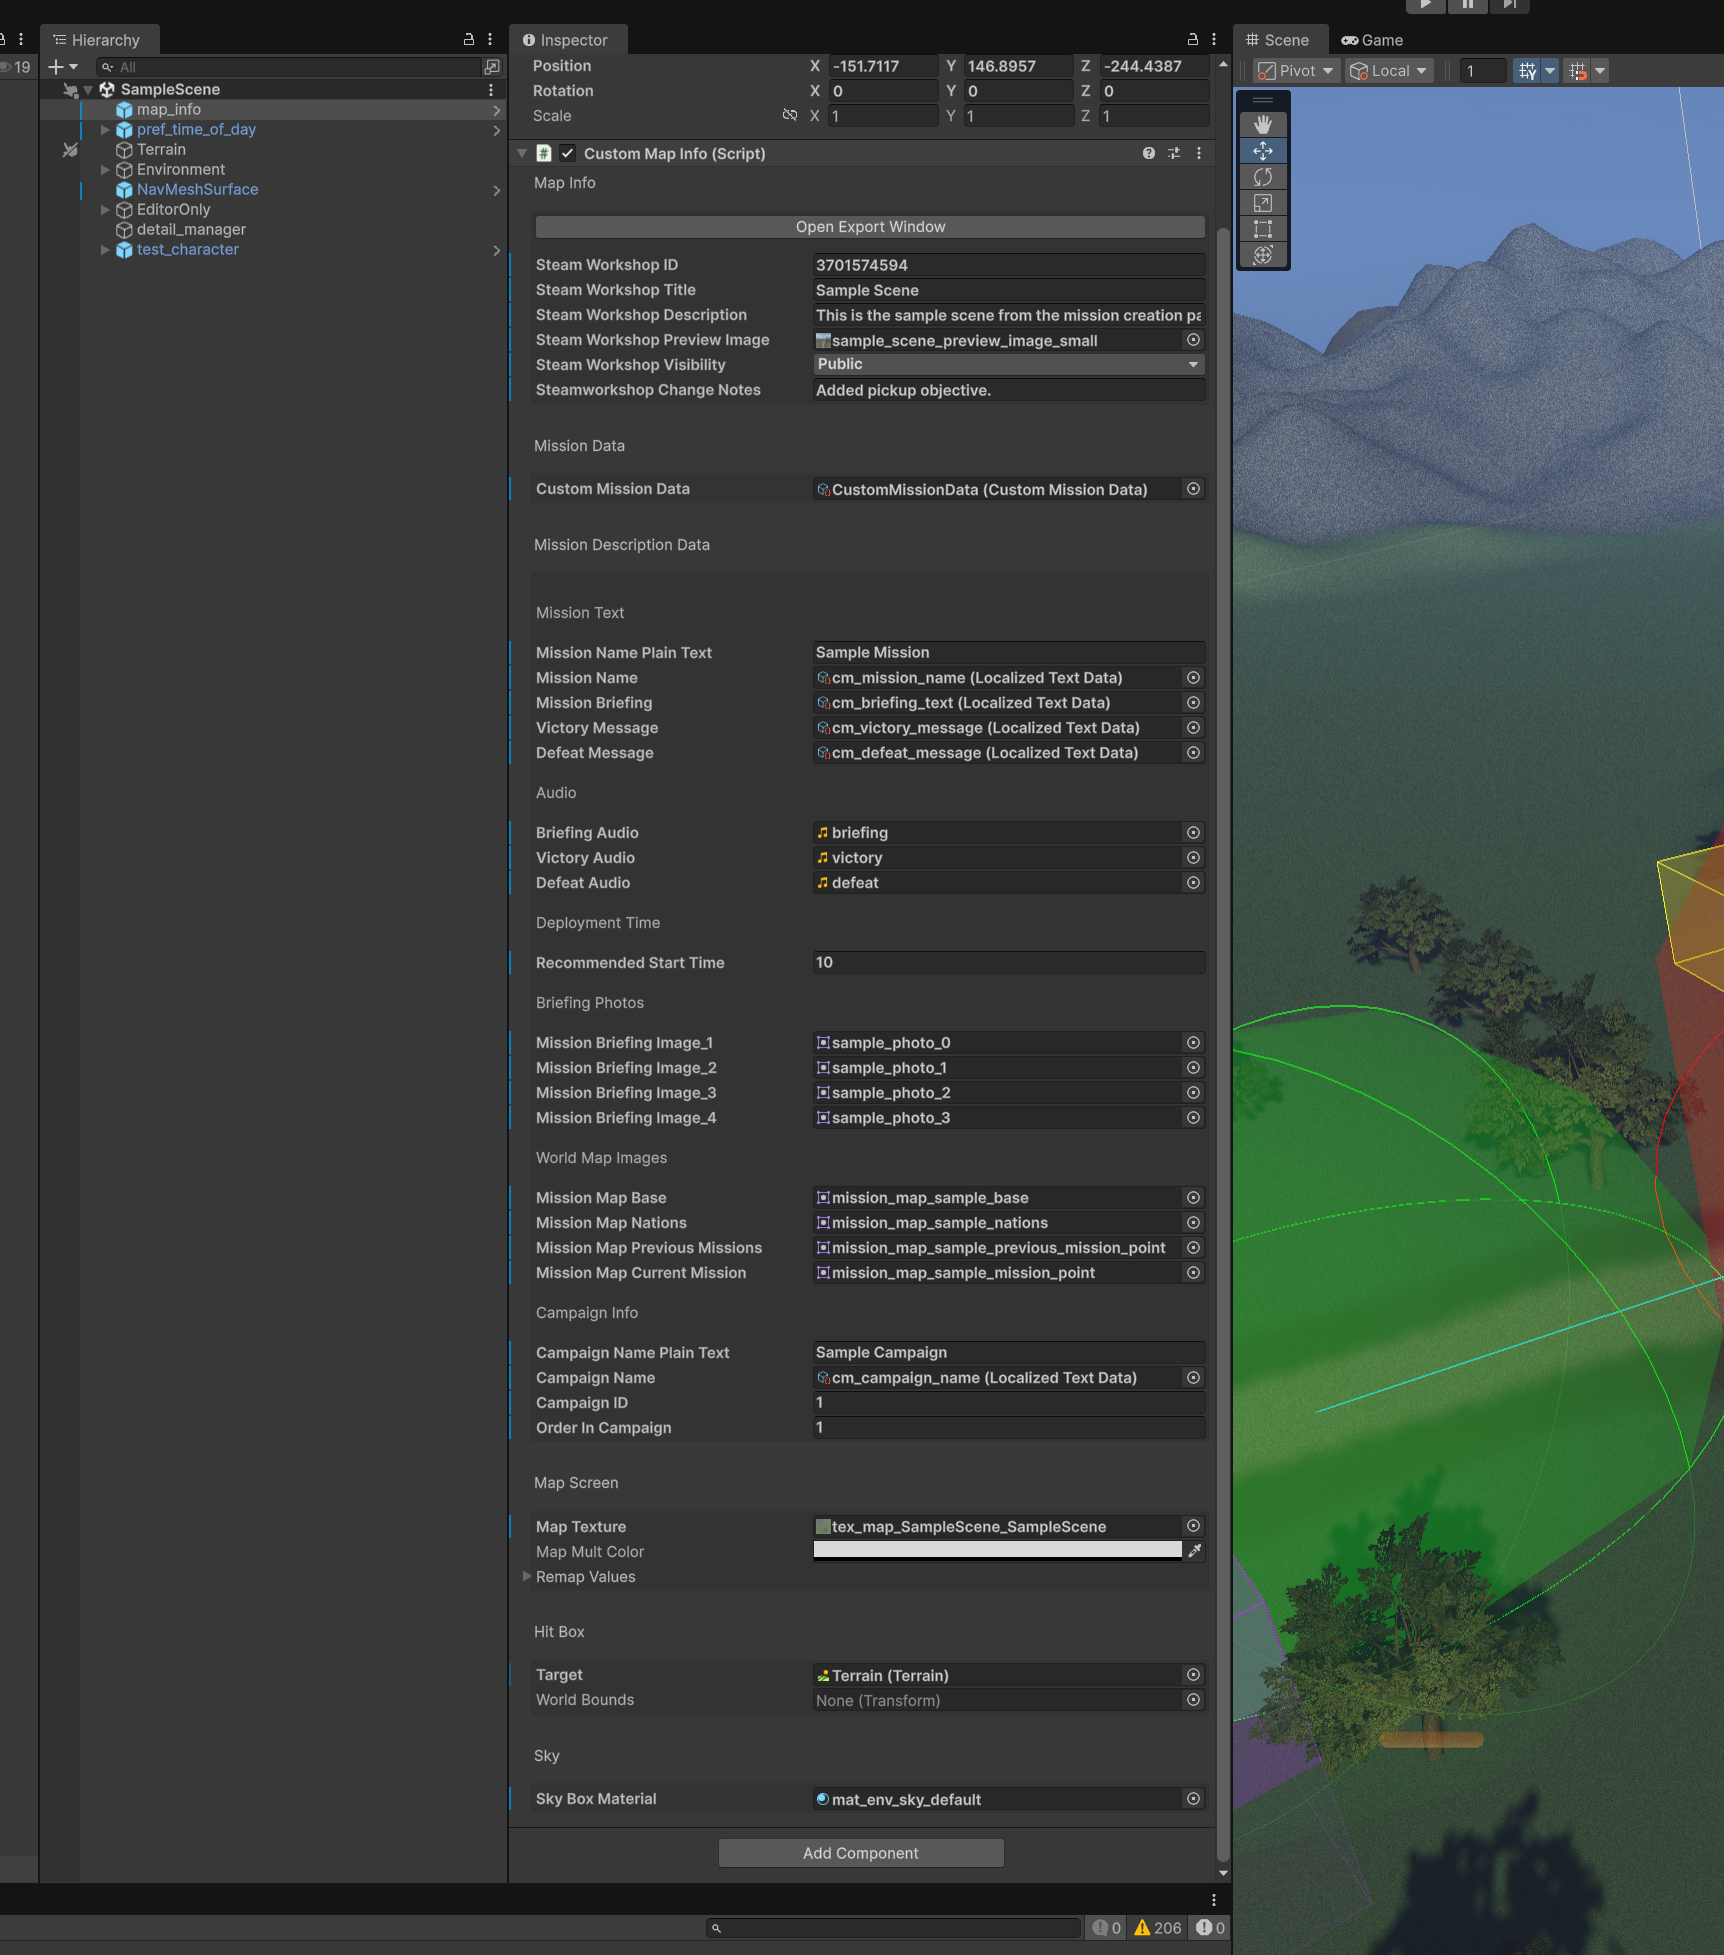
Map Info
Steam Workshop ID - This is the ID of the map in steam. Before you upload the first time this will be “0”. When doing local testing this is set for you to “1”. After you upload the first time it will update the info for you. If you have uploaded the mission but the number is not set, you can find it in the address on the Steam Workshop (https://steamcommunity.com/sharedfiles/filedetails/?id=3701574594) Here the ID is 3701574594
Steam Workshop Title - The name of your mission in the Steam Workshop.
Steam Workshop Description - The description text that will be displayed in the Steam Workshop page.
Steam Workshop Preview Image - Needs to be 256×128. This is the icon that is shown in the Workshop and in the in-game custom map menu.
Steam Workshop Visibility - Sets who can see your map in the workshop.
Steamworkshop Change Notes - Each time you update you can explain the changes here to make it easier to others to see what you changed.

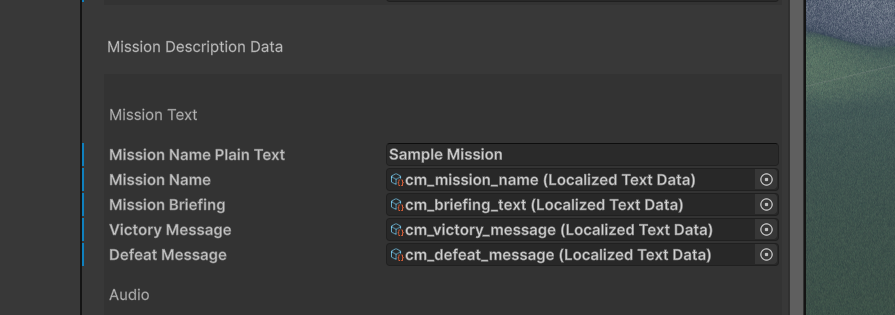
Mission Description Data
Mission Text
Mission Name Plain Text - This is the name that will display in the in-game custom map menu before you download the mission.
Mission Name - Localized Text data - Displayed after downloading the map locally. This is used in the Mission Select Menu.
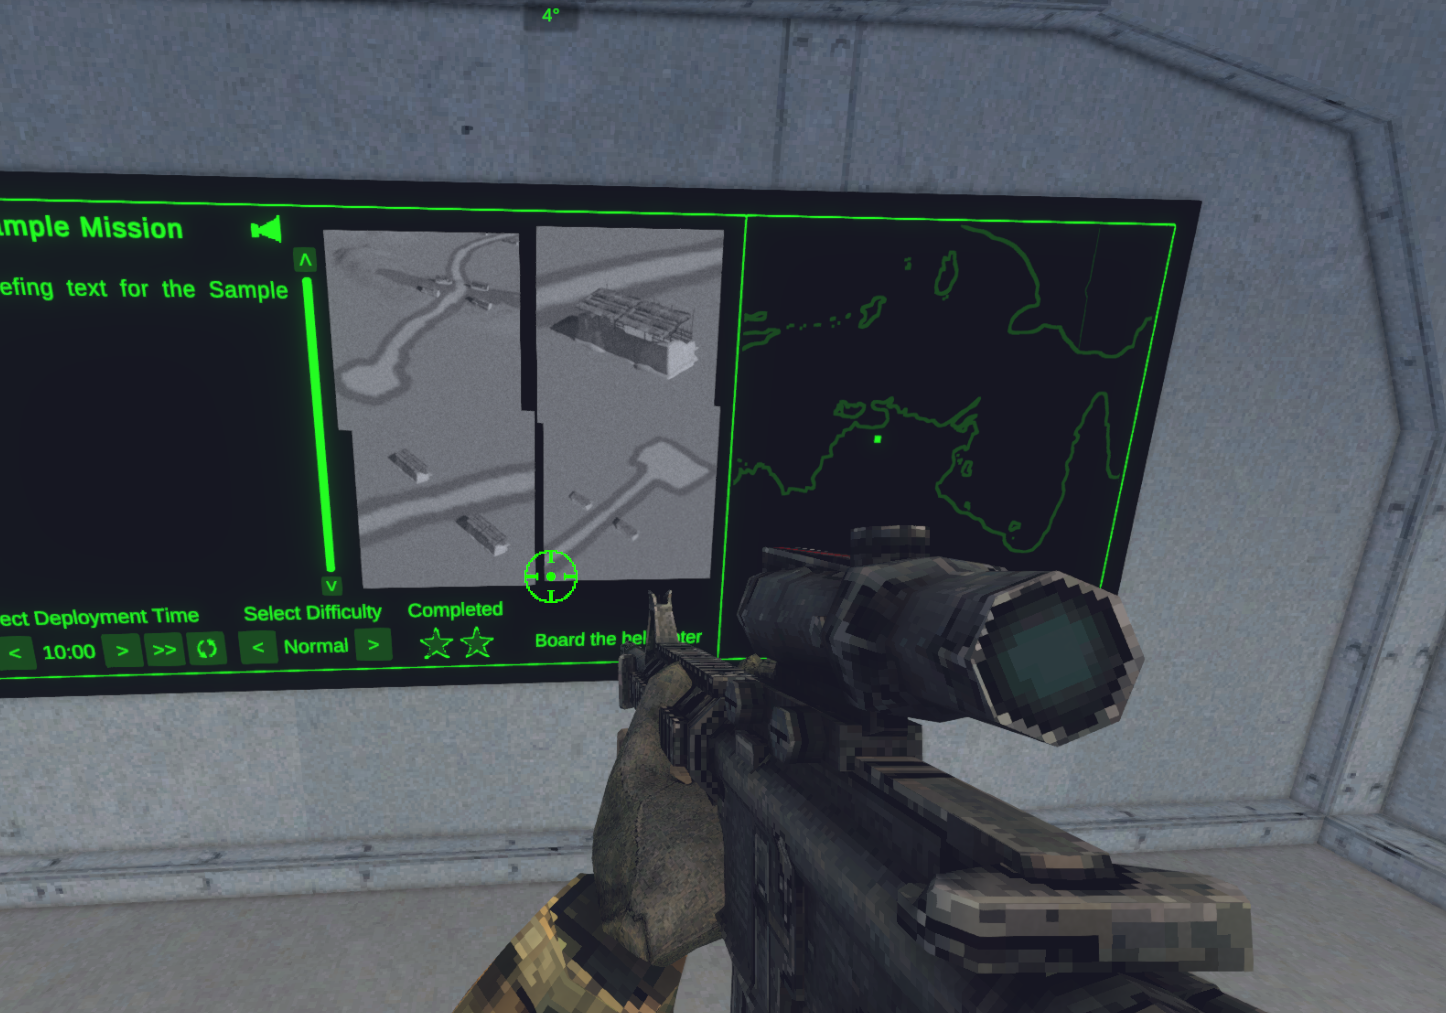
Mission Briefing - Localized Text data for the Briefing text that is displayed in the Mission Select Menu.
Victory Message - Localized Text data that is displayed at the end of the mission when the players have won.
Defeat Message - Localized Text data that is displayed at the end of the mission when the players have lost.
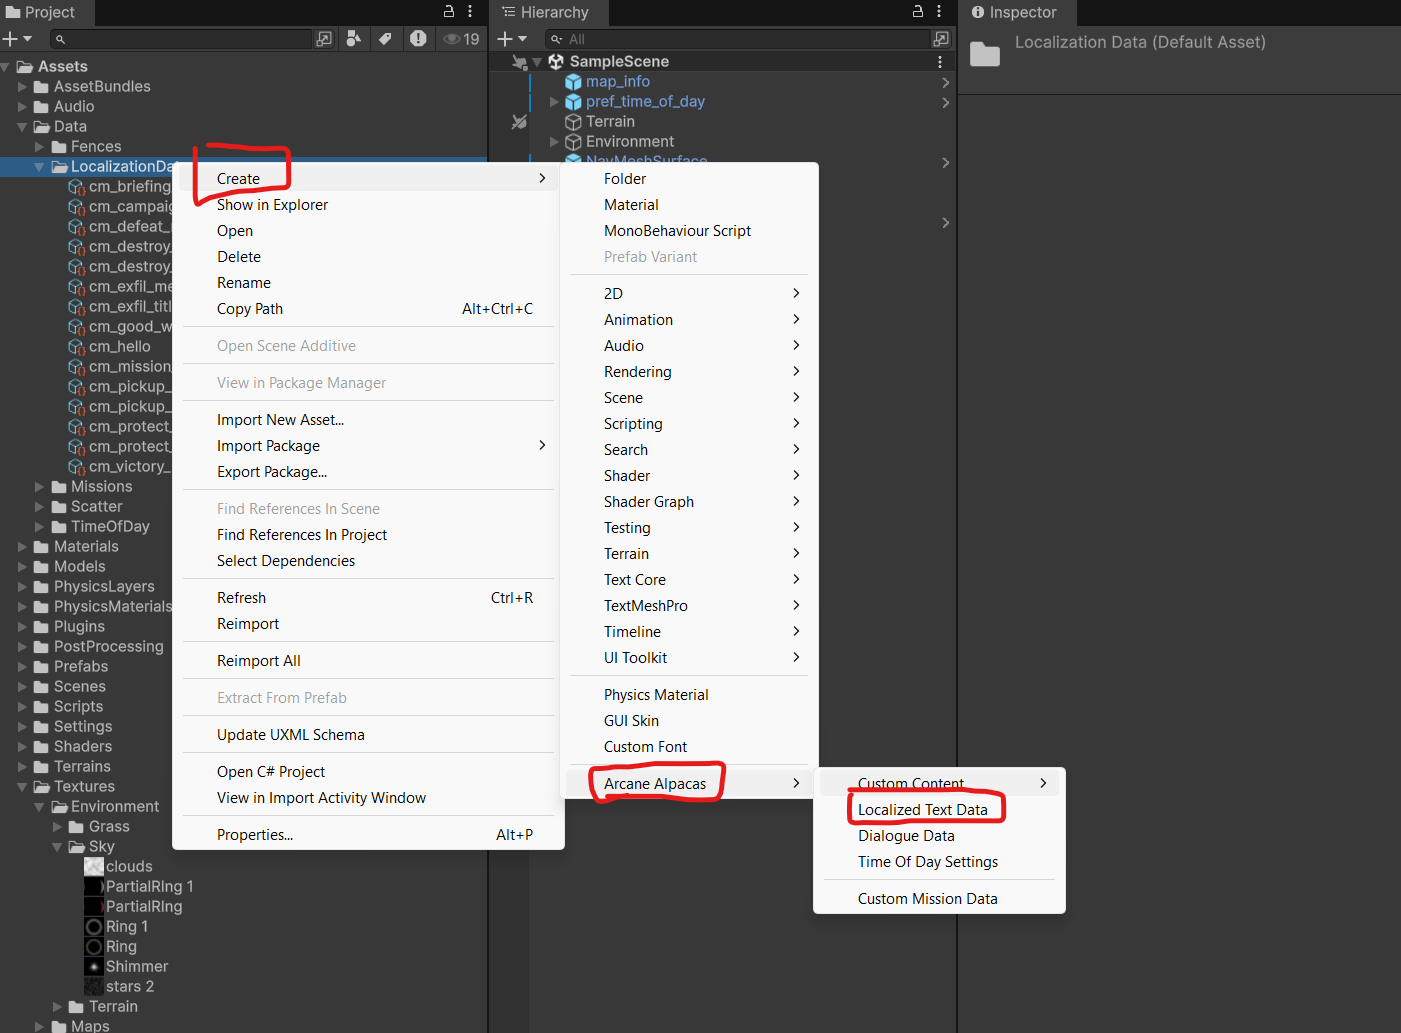
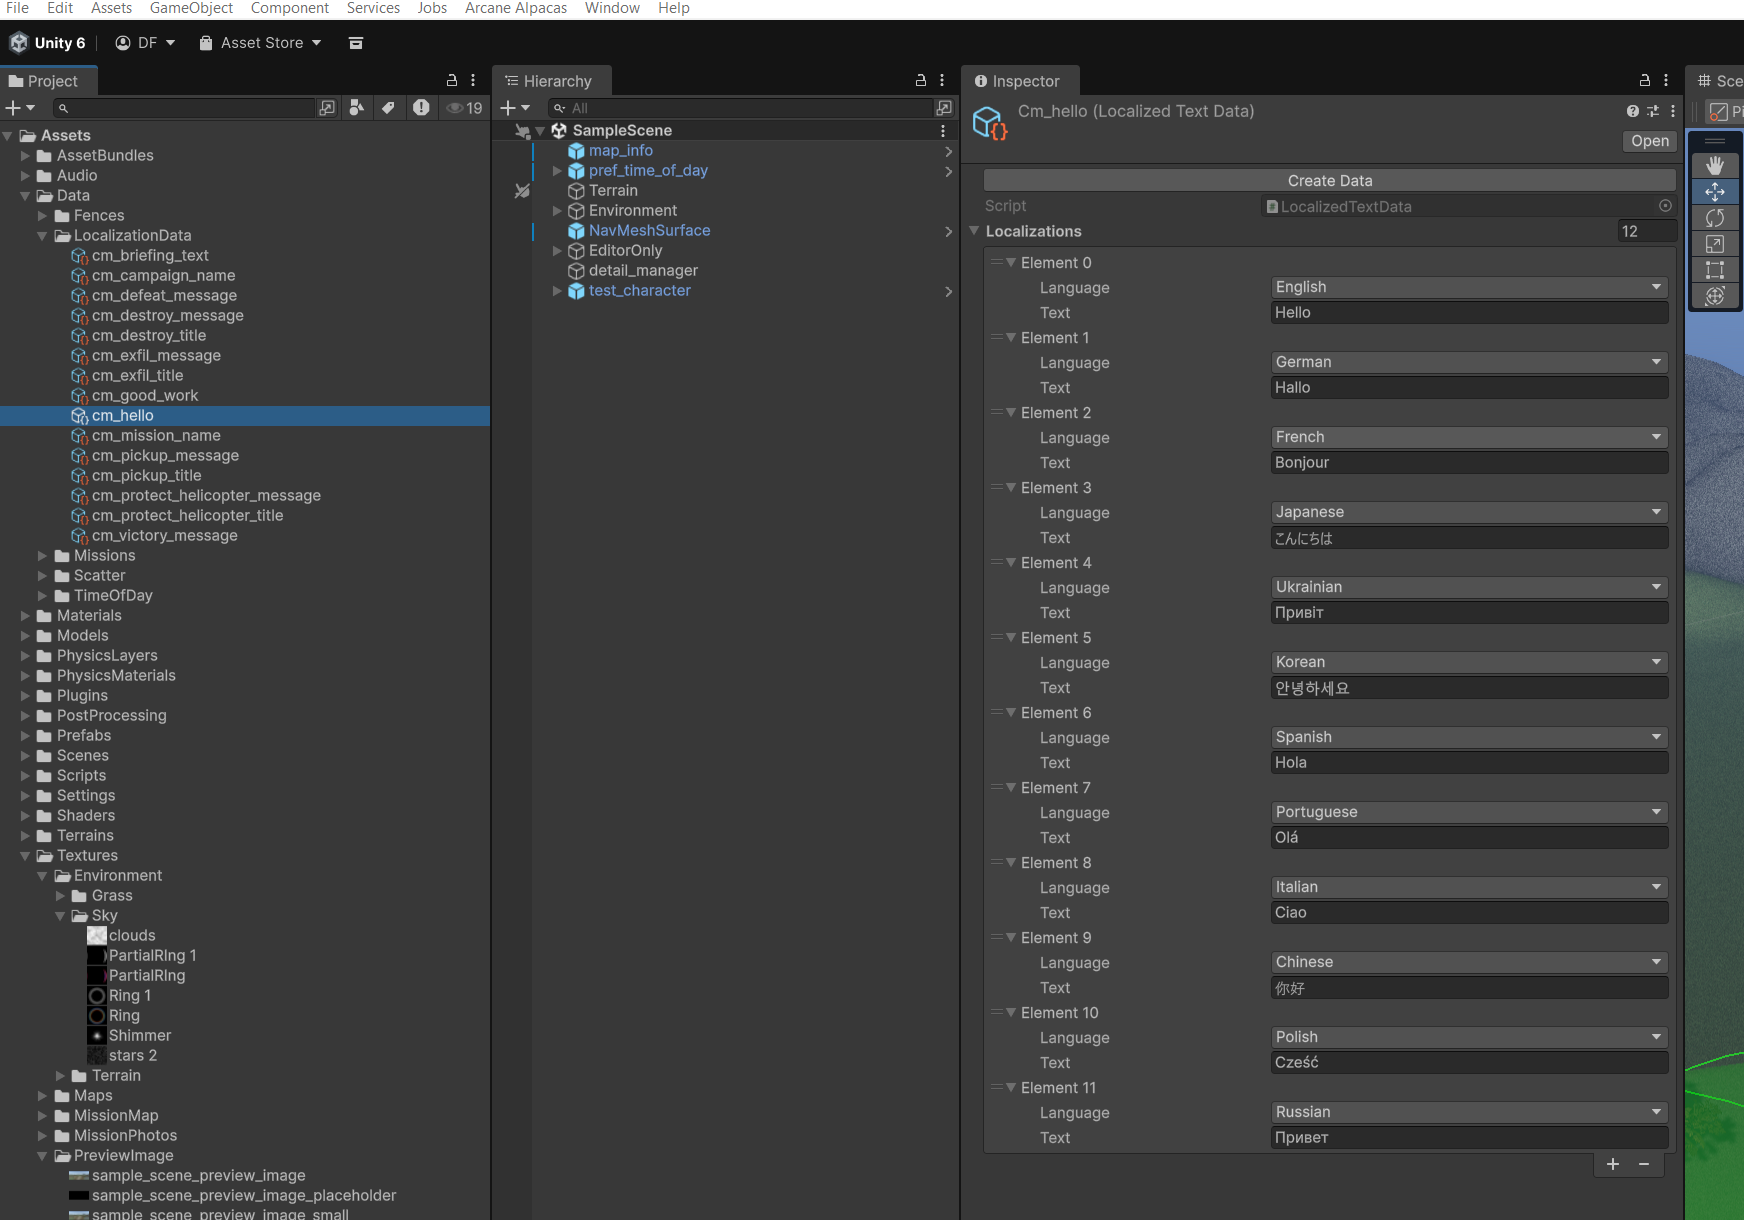
Localized Text
You can find the Sample Scenes localized text assets in “Assets/Data/LocalizationData”. You can duplicate those to create your own or Create a new one through the Create menu.
The localization data contains fields for each of the languages the game currently supports. You can go through each language and enter the necessary text.
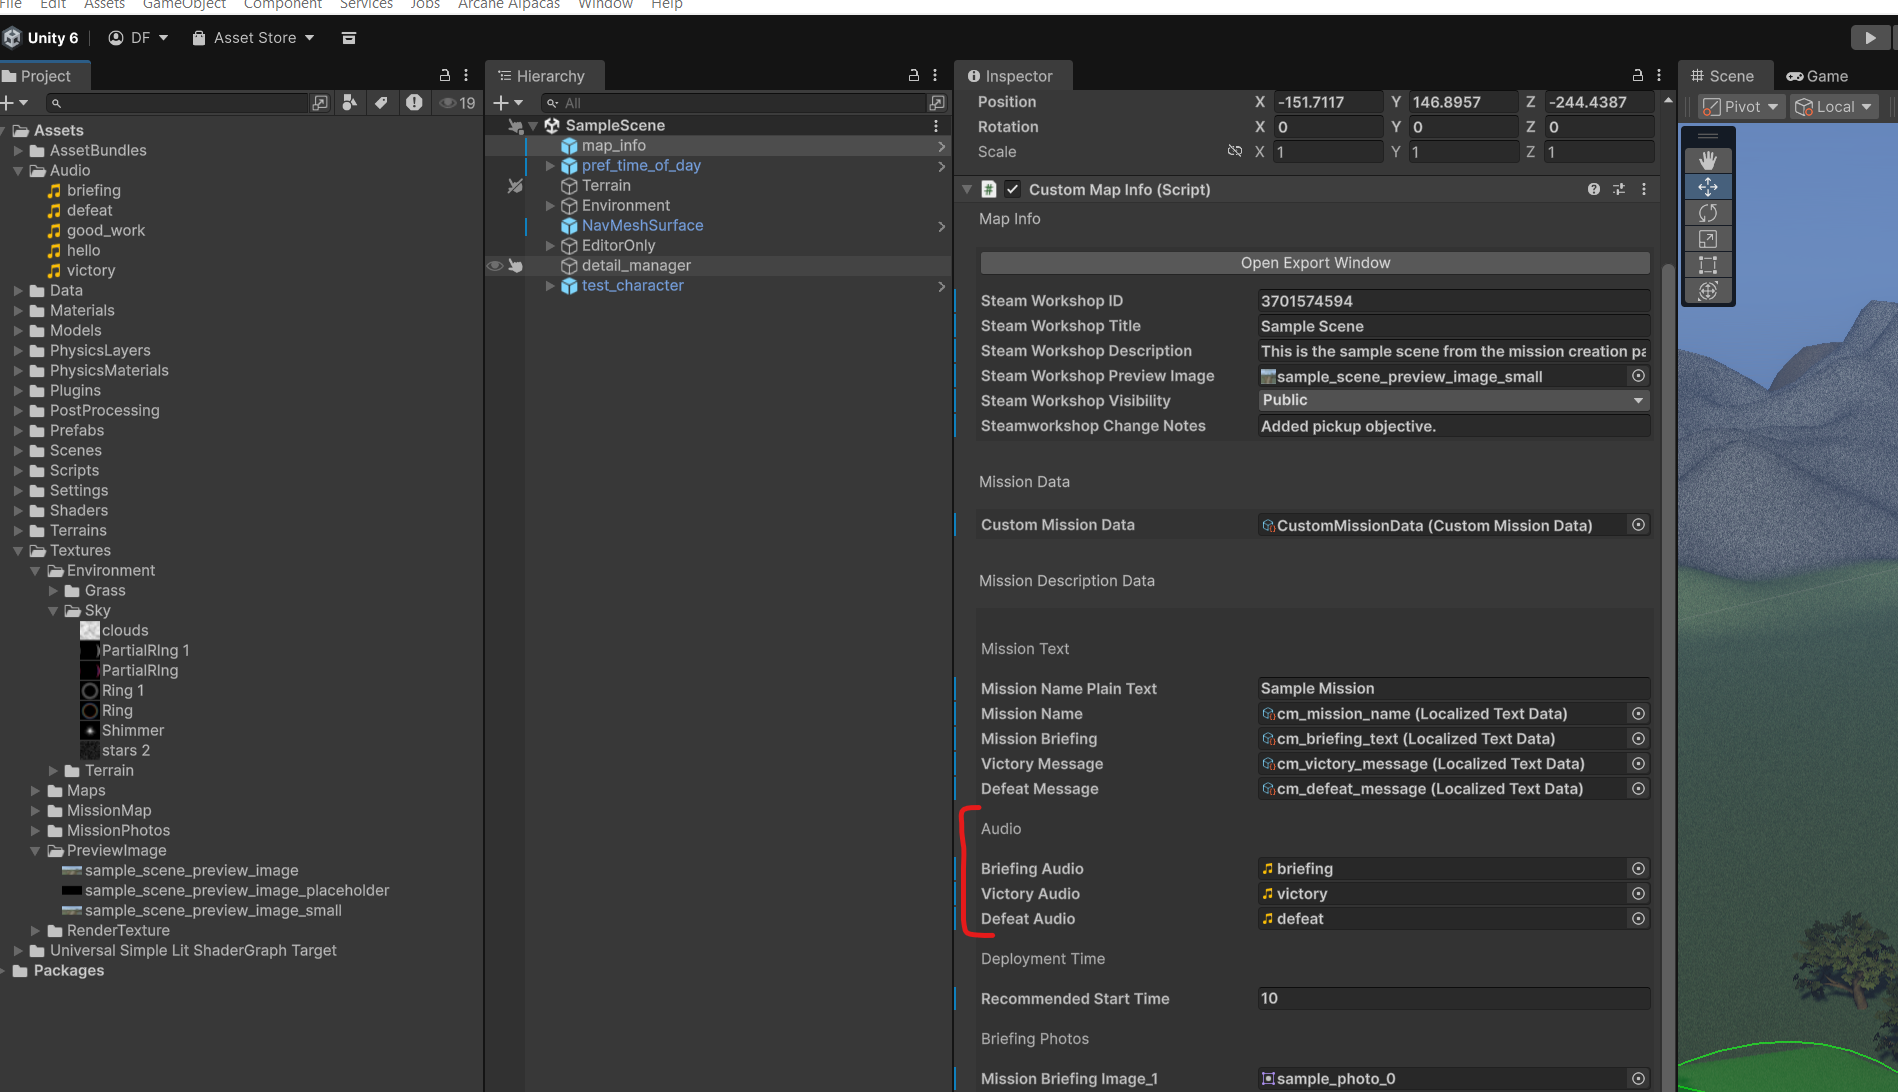
Audio
Audio clips need to be .wav files.
Briefing Audio - Audio played in the ship once the mission is selected.
Victory Audio - Audio played during the Victory message at the end of the mission if they complete the mission.
Defeat Audio - Audio played during the Defeat message if the player fails the mission.
Deployment Time
Recommended Start Time - The default start time. Players can change this in the Mission Select Menu. This is in hours in a 24 hour clock. If you want it to start at 7:30 then enter 7.5
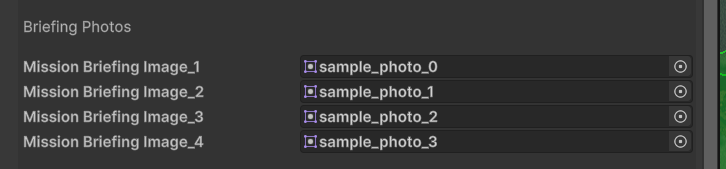
Briefing Photos
Mission Briefing Image_1 - 4 - Images displayed in the mission select menu. Usually shows off key objectives in the mission. The images should be set to 256×256.
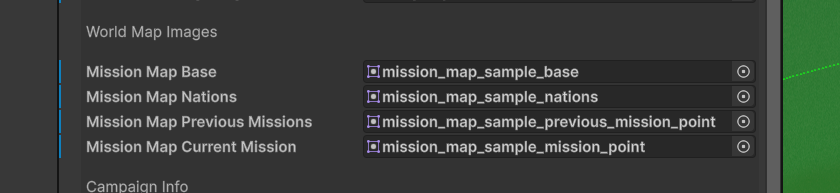
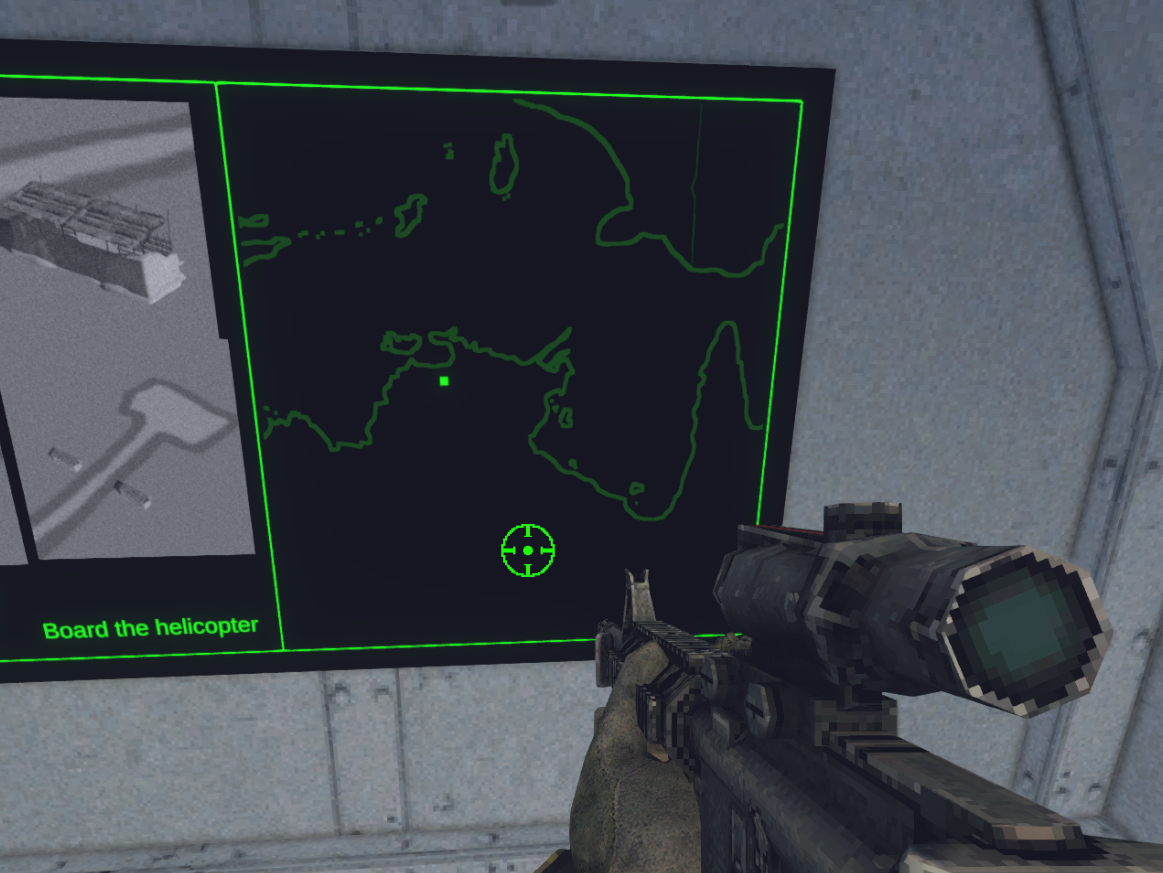
World Map Images
The world images are layered together at different brightness levels to highlight where in the world the missions take place and where previous missions were. The images should use white lines. Colors are added in game to match the players UI color setting.
Mission Map Base - Land/water outline layer. 1024×1024
Mission Map Nations - Country or State/Provence outline layer. 1024×1024
Mission Map Previous Missions - Previous missions in the campaigns mission dots and lines connecting them. Leave blank if it’s the first mission in the campaign. 1024×1024
Mission Map Current Mission - This missions location dot. 1024×1024

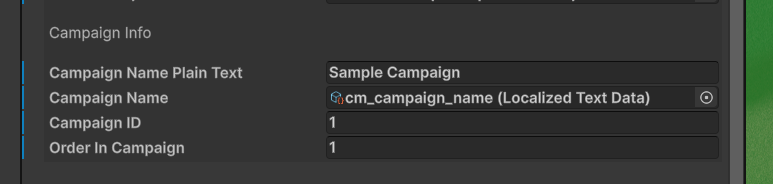
Campaign Info
You can organize your missions into campaigns using these settings.
Campaign Name Plain Text - name of the campaign. Not localized. Used in the mission menu before players download the mission.
Campaign Name - Localized Name of the campaign. This is displayed in the Mission Select Menu.
Campaign ID - If another creator has used the same campaign name, you can set an ID here to change it. Or if you want to add a mission to an existing custom campaign you can match the ID here.
Order in Campaign - The index of the map in the campaign. The lower the number the earlier it will be.
Uploading the Mission
Once you have set up all of the settings and are ready to upload, click “Open Export Window” at the top of the Map Info object. Then review the information. Once you are ready click “Steam Workshop - Upload New Mission” or if you are updating a mission “Steam Workshop - Update Existing Mission”.
You will see a dialogue box just to confirm and verify your choice.
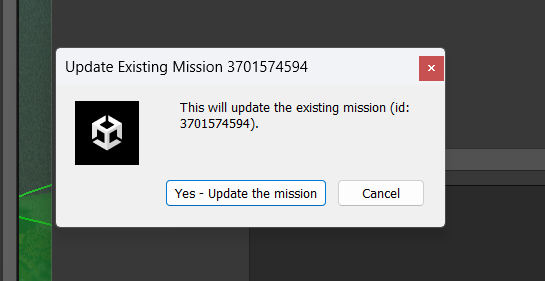
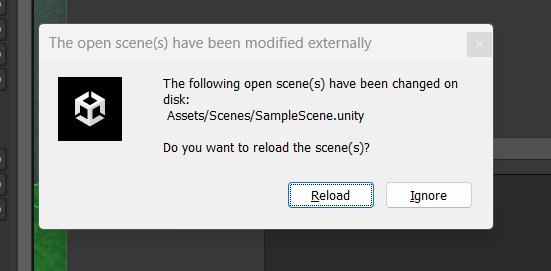
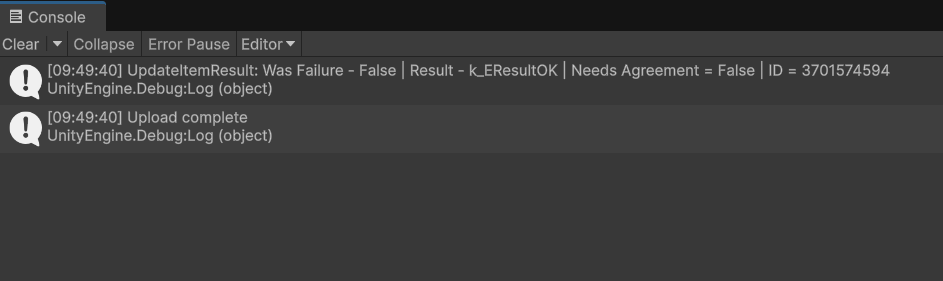
It can take a few minutes to upload the mission. Once it’s done it will ask you to Reload the scene. Click “Reload”. You will then see if the mission successfully uploaded or updated in the console.
Upload Complete - it worked!
Upload Failed - It did not work. It should have an error explaining why. Double check the settings, map ID, and make sure Steam is open. If you still have issues you can check the Trouble Shooting guide.
That’s it! I’ve seen it take 15-20 minutes before the mission shows up on the Workshop so be patient and check back later if you don’t see it right away.