1: Model Set Up
First open up the 3D program of your choice (recommendations can be found in the main page). The walk through will use Blender however any should be similar.
Open the MagazineModel.blend or import the MagazineModel.fbx file found in the Magazine Template Folder. (Template Link)
You should now see the template and all of the different components found in the Hierarchy view; model and collision Lets go over what each one does now.
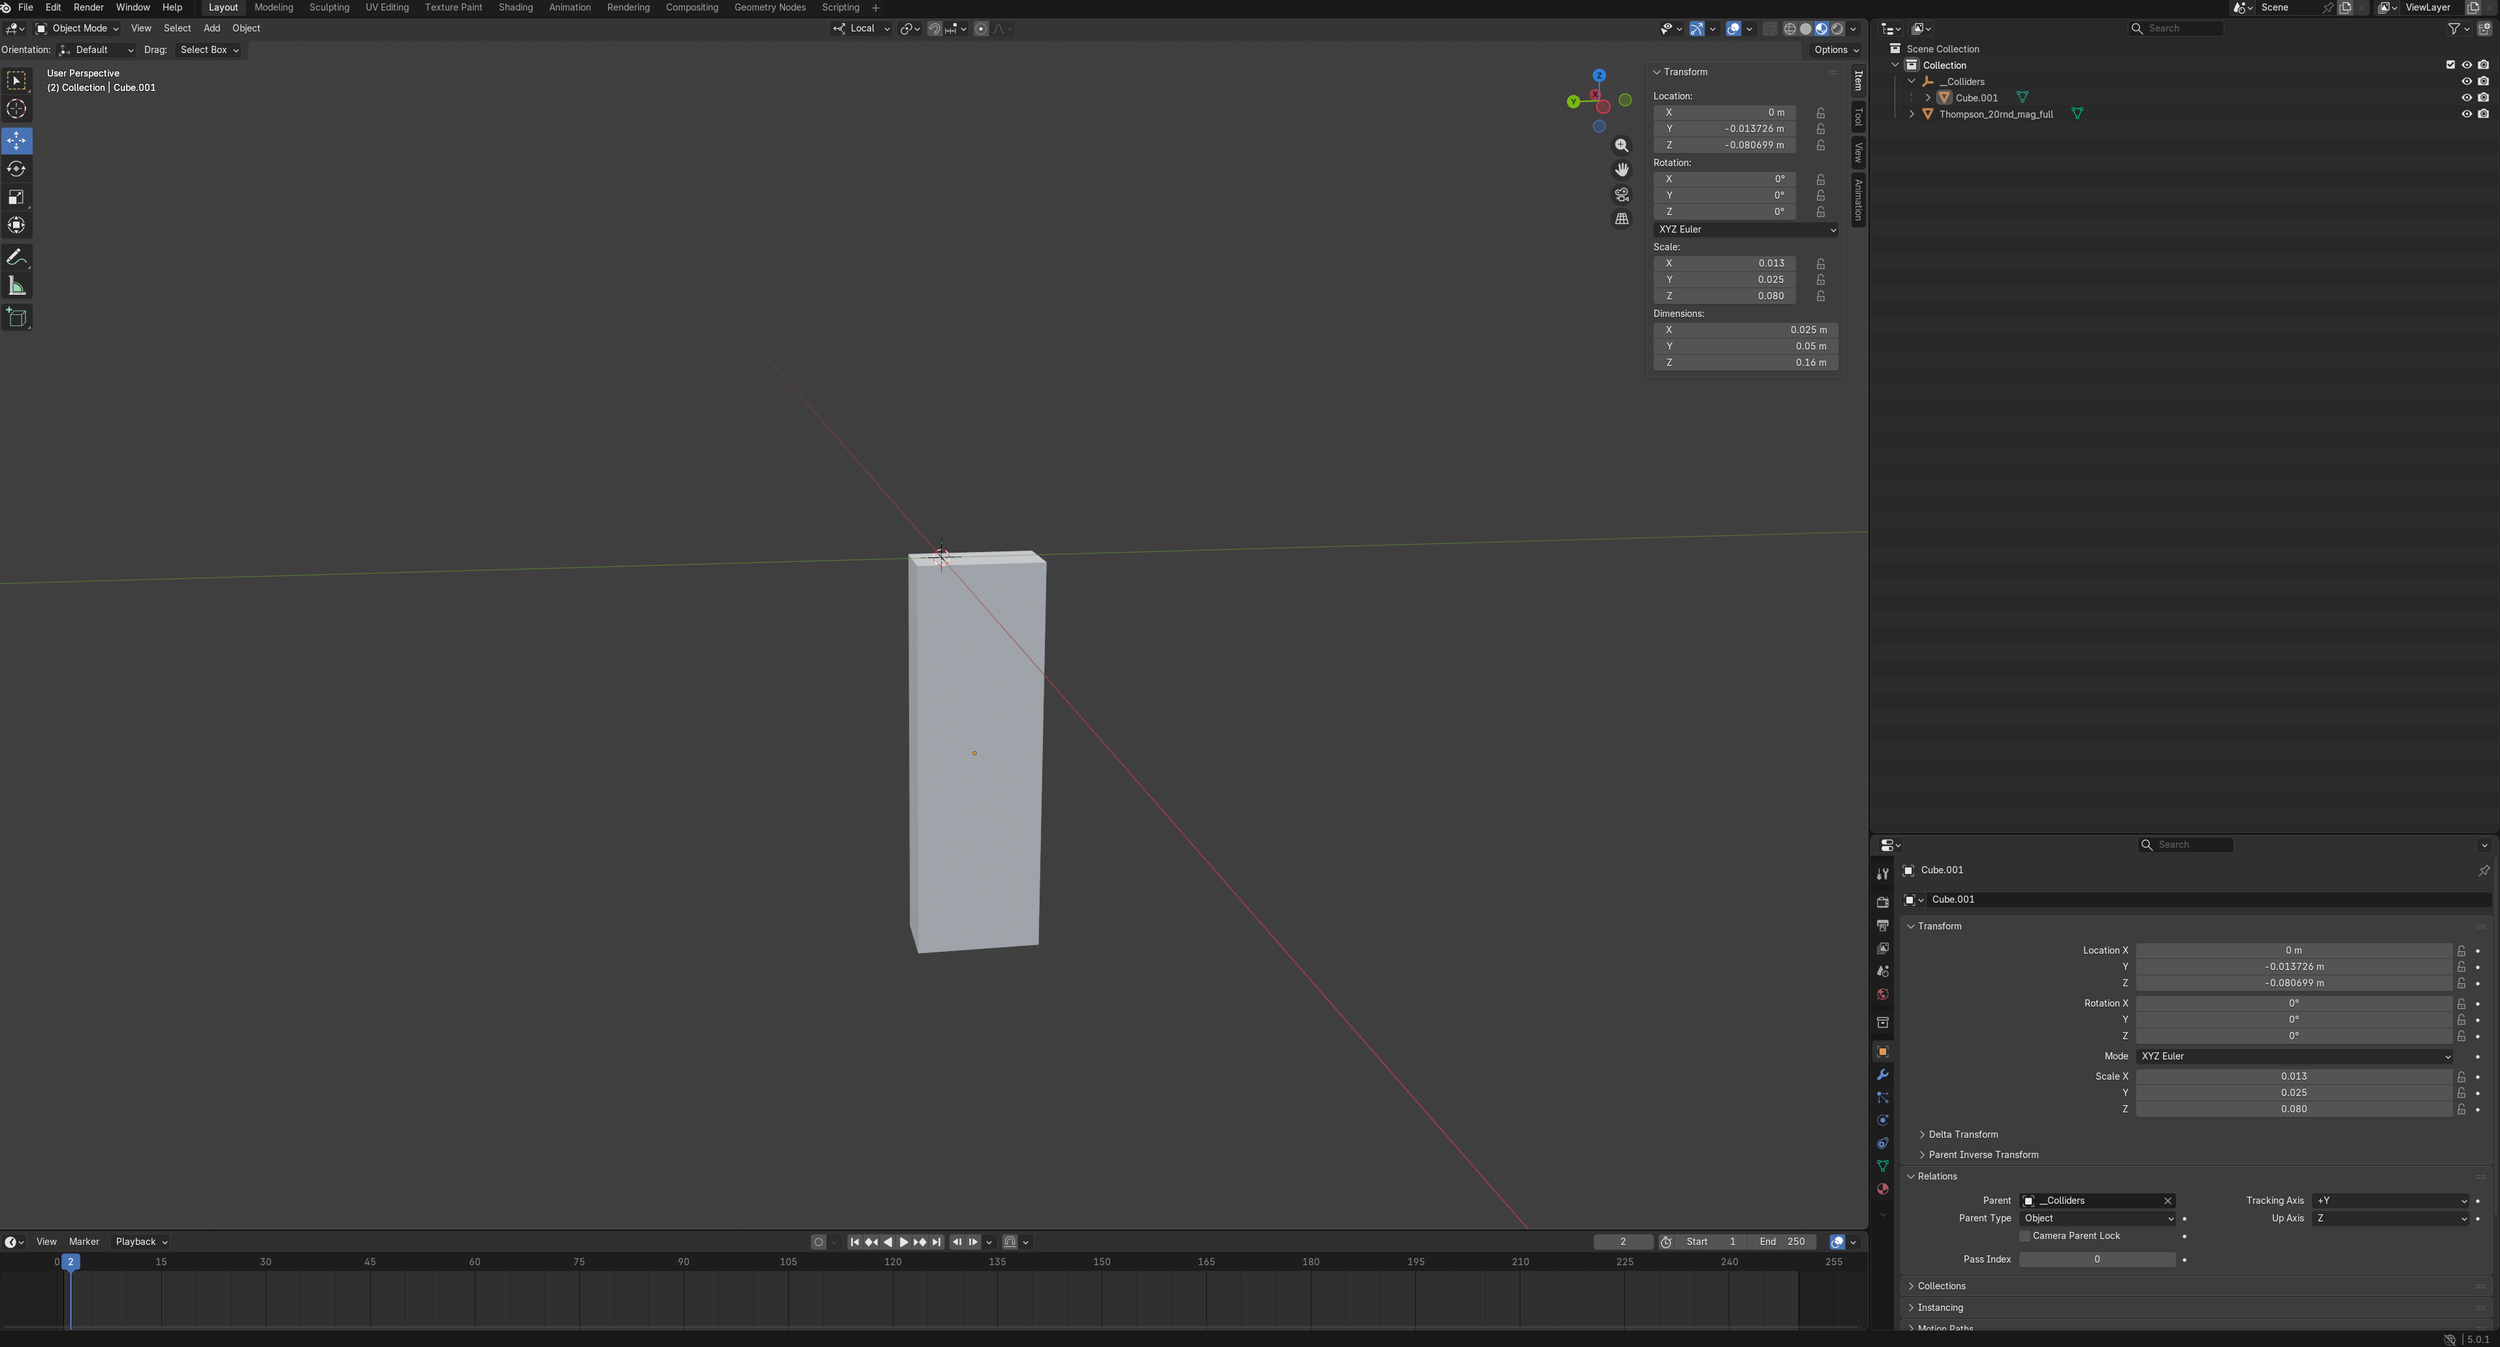
To keep magazines (and other attachments )compatible with various weapons we standardized the models position to have it’s top and rear most point at the origin of the scene. Look at the weapon model guide for more information about this.
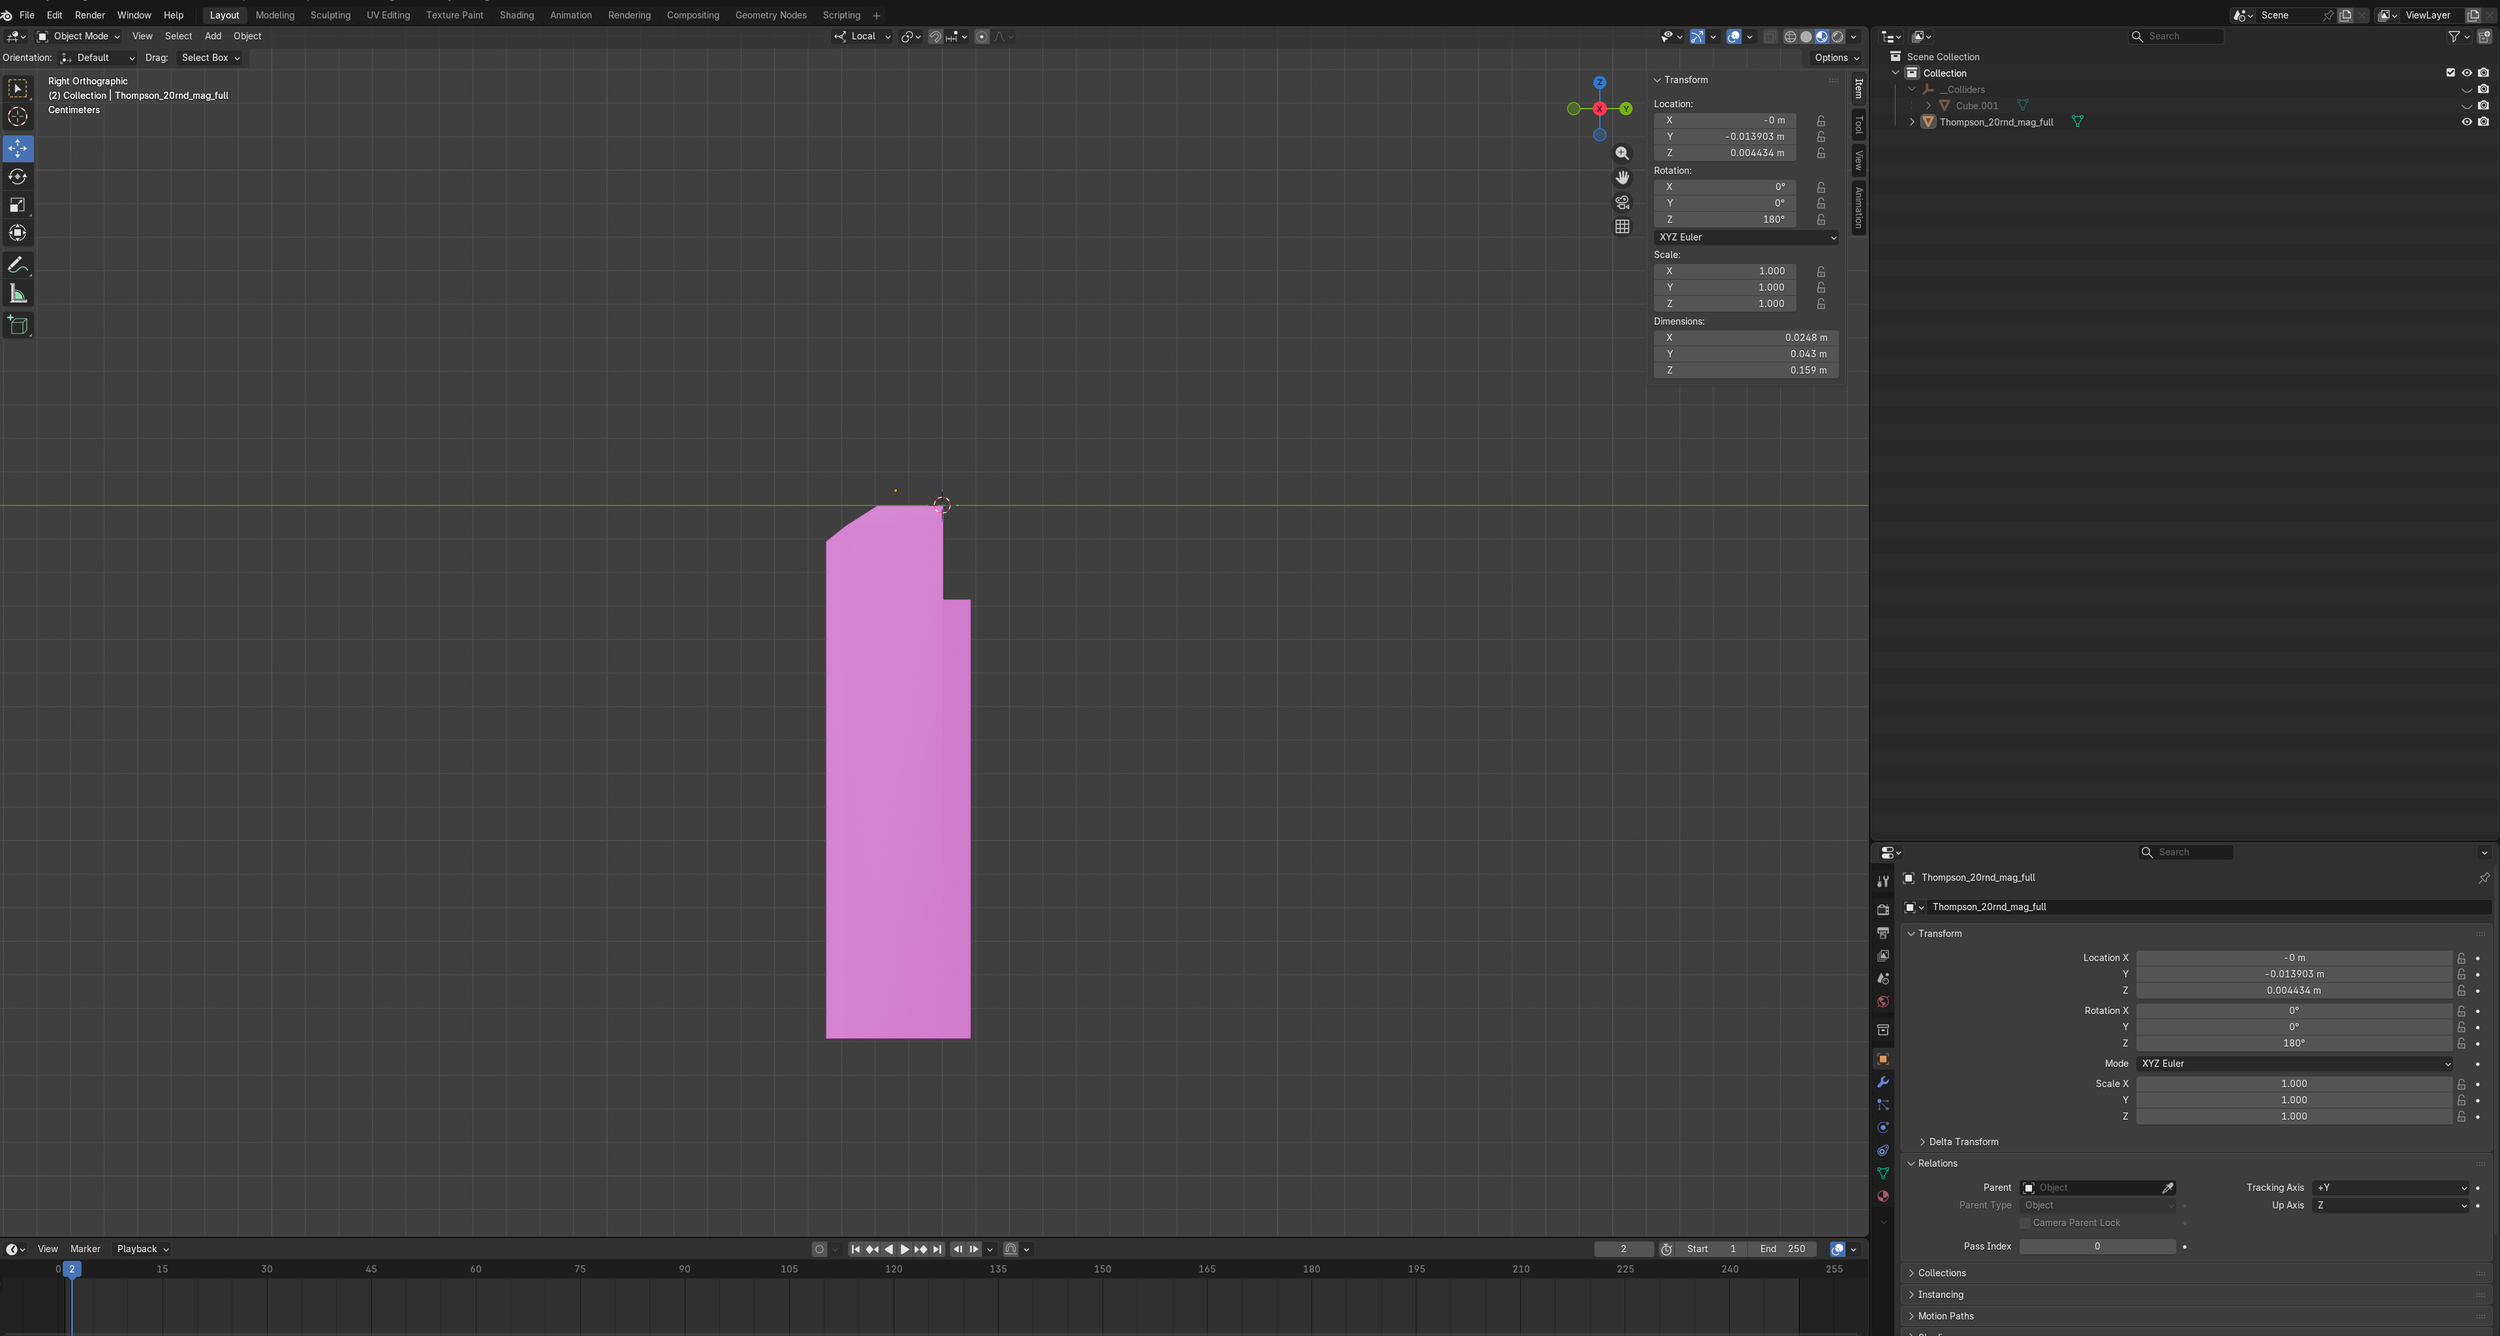
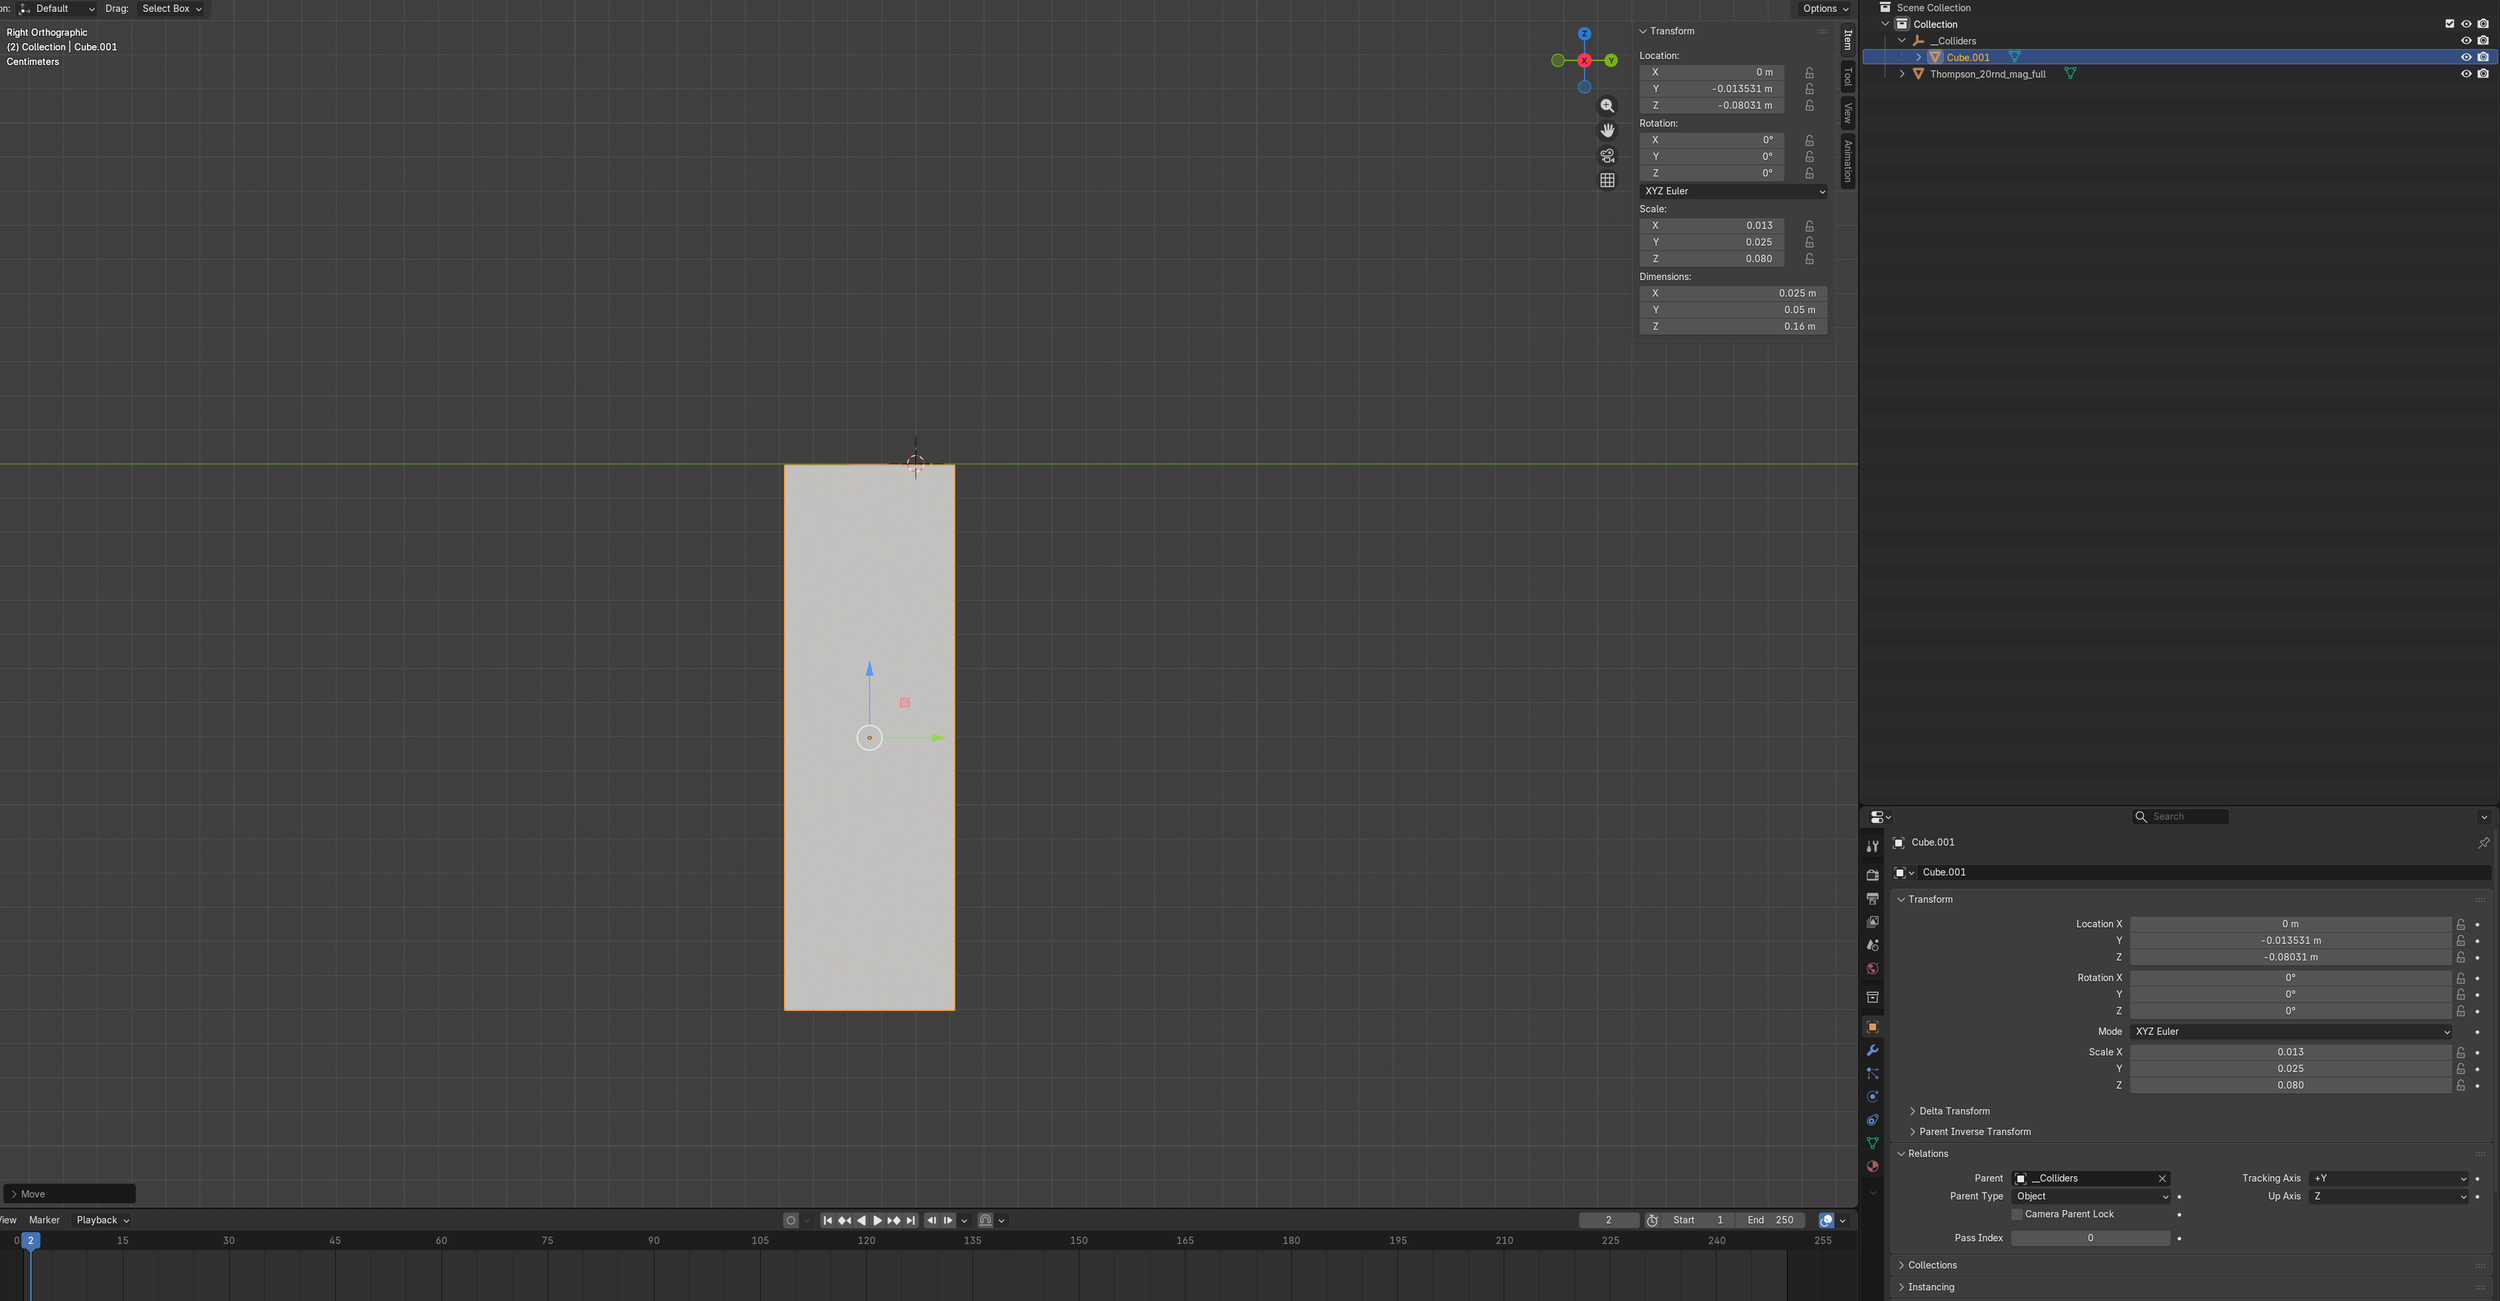
Collision
Colliders are used when you drop a magazine on the ground in the game. These do not need to be perfect, just use enough to cover the general shape of the magazine.
The colliders are defined by cubes under the “__Colliders” object. Feel free to reuse the ones in the template or create and delete them as needed. Set them up in a way that makes sense for the magazine you are creating.
Textures
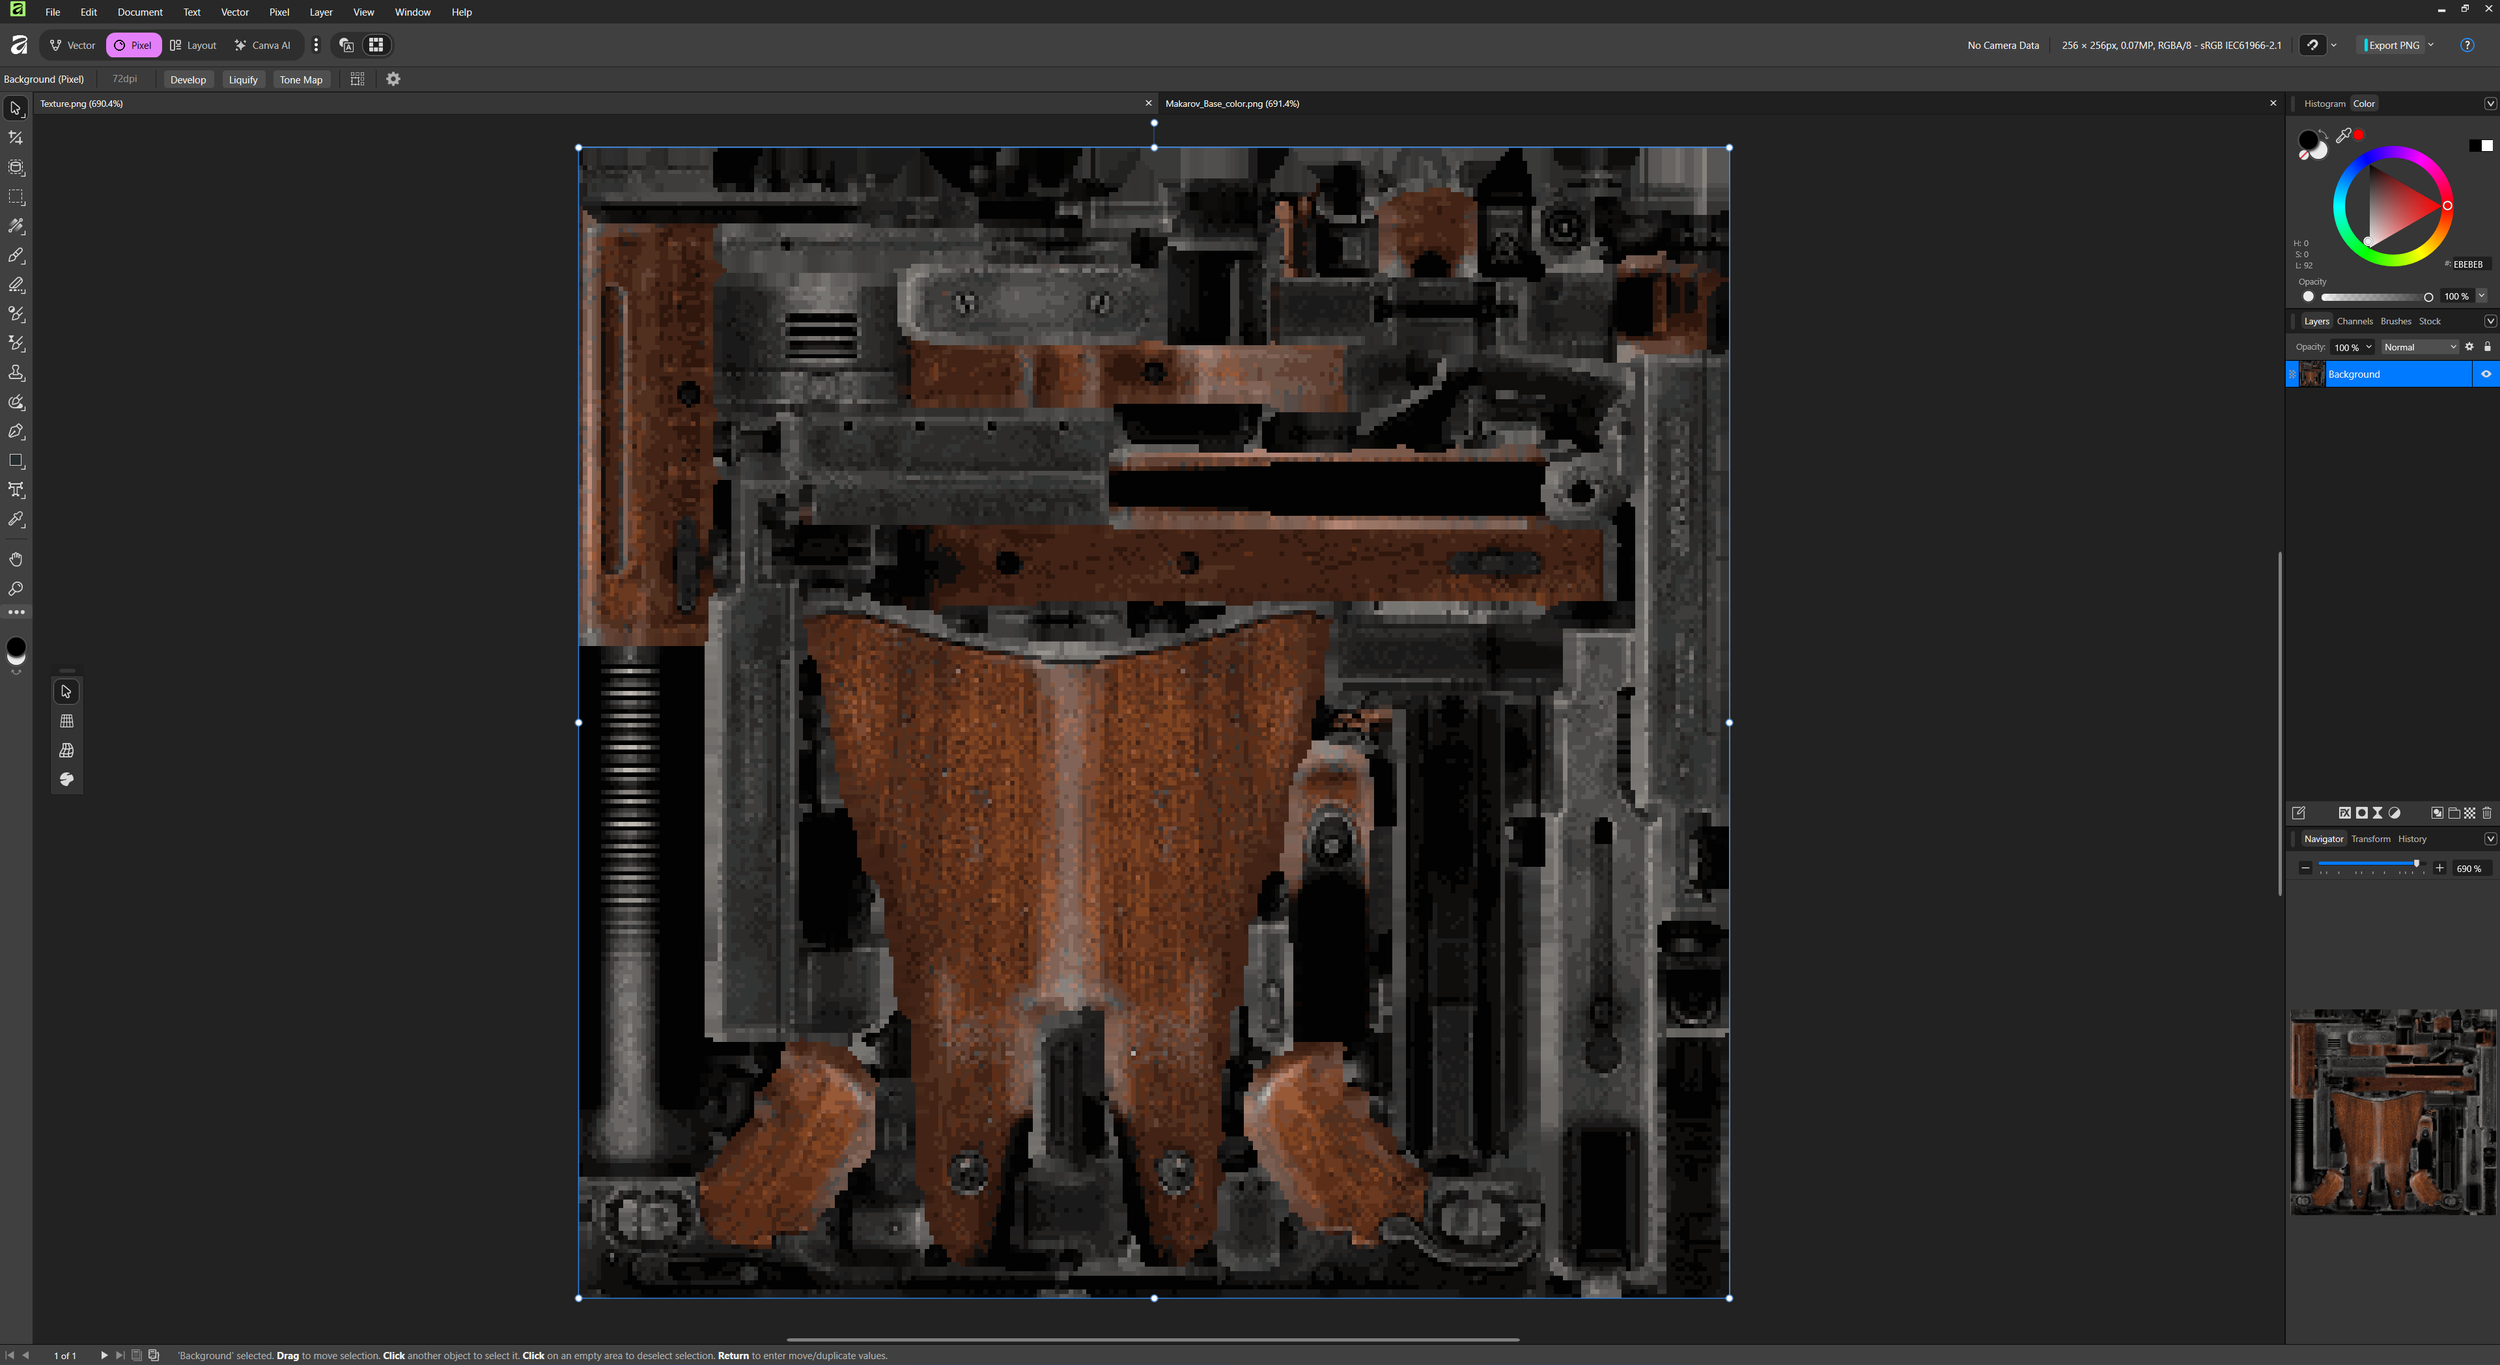
Dagger Directive uses a slightly modified version of the URP SimpleLit shader which has one base color map and one emission map for each item in the game. It does not support multiple materials per model. So everything on your model needs to be on one texture. Mipmaps are disabled and Point Filtering is enabled in game to add to the pixilated look.
Texture sizes vary depending on the weapon size and complexity. Magazines textures are usually inside the weapon texture too but you are not required to do this.
Here are some examples of what we’re using:
1911 - 256 x 256
M16A4 - 256 x 256
PKM - 512 x 512
FGM-148 Javelin - 512 x 512
OICW - 1024 x 1024
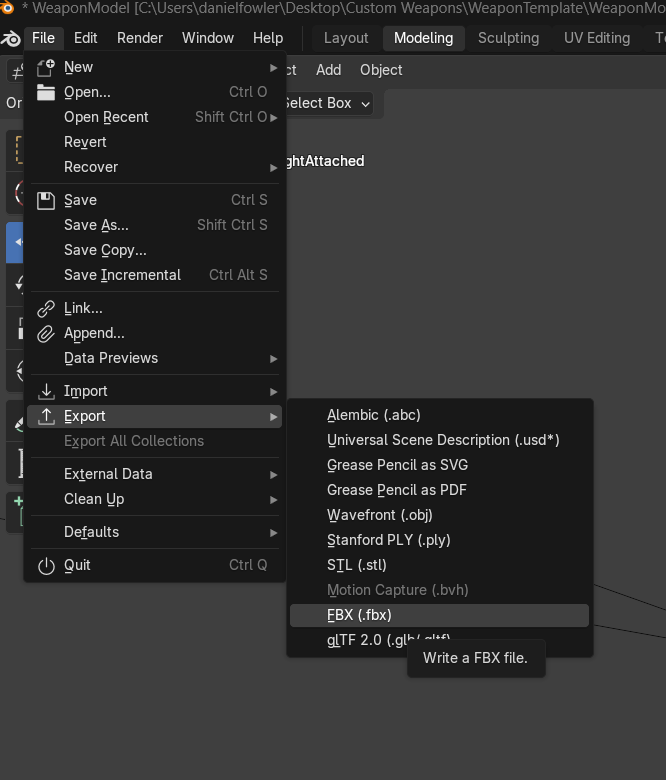
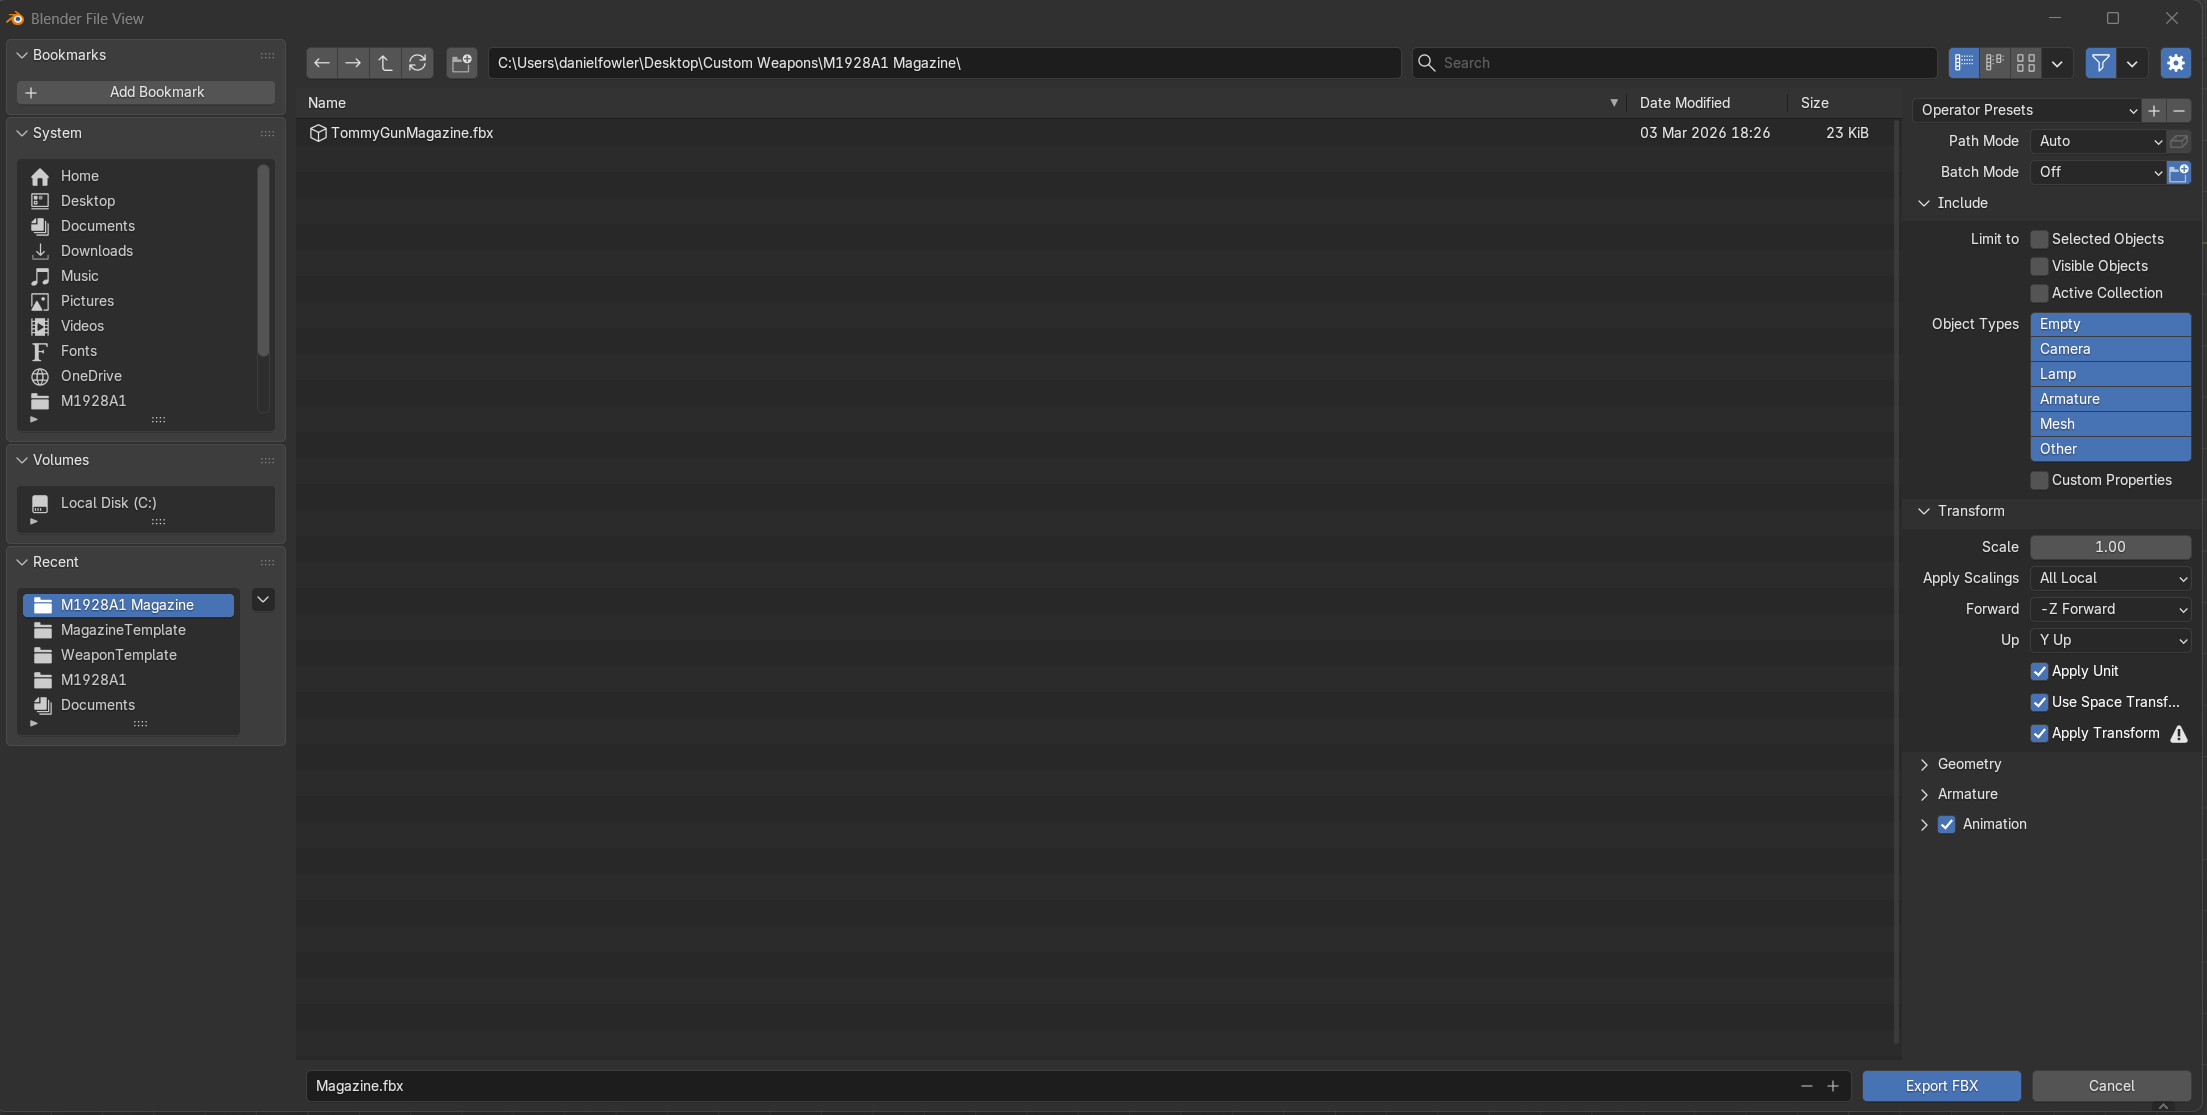
Export
We require a .FBX file so you’ll need to export the model as an FBX. In Maya you do not need to change any settings as Maya and Unity share the same axis and rotations. Blender needs a couple of extra settings though.
Open the Export FBX window.
Set Forward to “-Z Forward”
Set Up to “Y Up”
Check the box that says “Apply Transform”
Name the file.
Click “Export FBX”